Maneki Neko (Lucky Cat) USB
When I think of the USB sticks that have come and gone in my life, it seems that their natural vector is towards disappearing into the ether like spare gym socks in the laundry. The form factor has evolved towards something tiny you can stick in a pocket and share with co-workers and friends. The problem is, co-workers and friends don't return what you give them and we have thousands of pockets that we can't keep track of. Just like that, that compact key that has evolved to store 1TB of data can go through the wash as easy as your fountain pen, or your new Air Pods (yes they did).
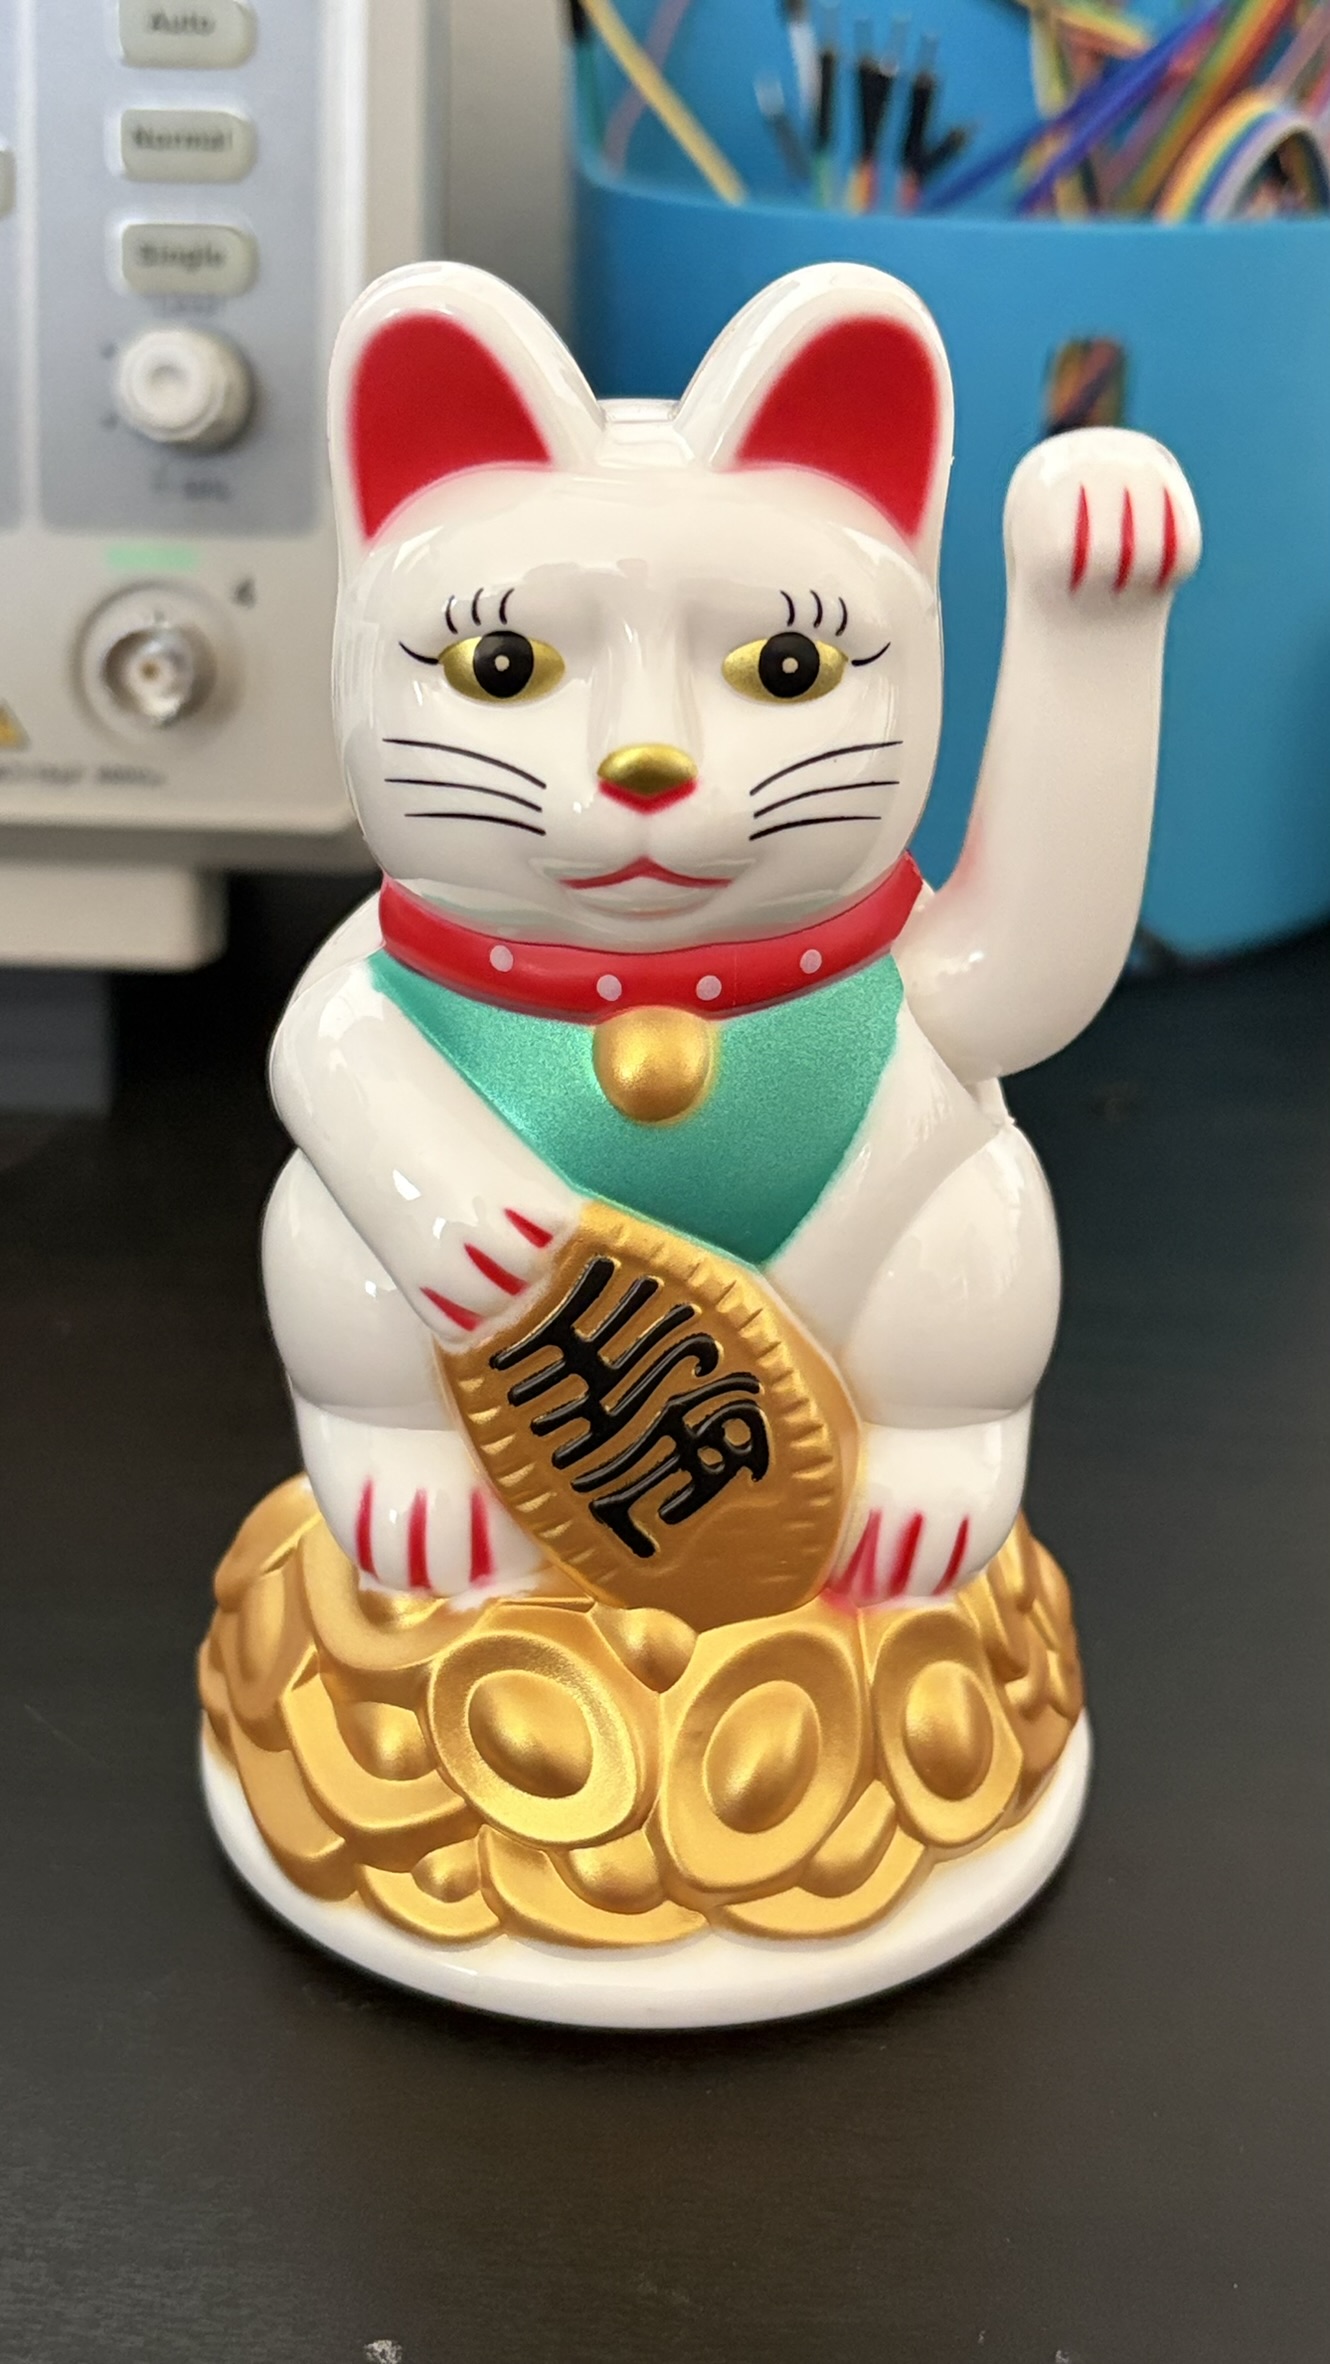
I recently became enamored with Maneki-Neko (Lucky Cat) collection - the little ornamental cat figurines you see at restaurants by the tip jar that beckon to you with cute little motorized waving. Each color has different significance and curries favor in different aspects of life - from who, I don't know - but I think they're really cool cultural artifacts like the Matryoshka Doll, and have the added benefit of having some crude sensors and actuators to power their motion, like solar panels, and magnetized coils, that make them a fun base for embedded projects.
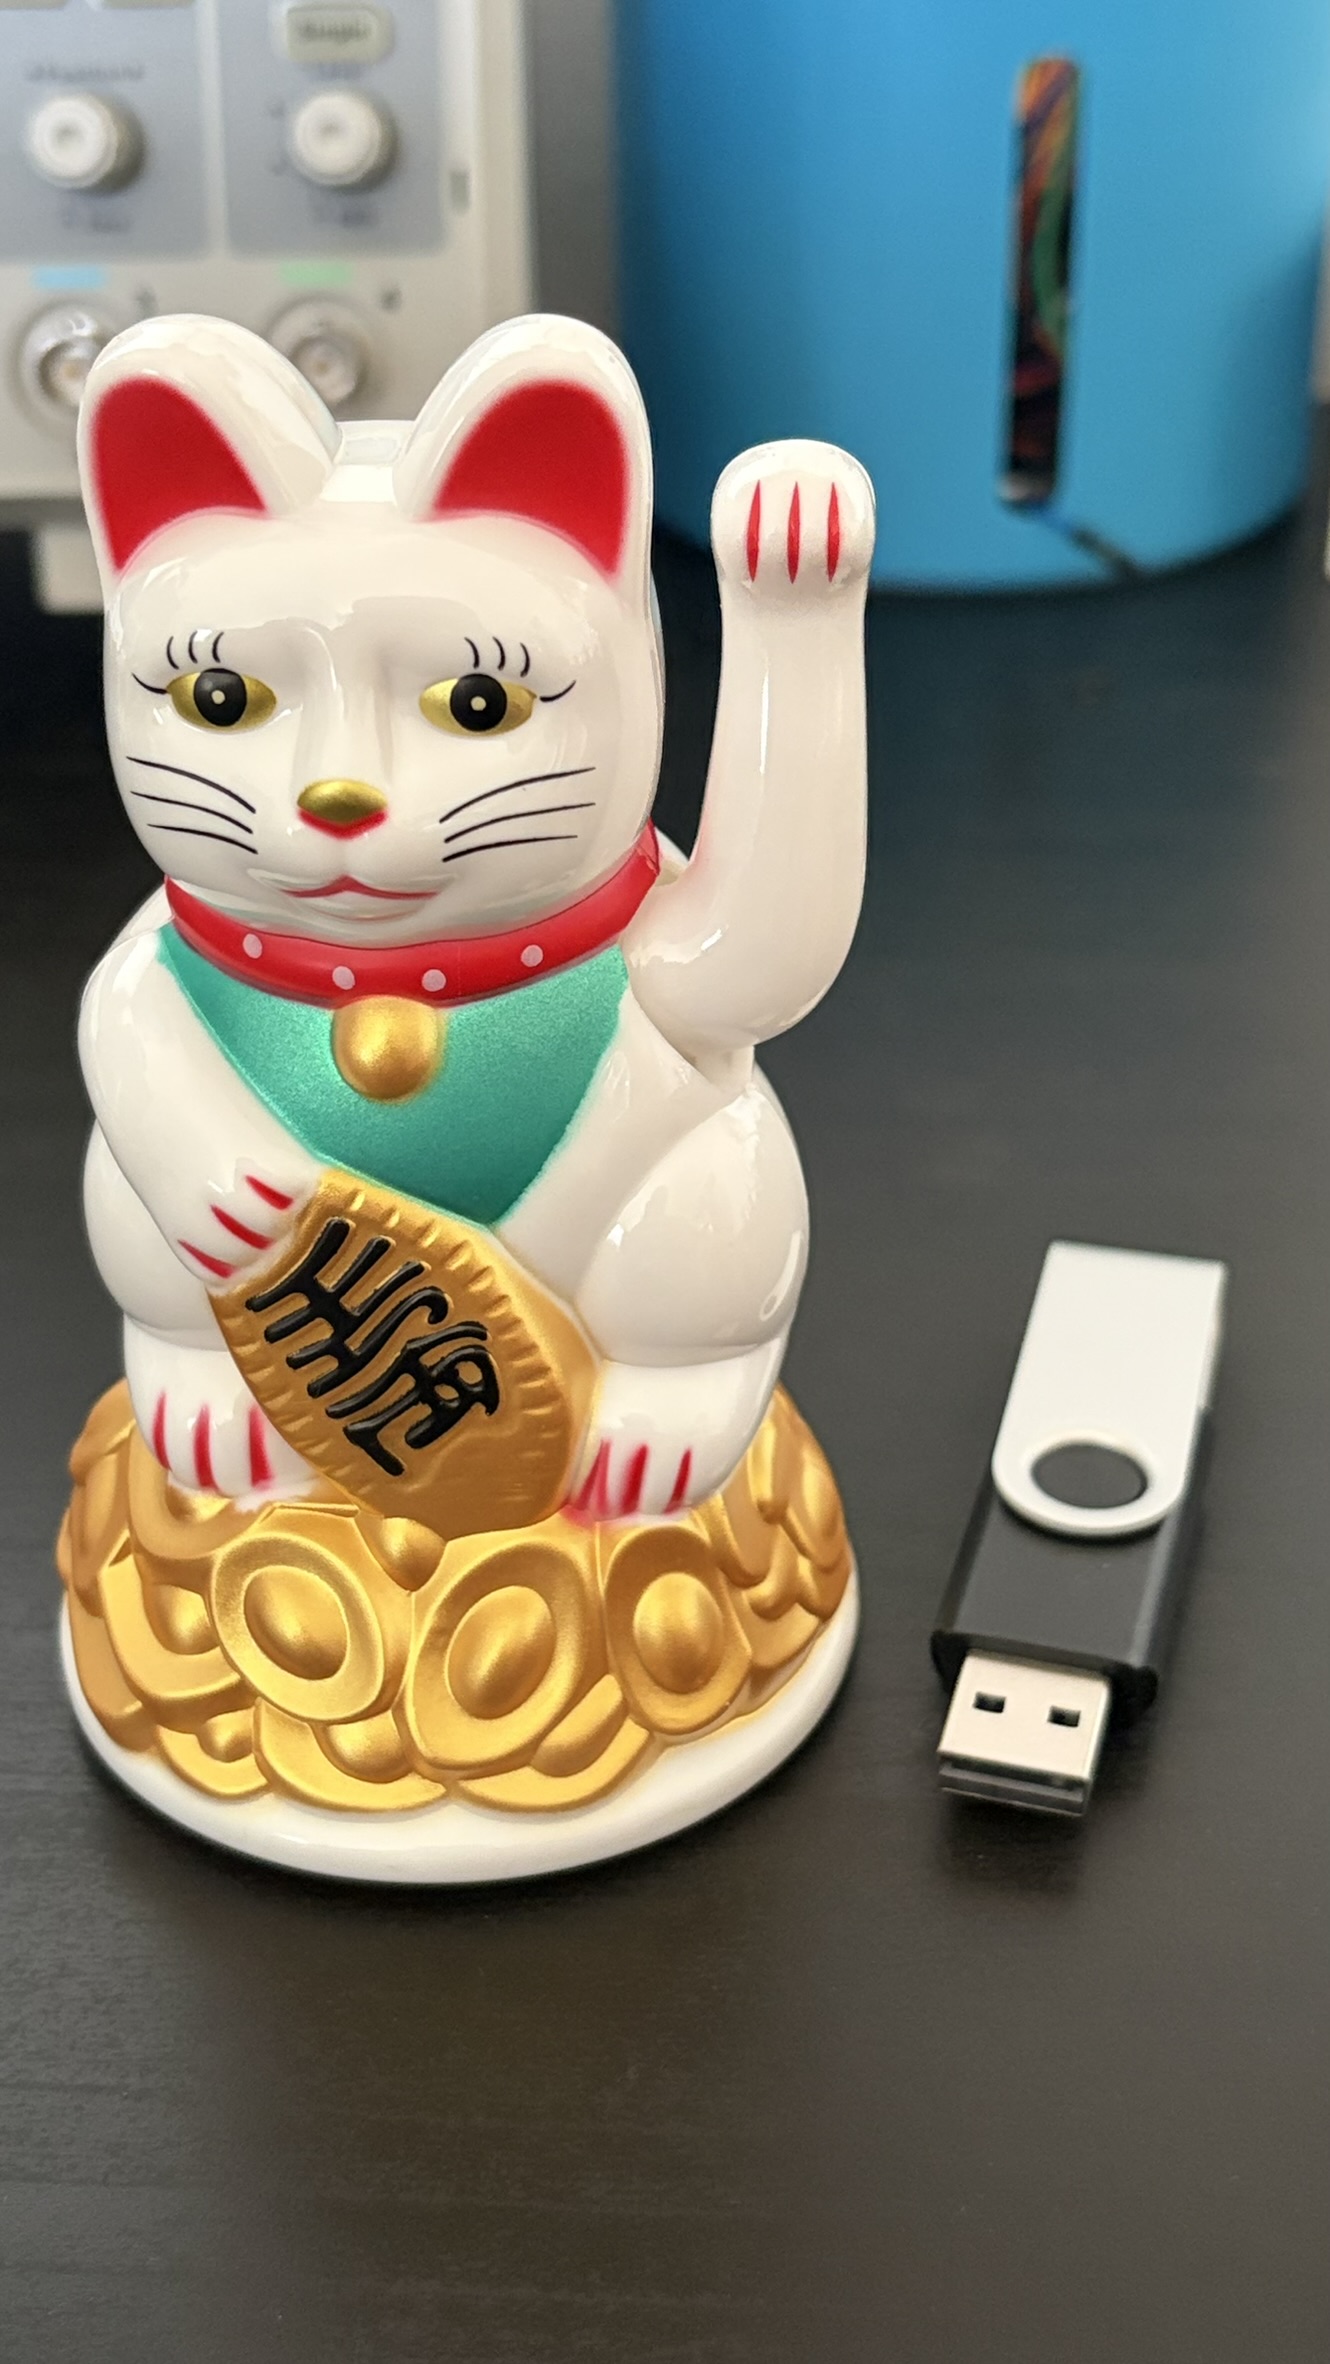
Because these little figures usually range from palm-sized to, I don't know, picnic ham-sized - have a simple nature of their internals, relative portability, and garish eye-sore nature; this made them a perfect target for creating a USB stick that would never be lost and keep co-workers far away from your precious kitty cat data.
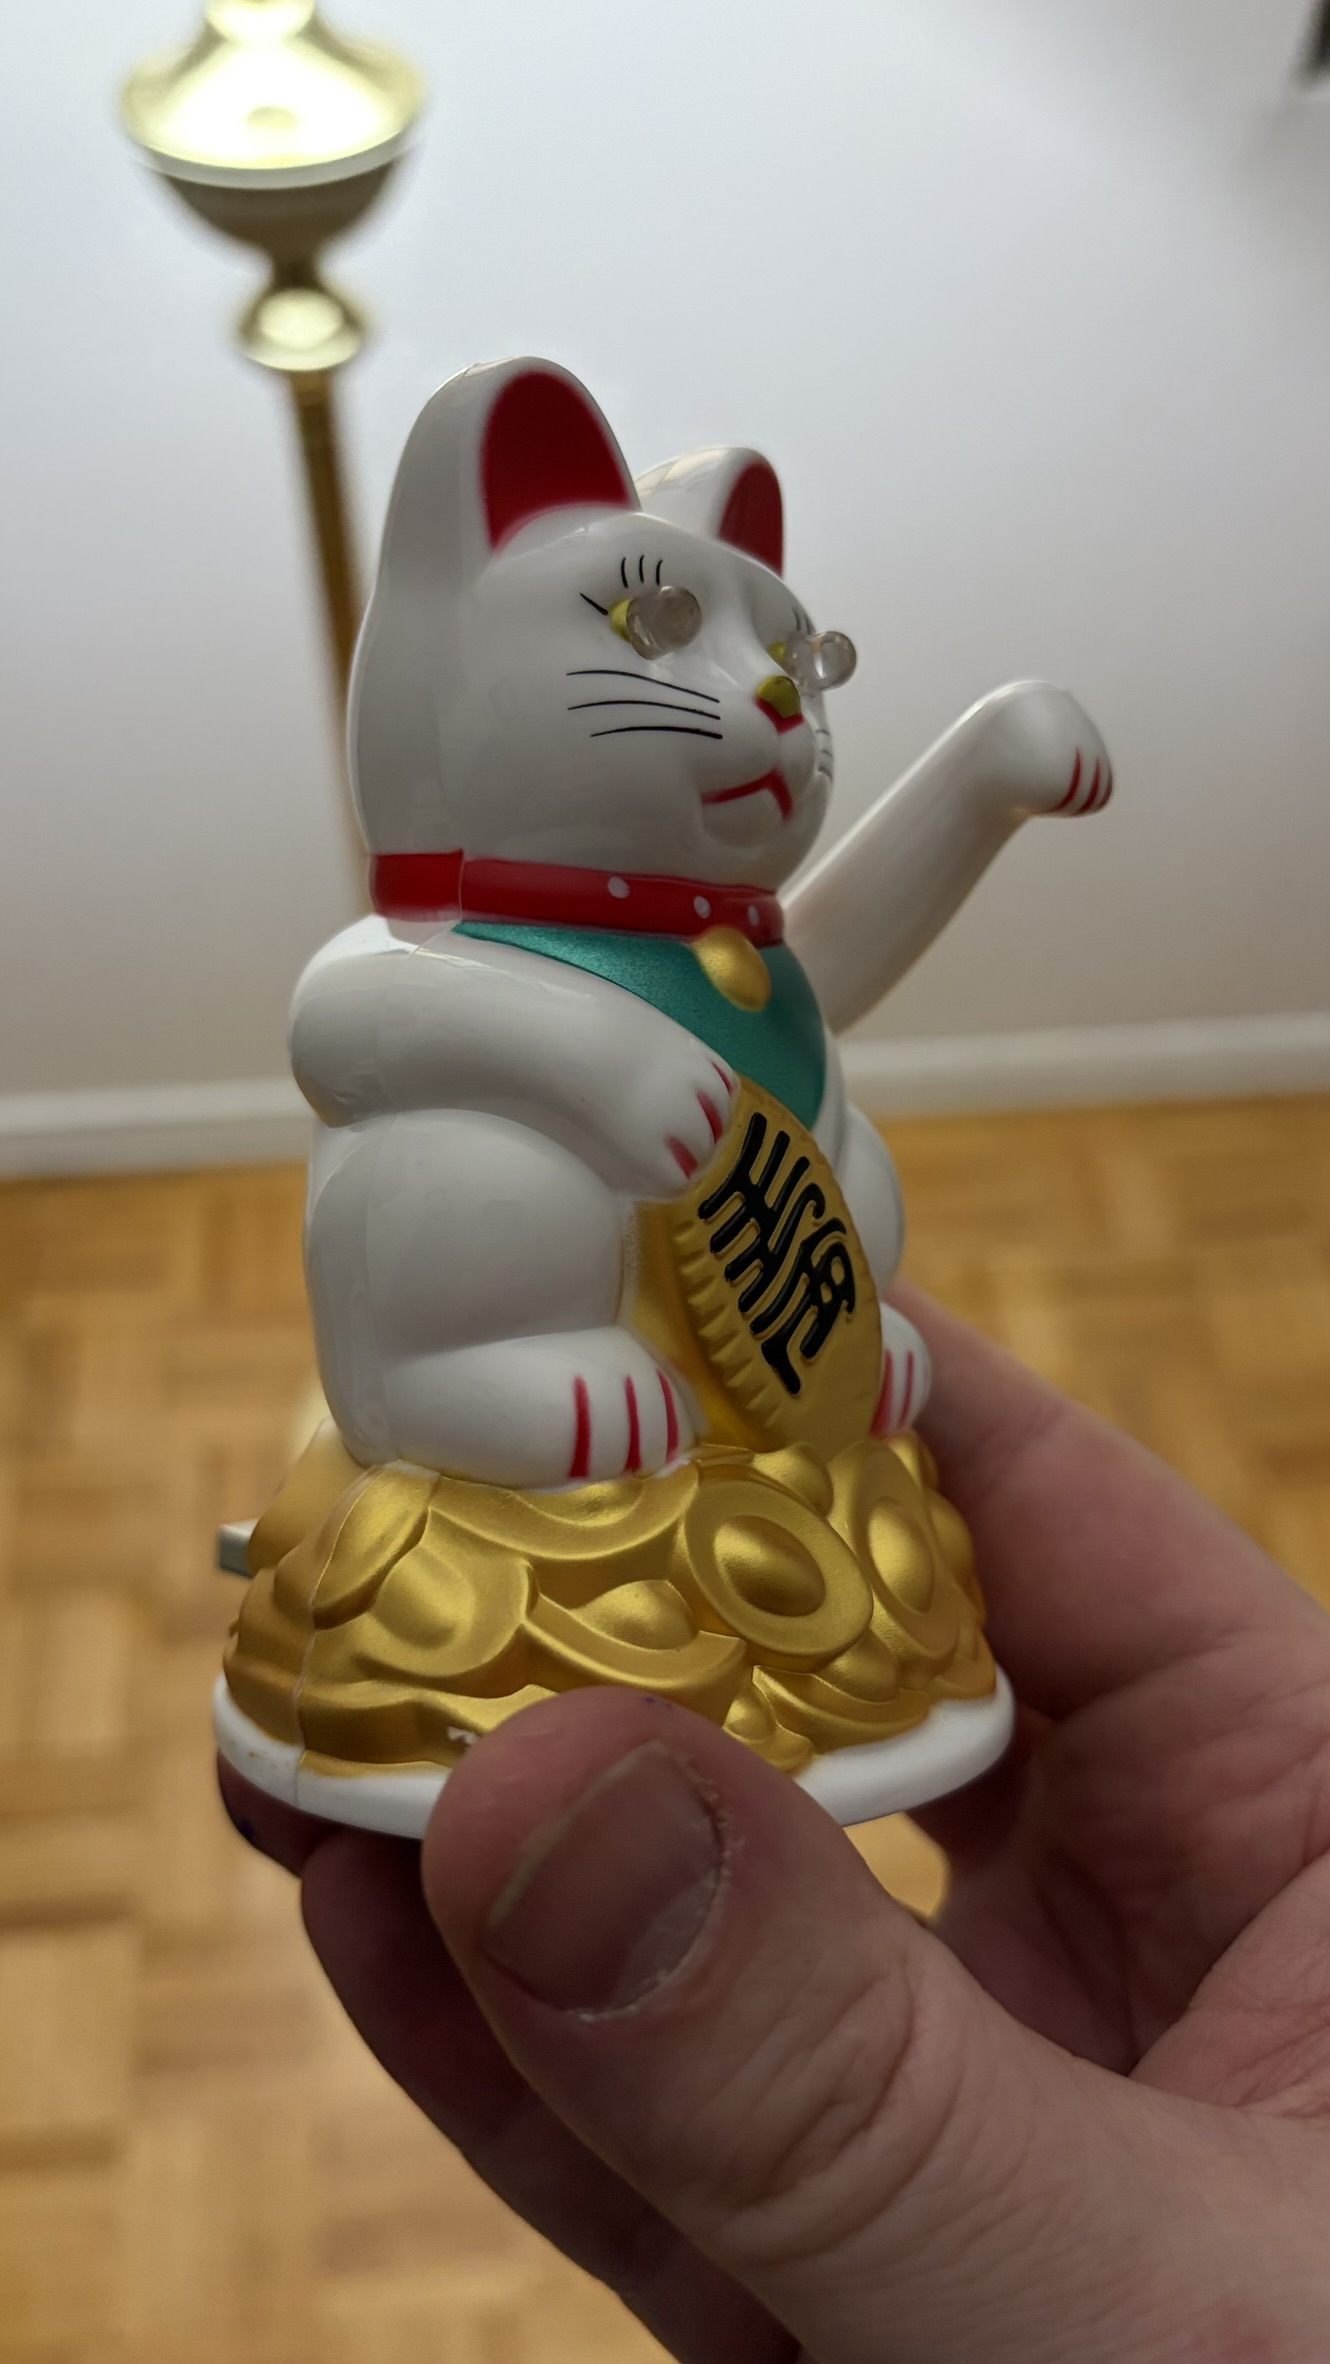
The Prototype
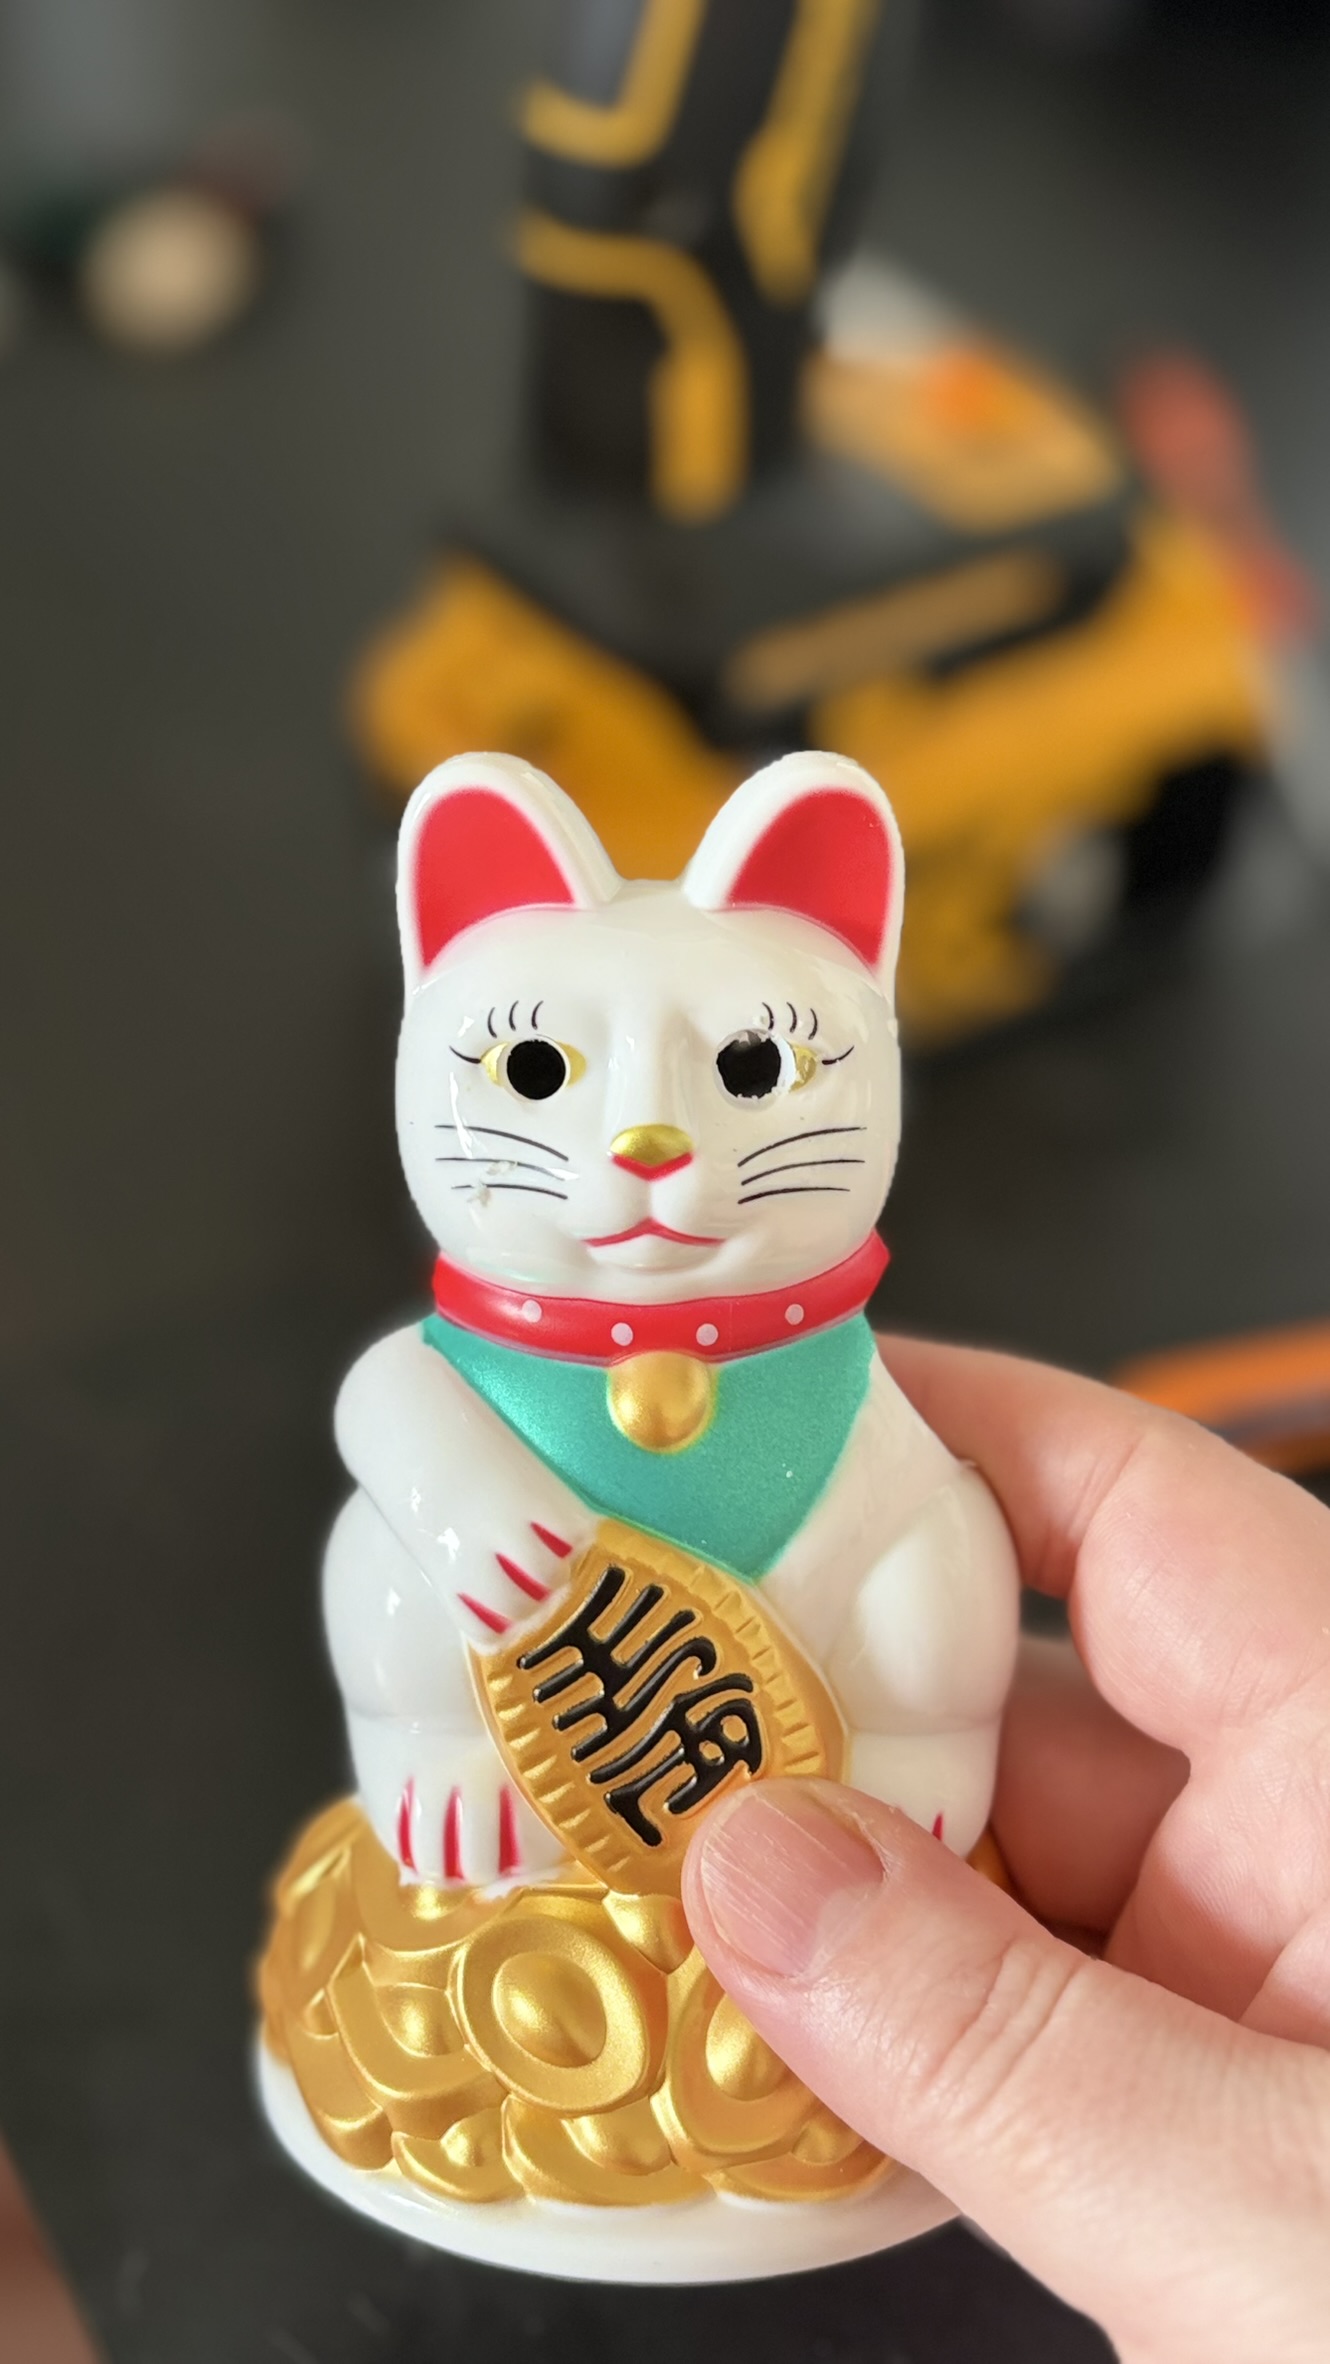
The white Lucky Cat symbolizes purity, happiness and new beginnings. When this is done, you will be happy, your data will remain pure, and you will begin your new life together with your un-loseable data cat.
The Internals
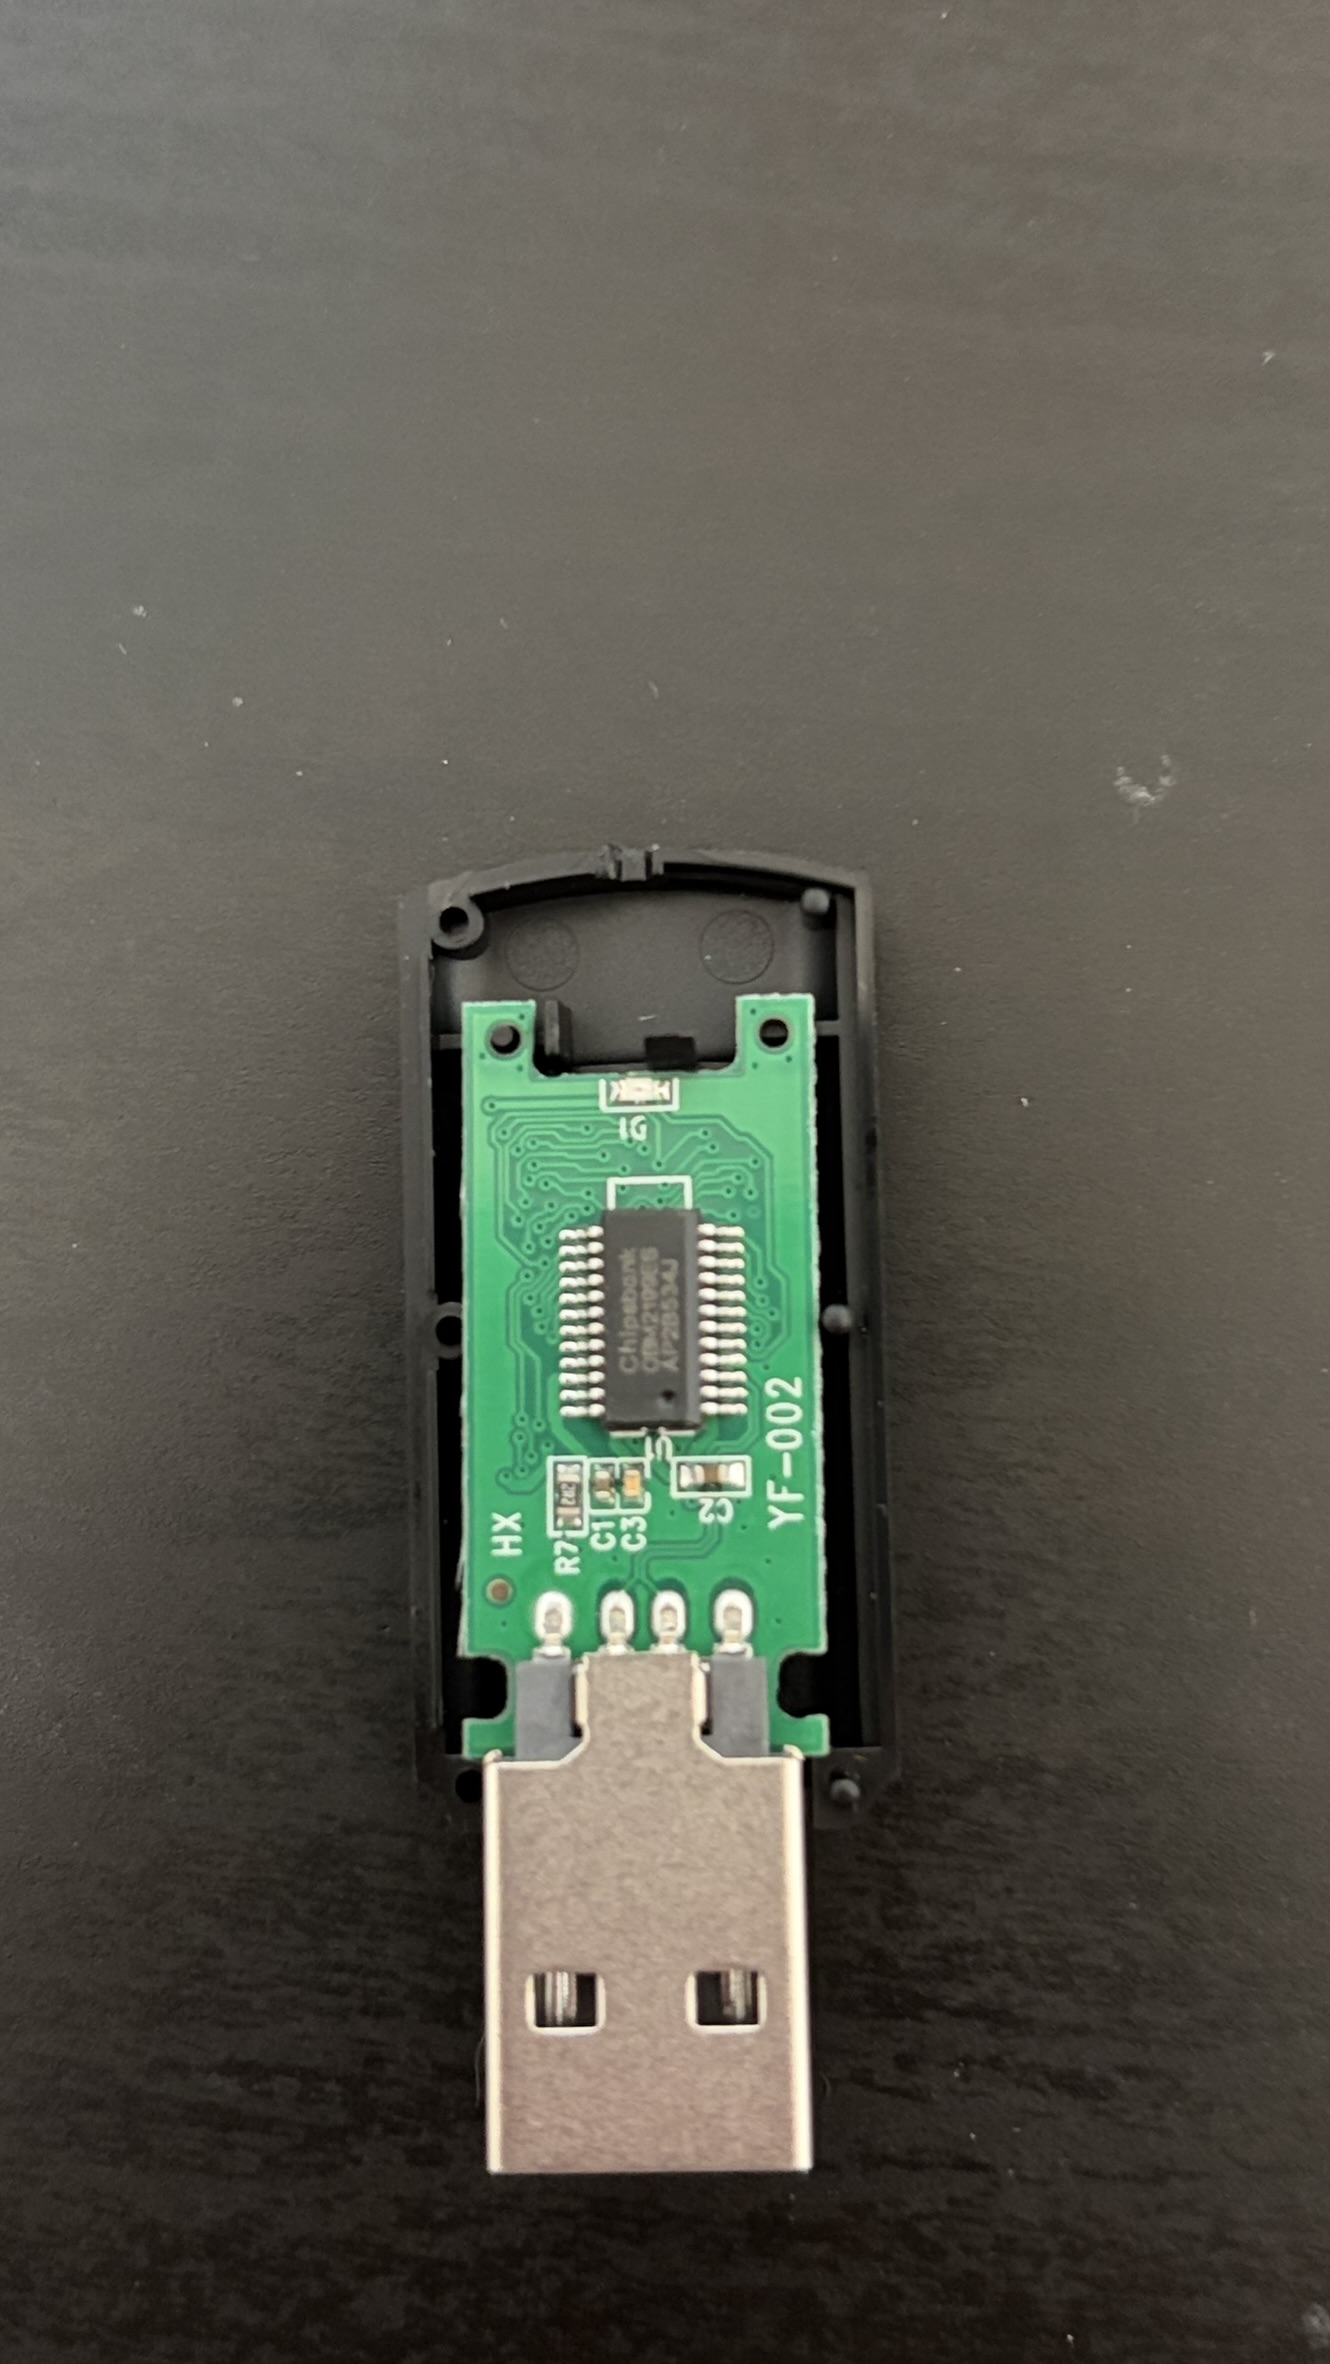
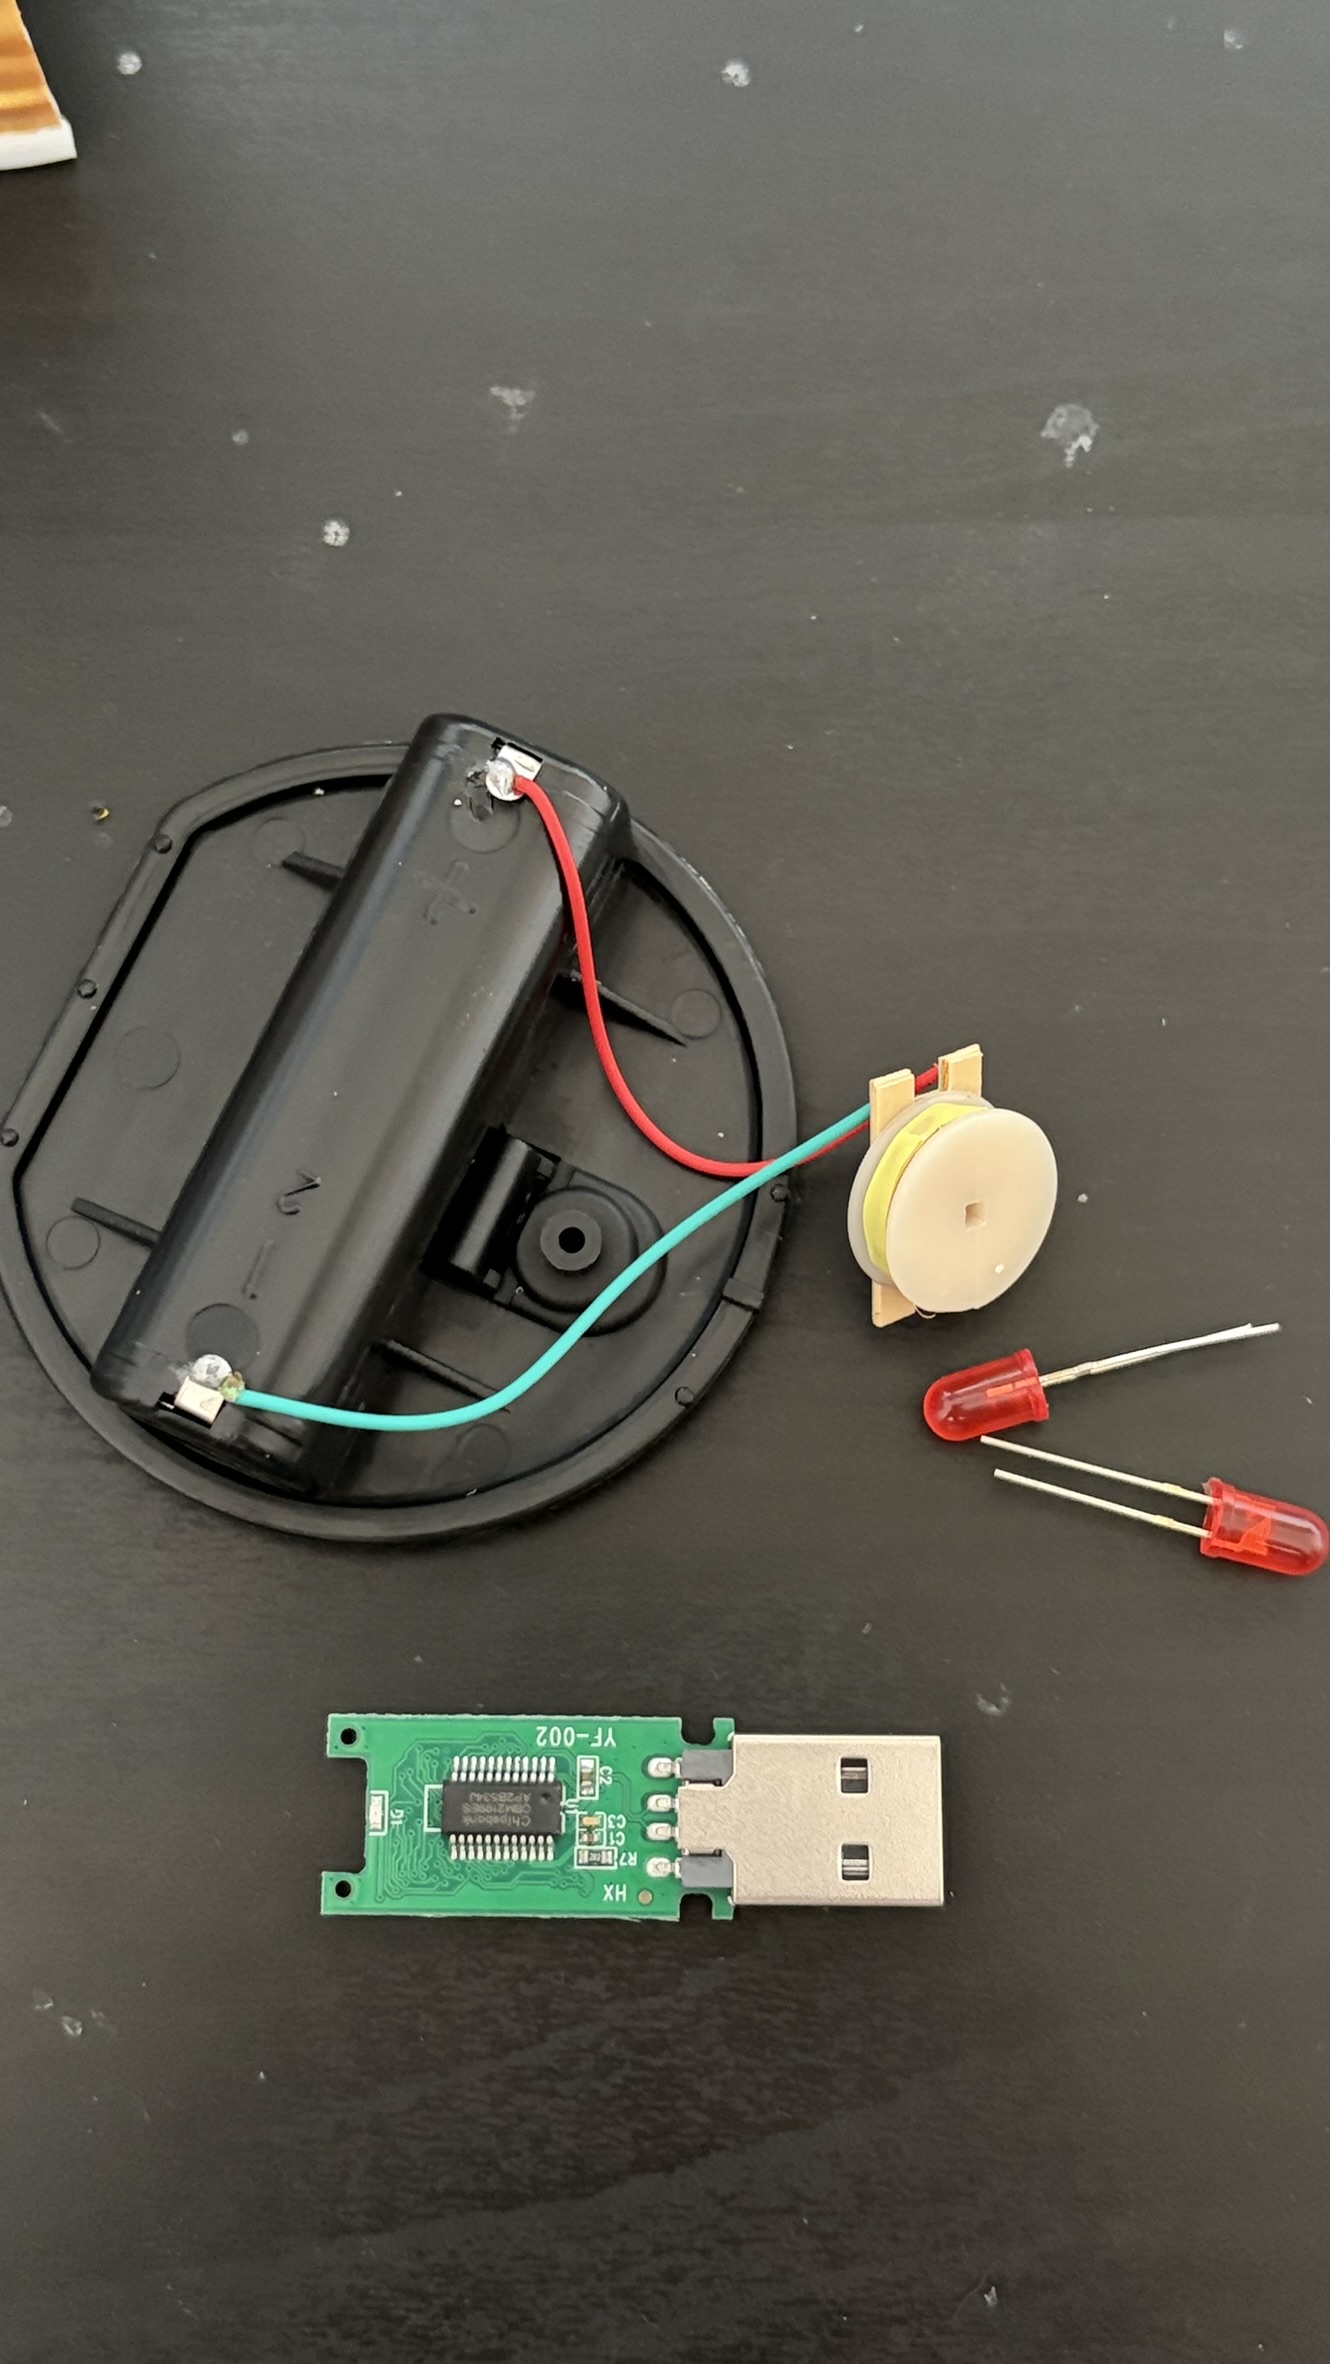
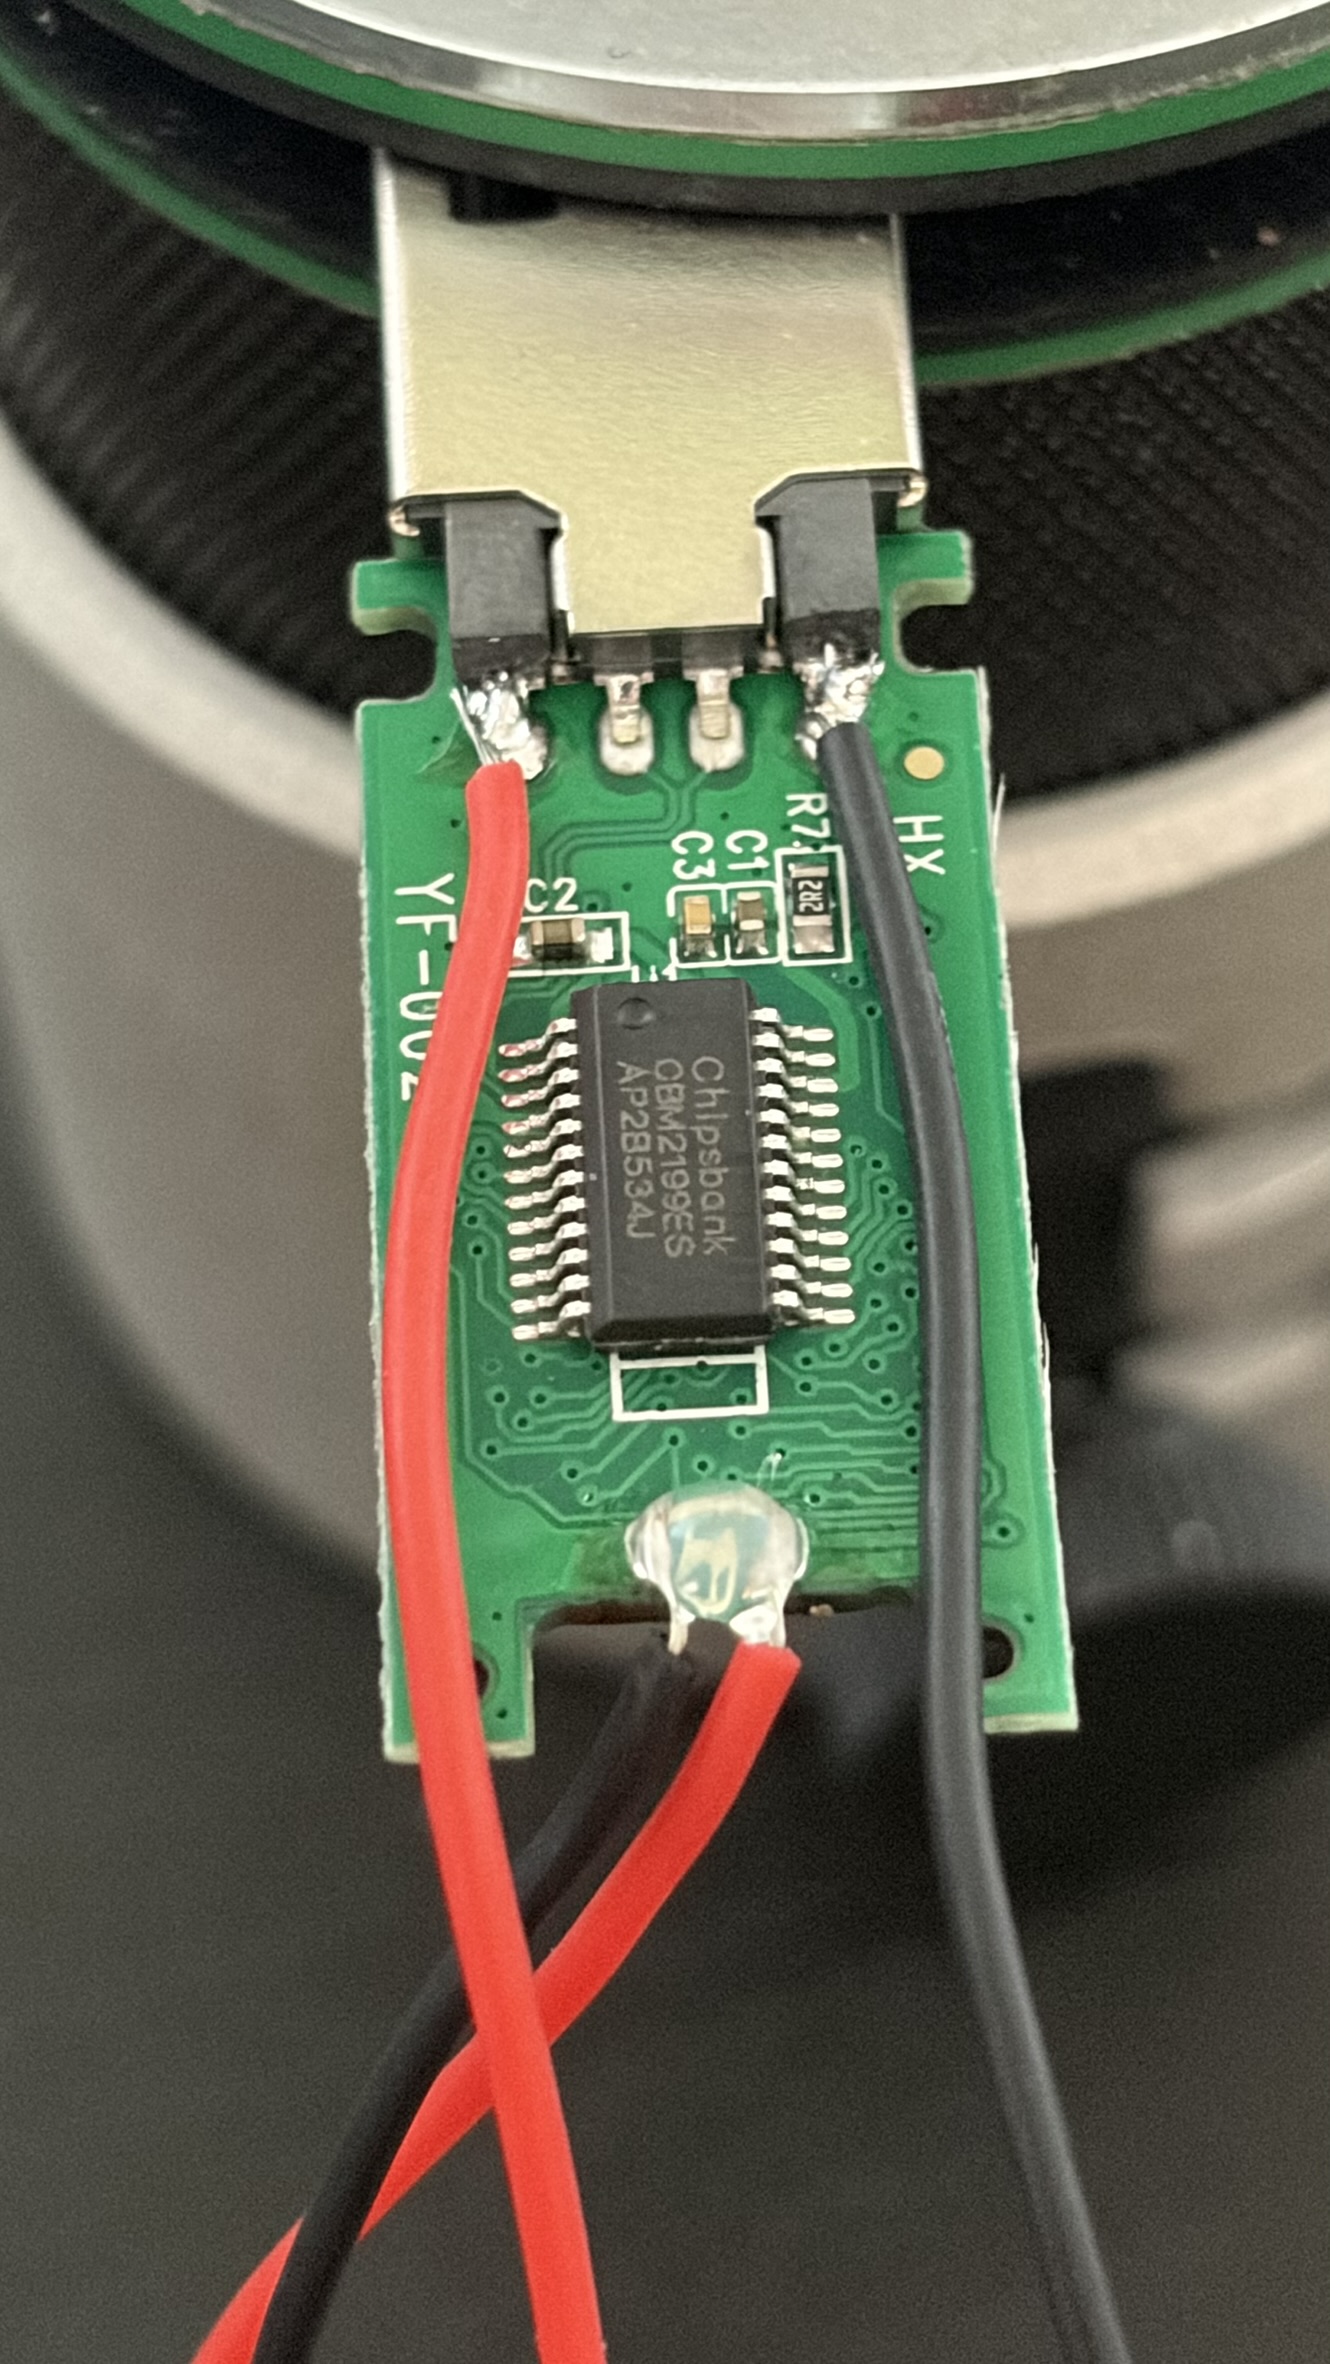
The traditional USB2.0 peripheral has a VBUS (5V), GND, D+ and D- pin. This USB also has an LED that connects to the D+/D- pin (G1) that signals data transfer.
We can use both of these to integrate into the cat's functionality.
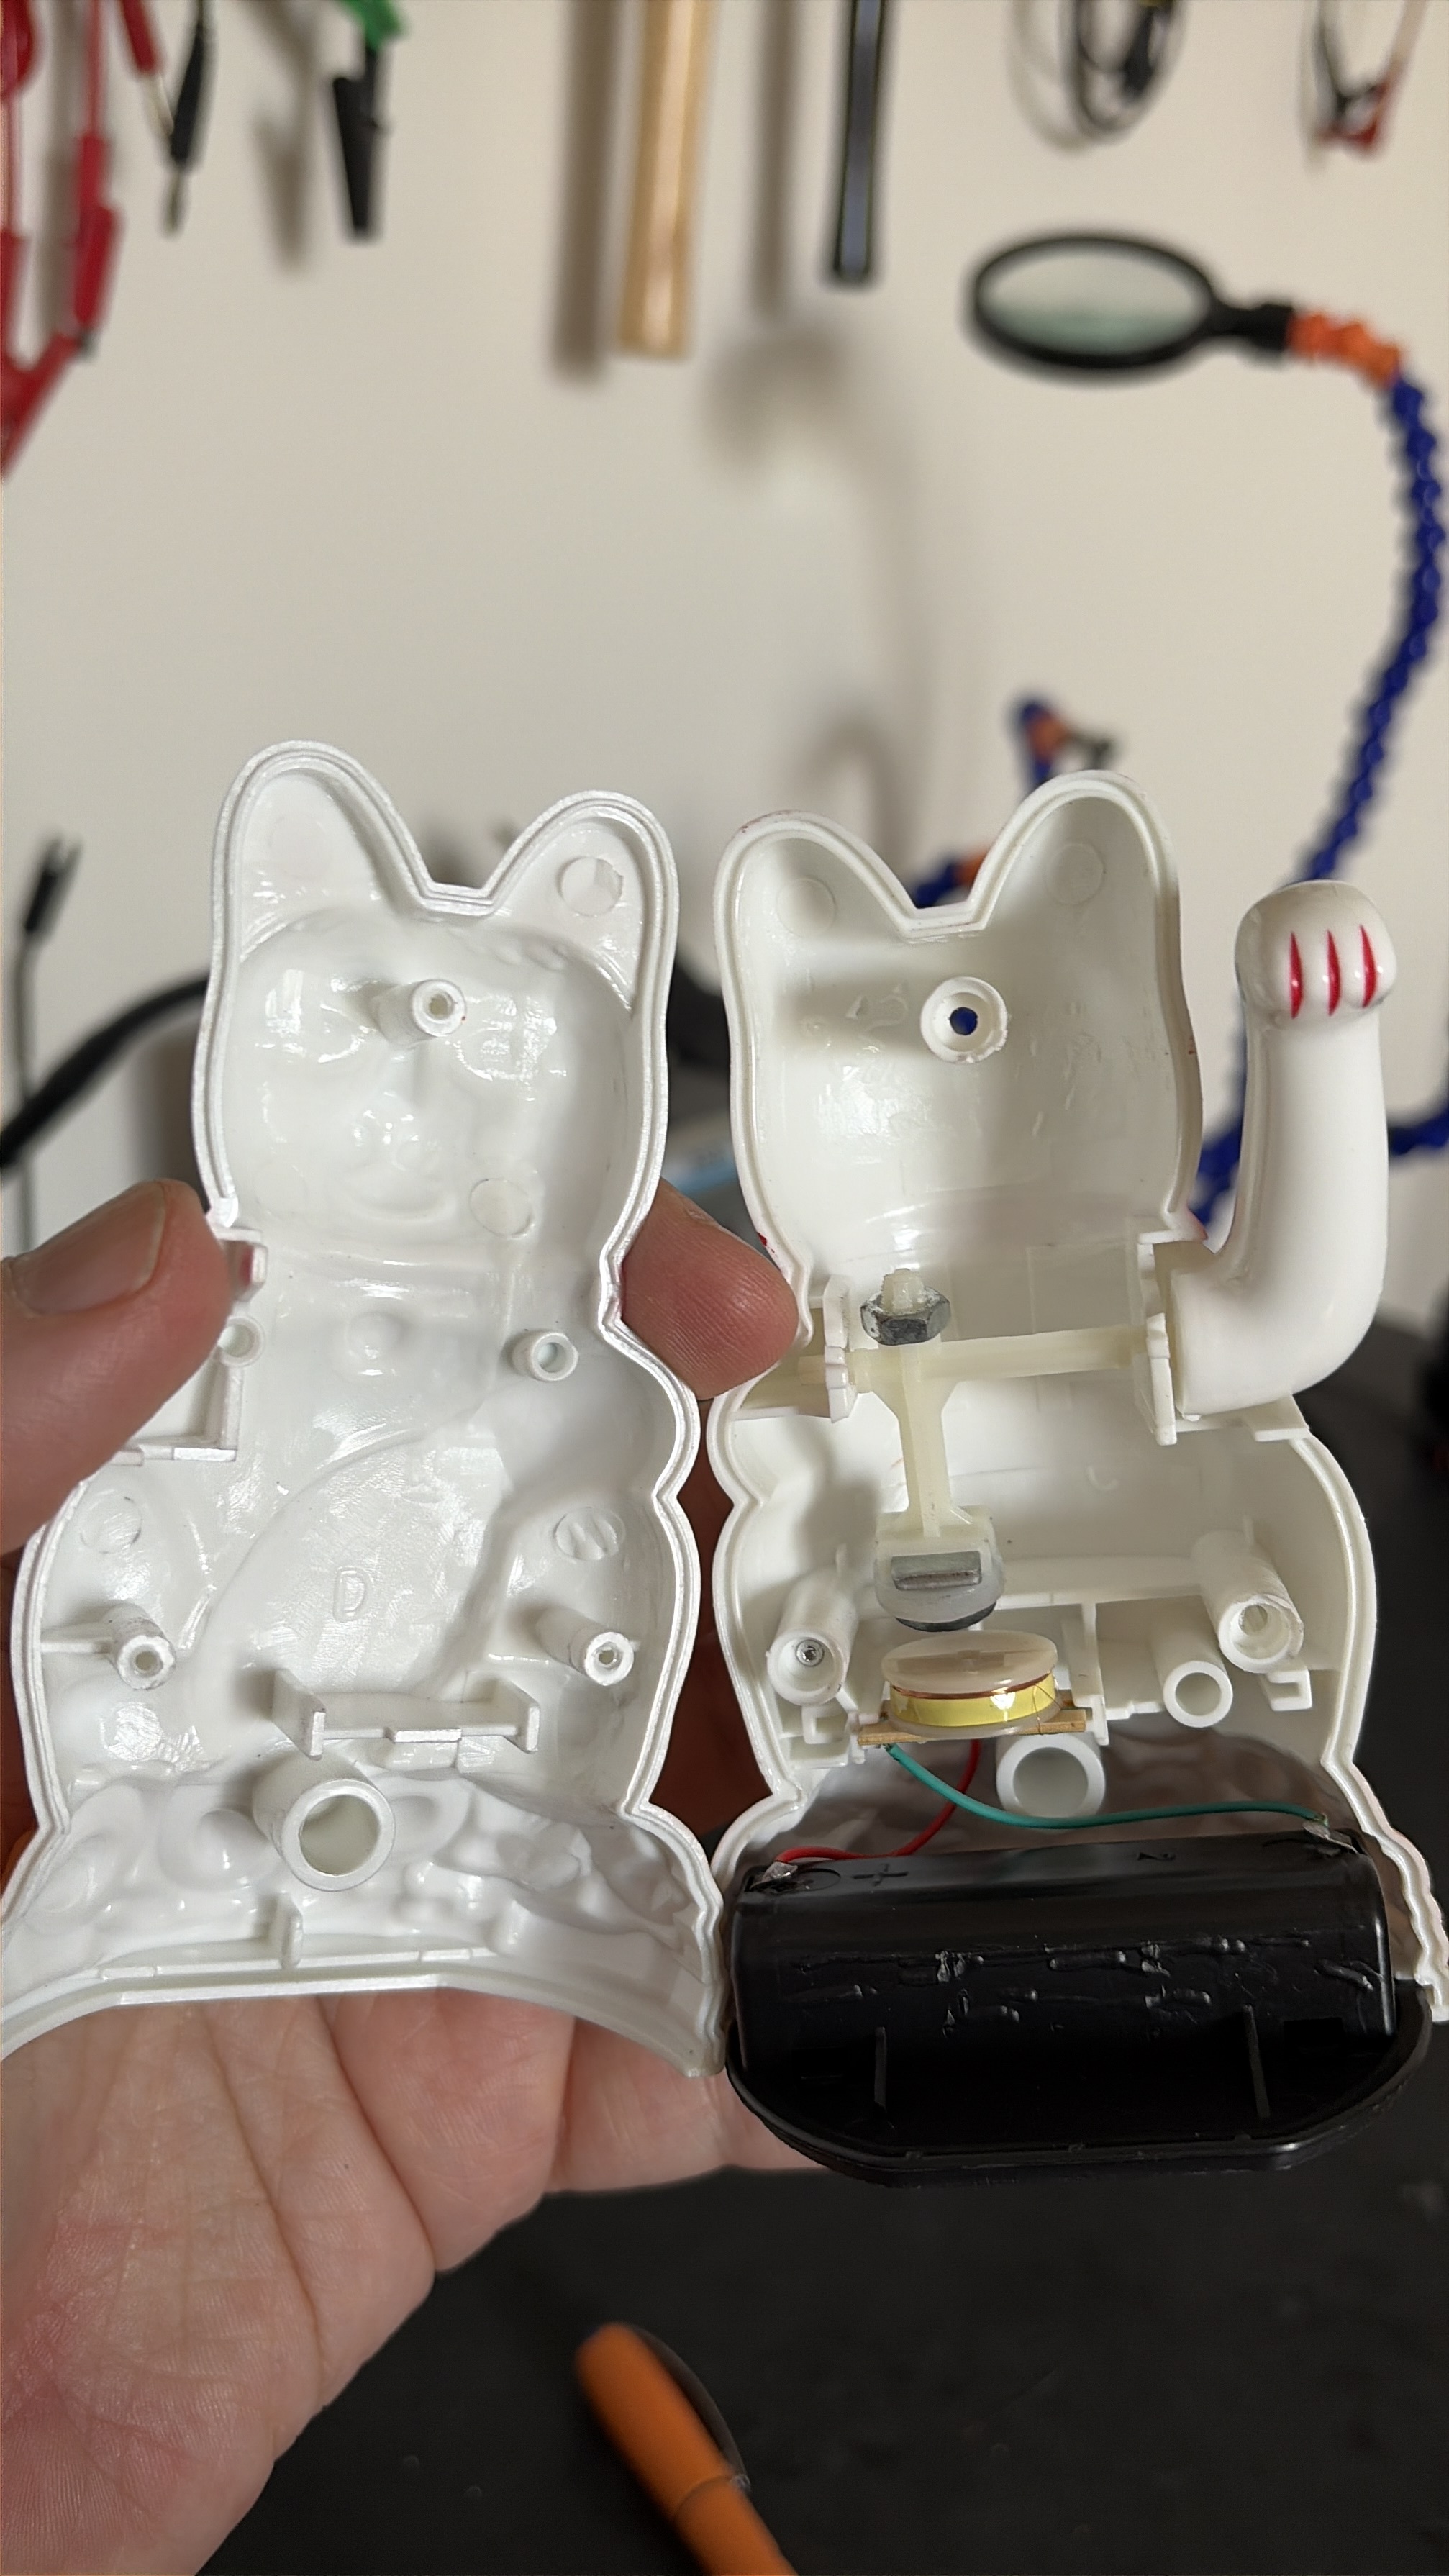
The cat's arm is propelled by the little coil and the magnet pendulum attached to the arm. Previously, the battery installed in the bottom of the unit would power the coil, magnetizing it and pushing the battery away ad-infinitum. Because there will be no battery in this implementation, we'll have to draw power to the coil from somewhere in the USB.
All of the components here, not including resistors.
Mounting Components
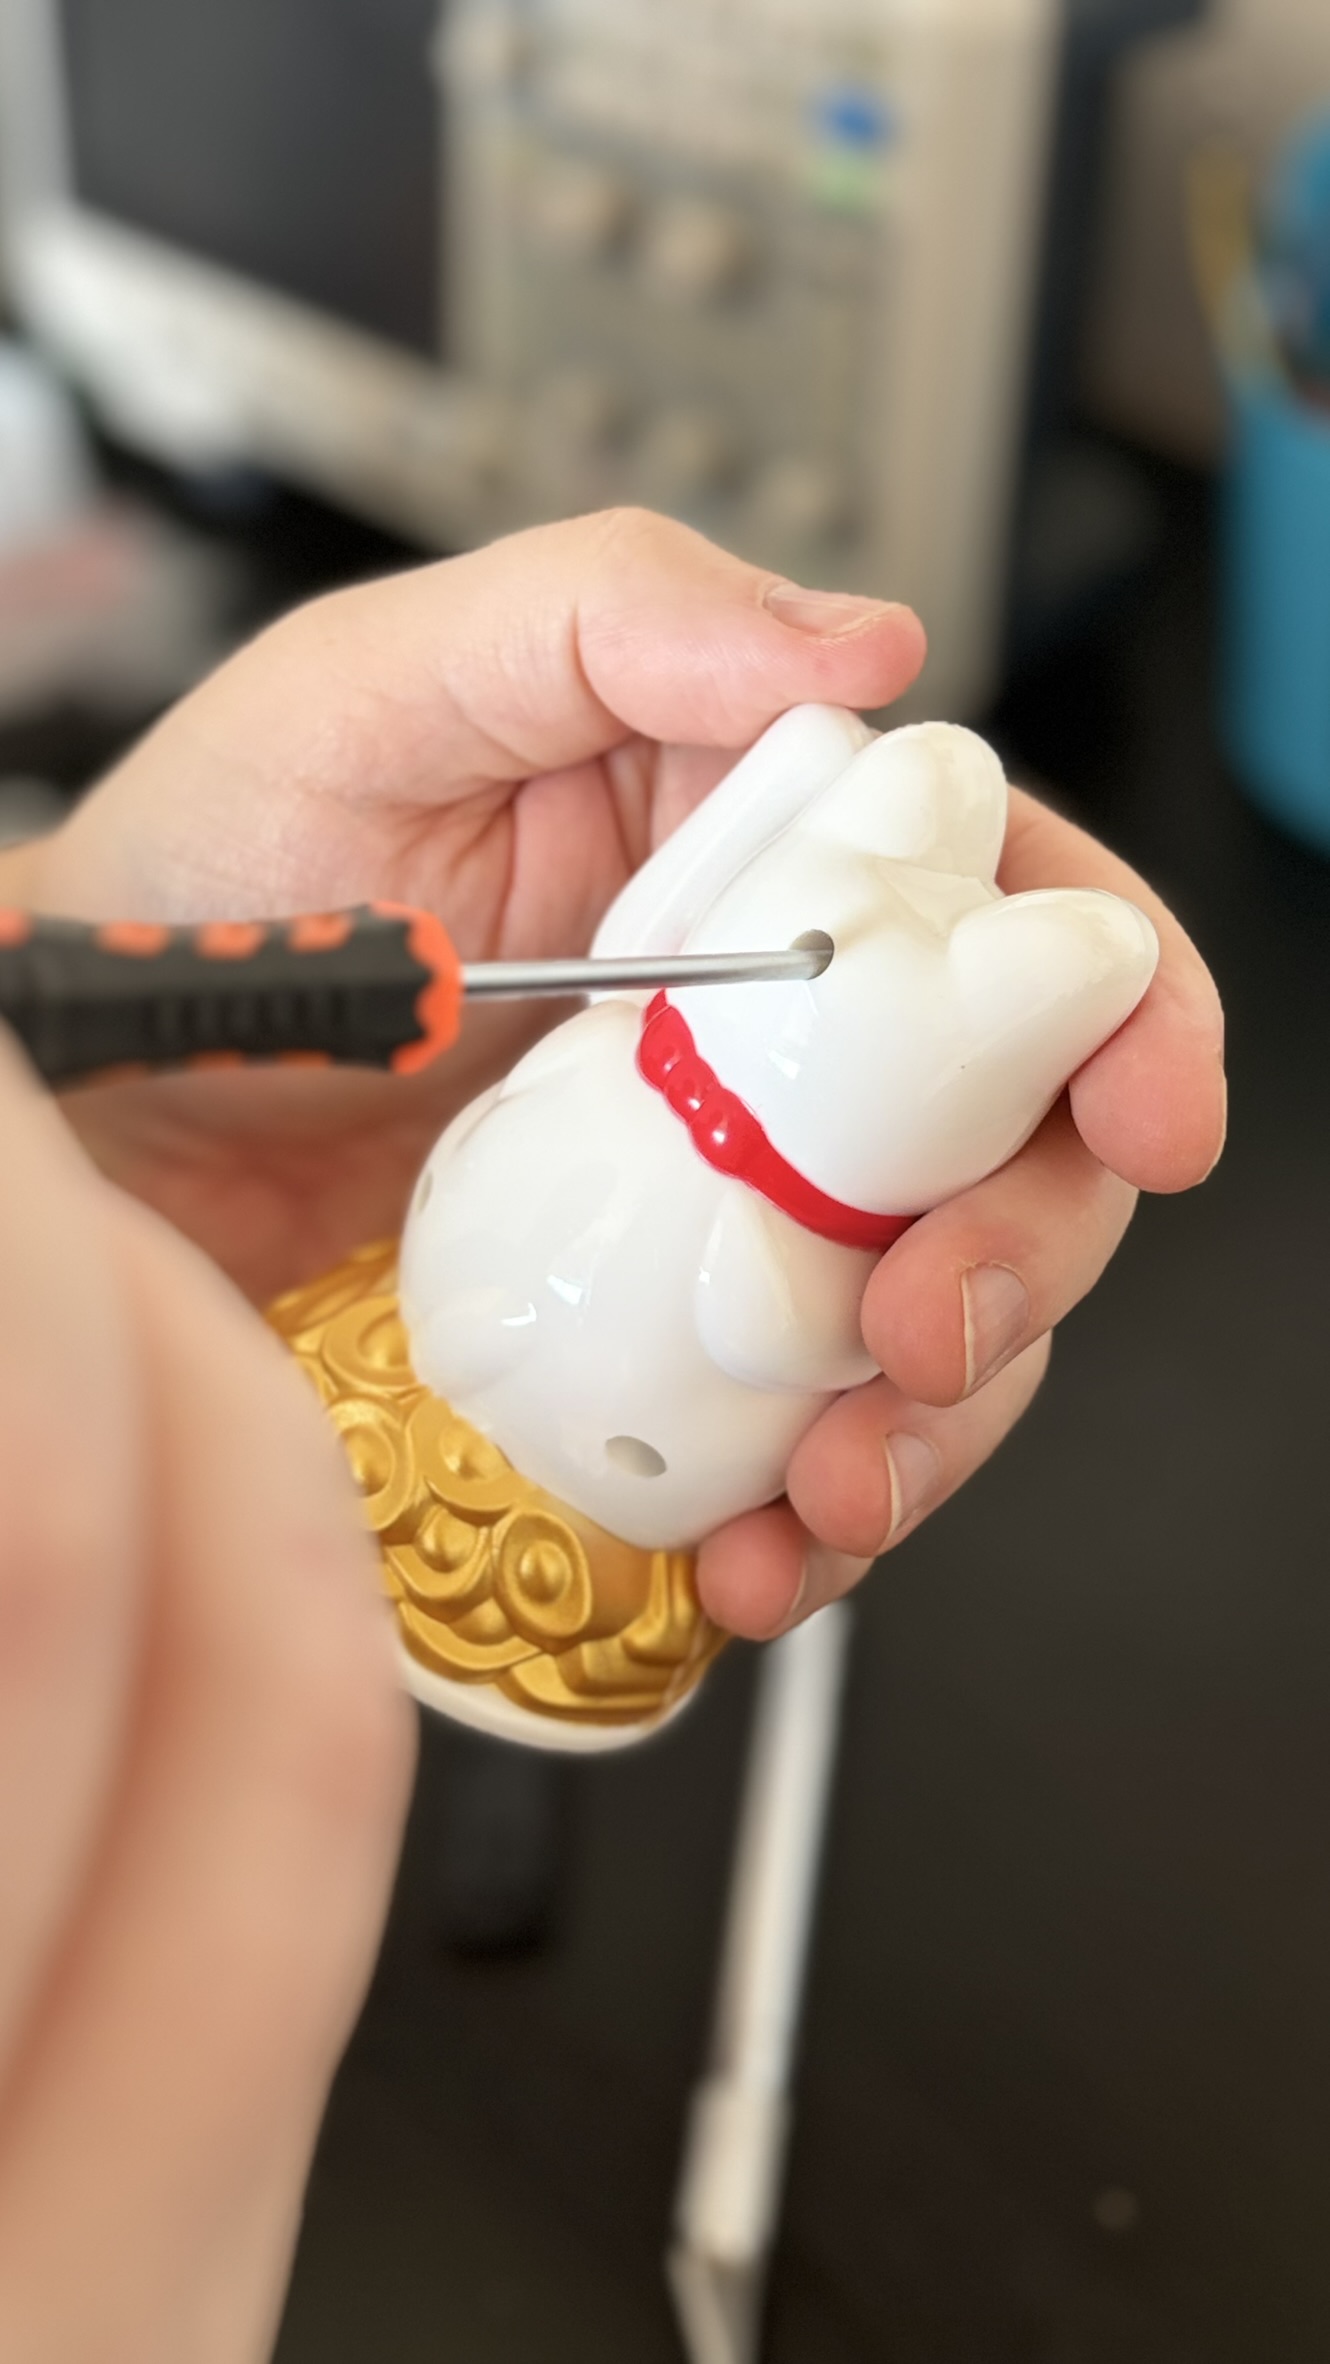
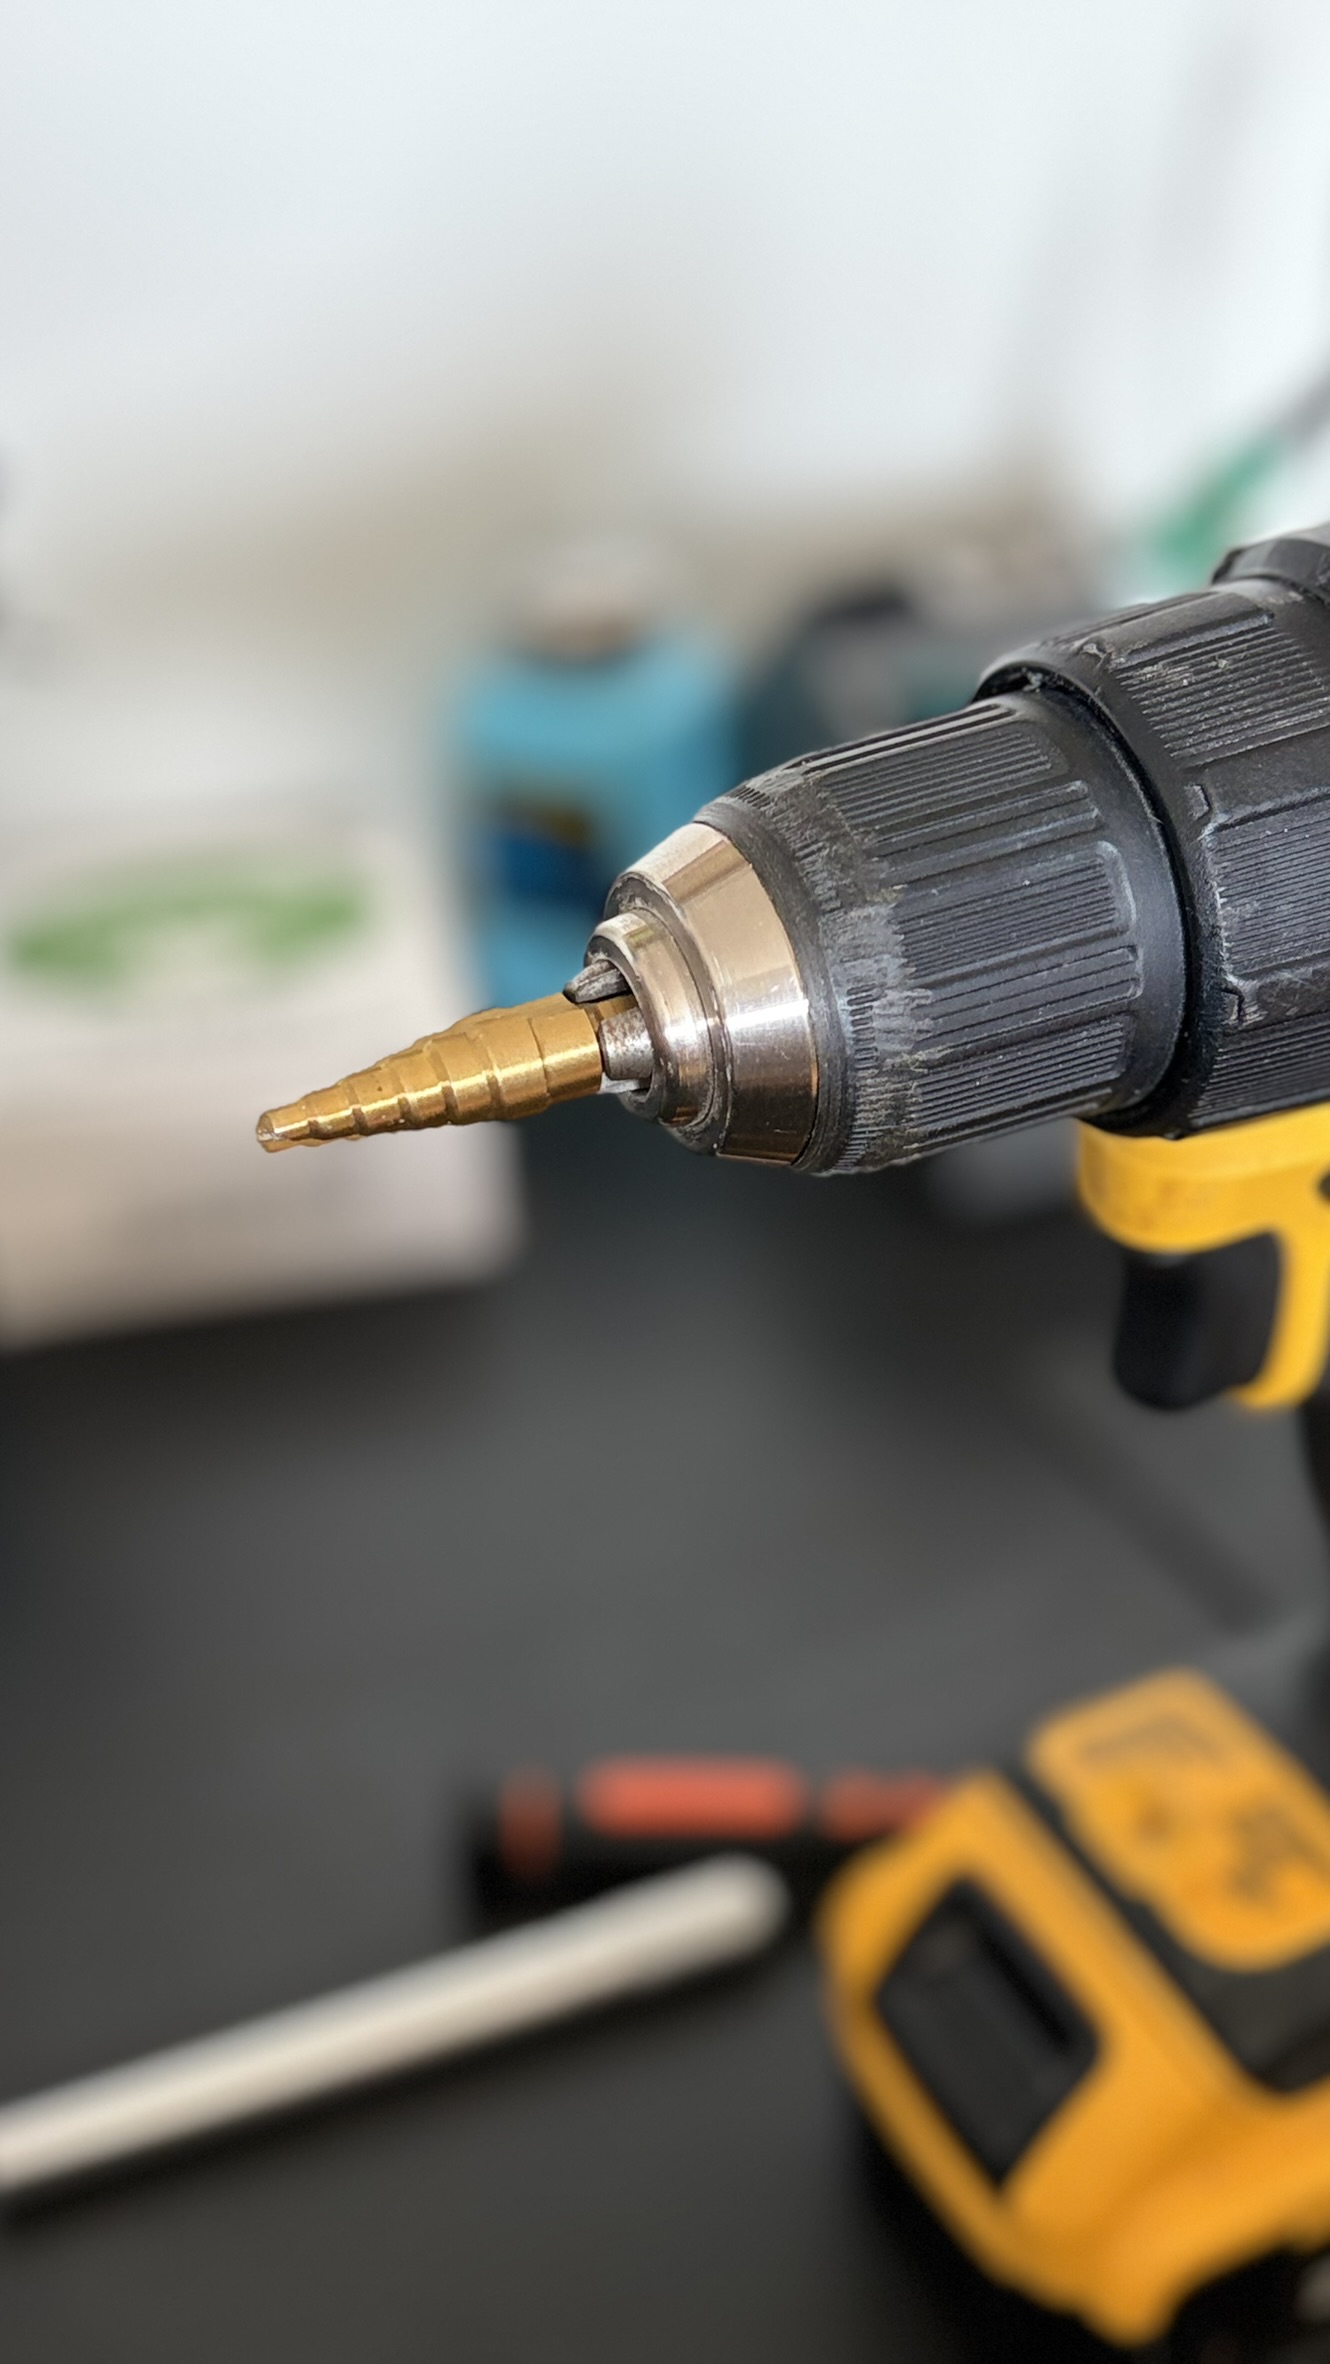
I've found the step drill bit is the best thing for working with plastic. It clears material easy and stays centered due to the staggered steps.
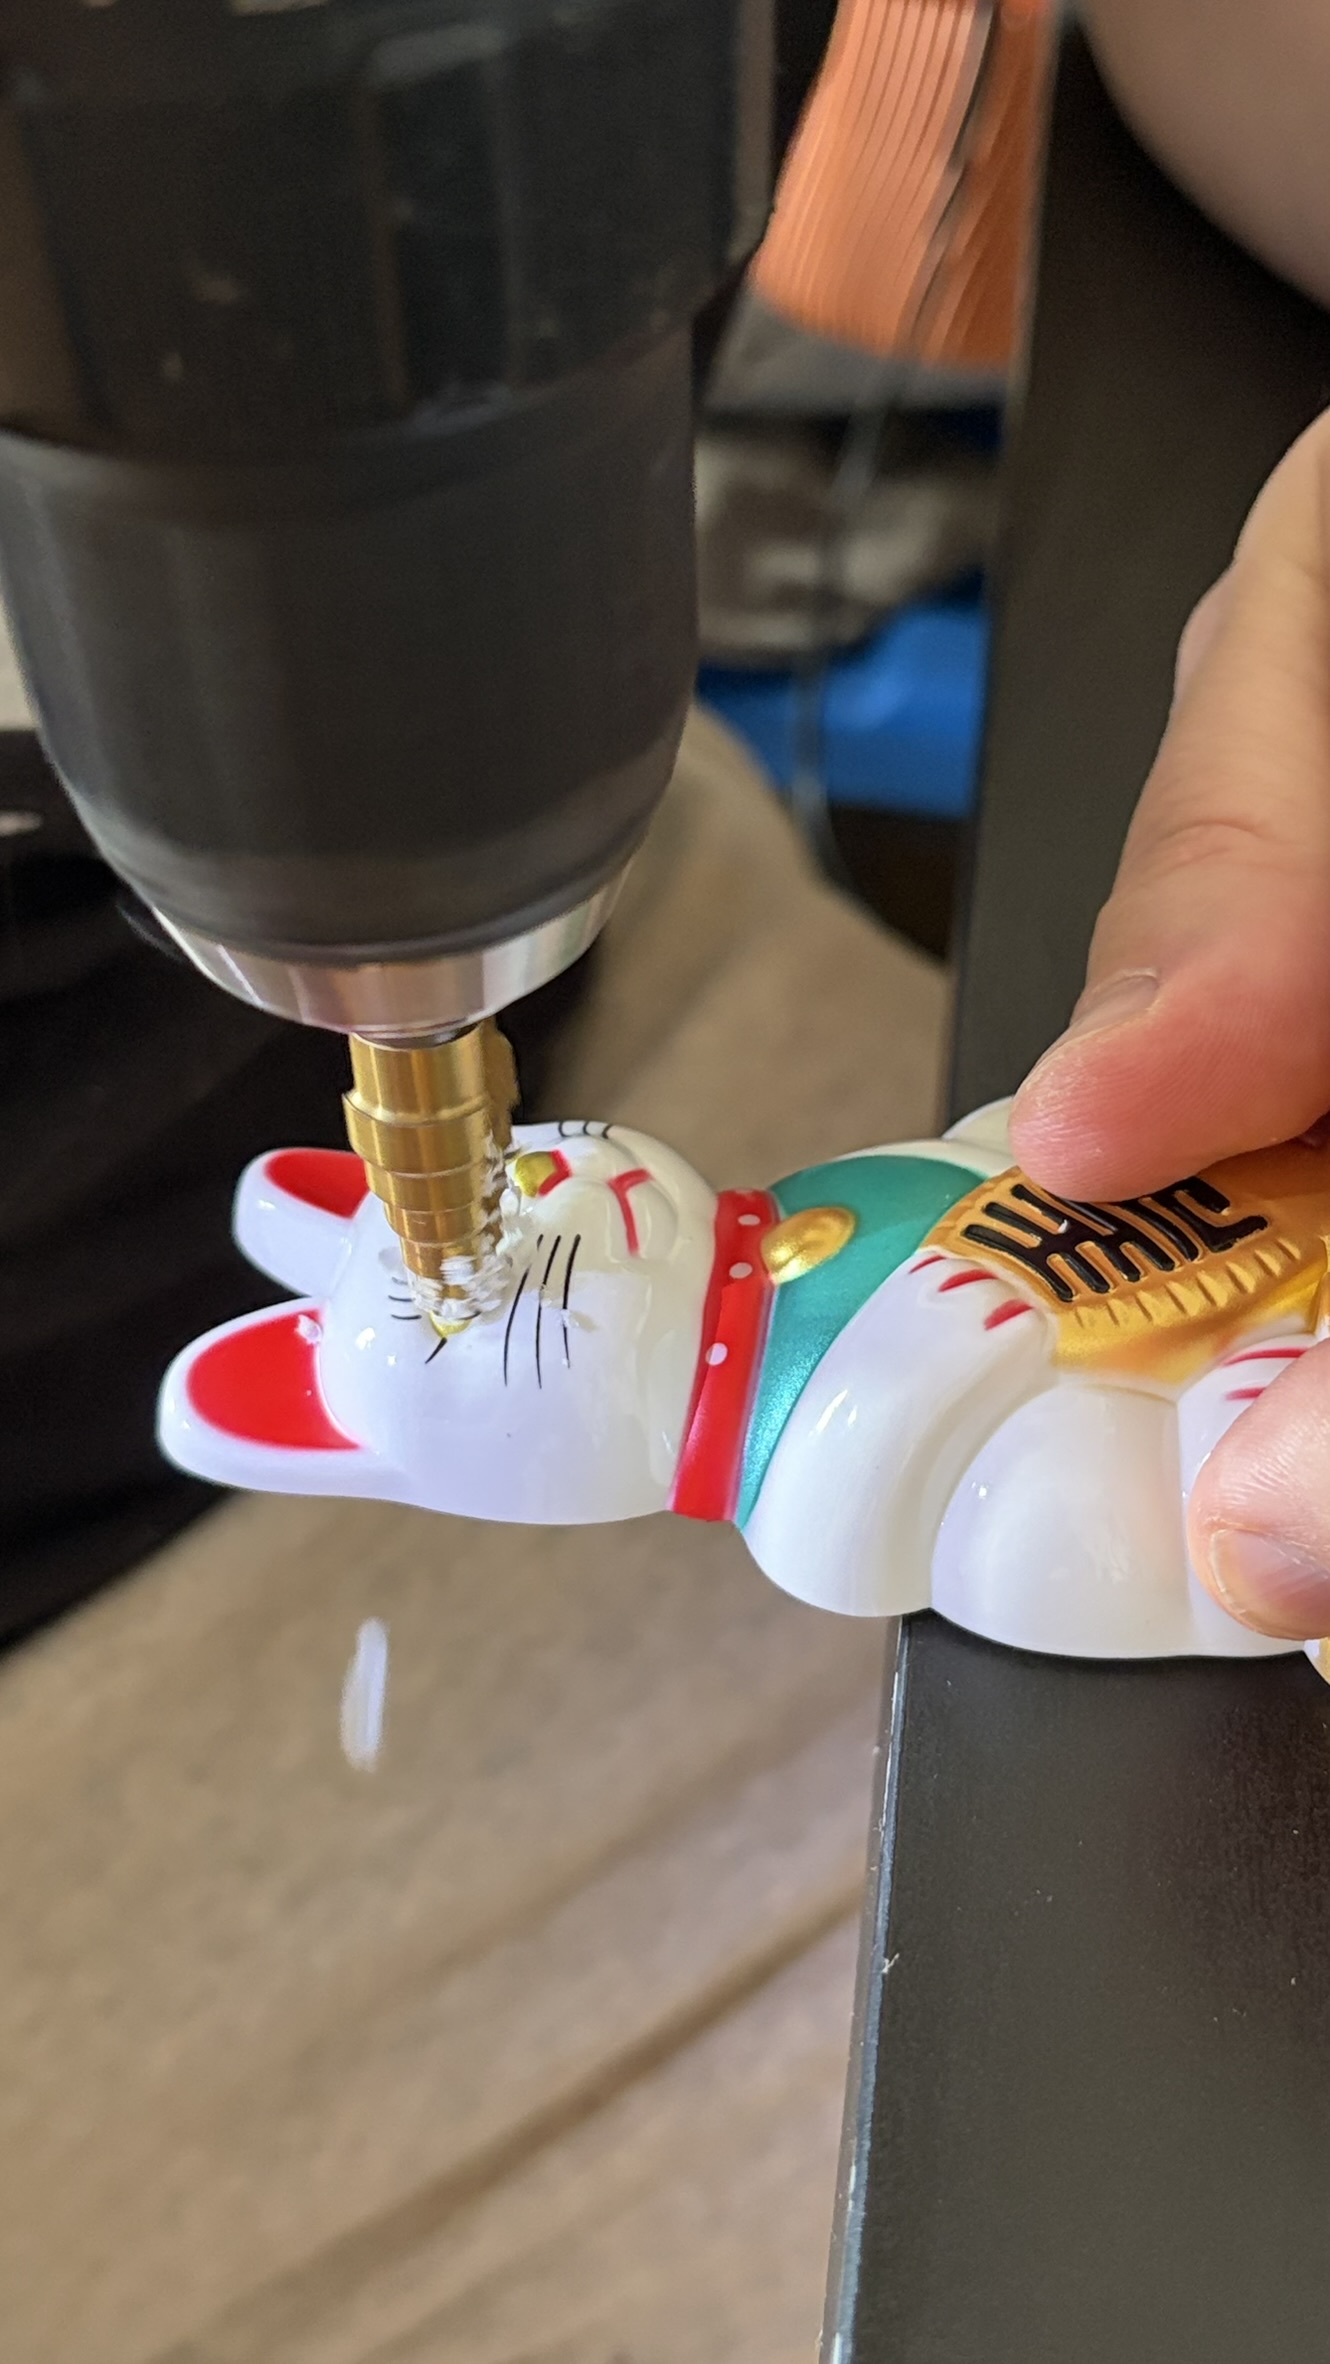
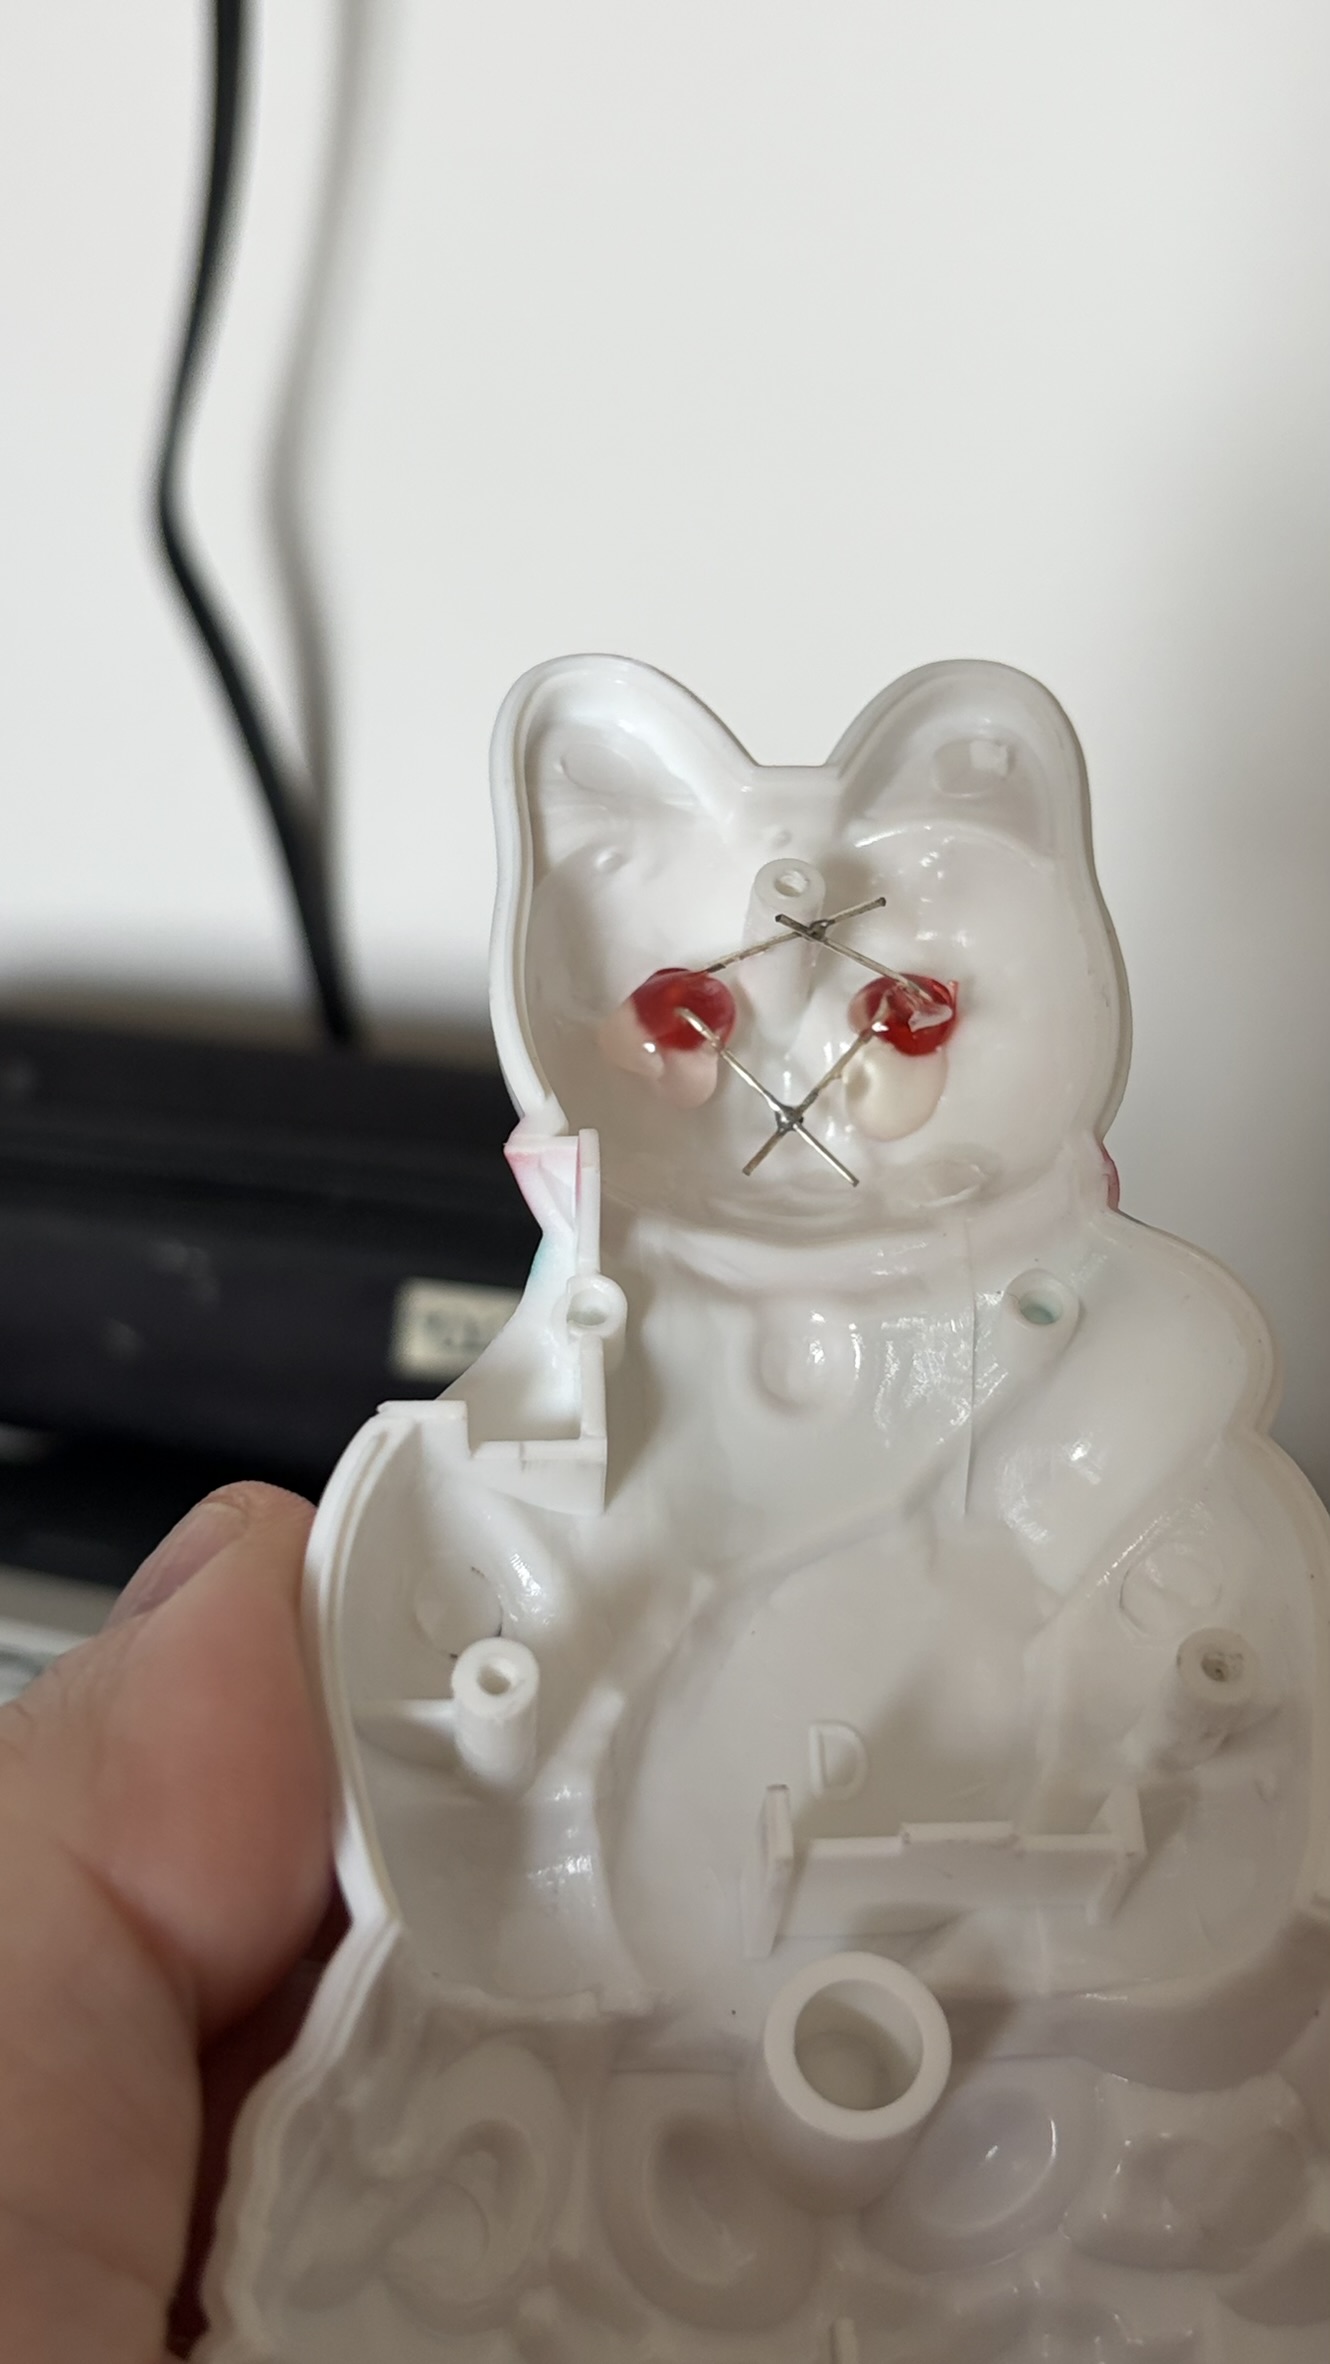
A little hot glue on top of everything never goes astray.
USB Breakout
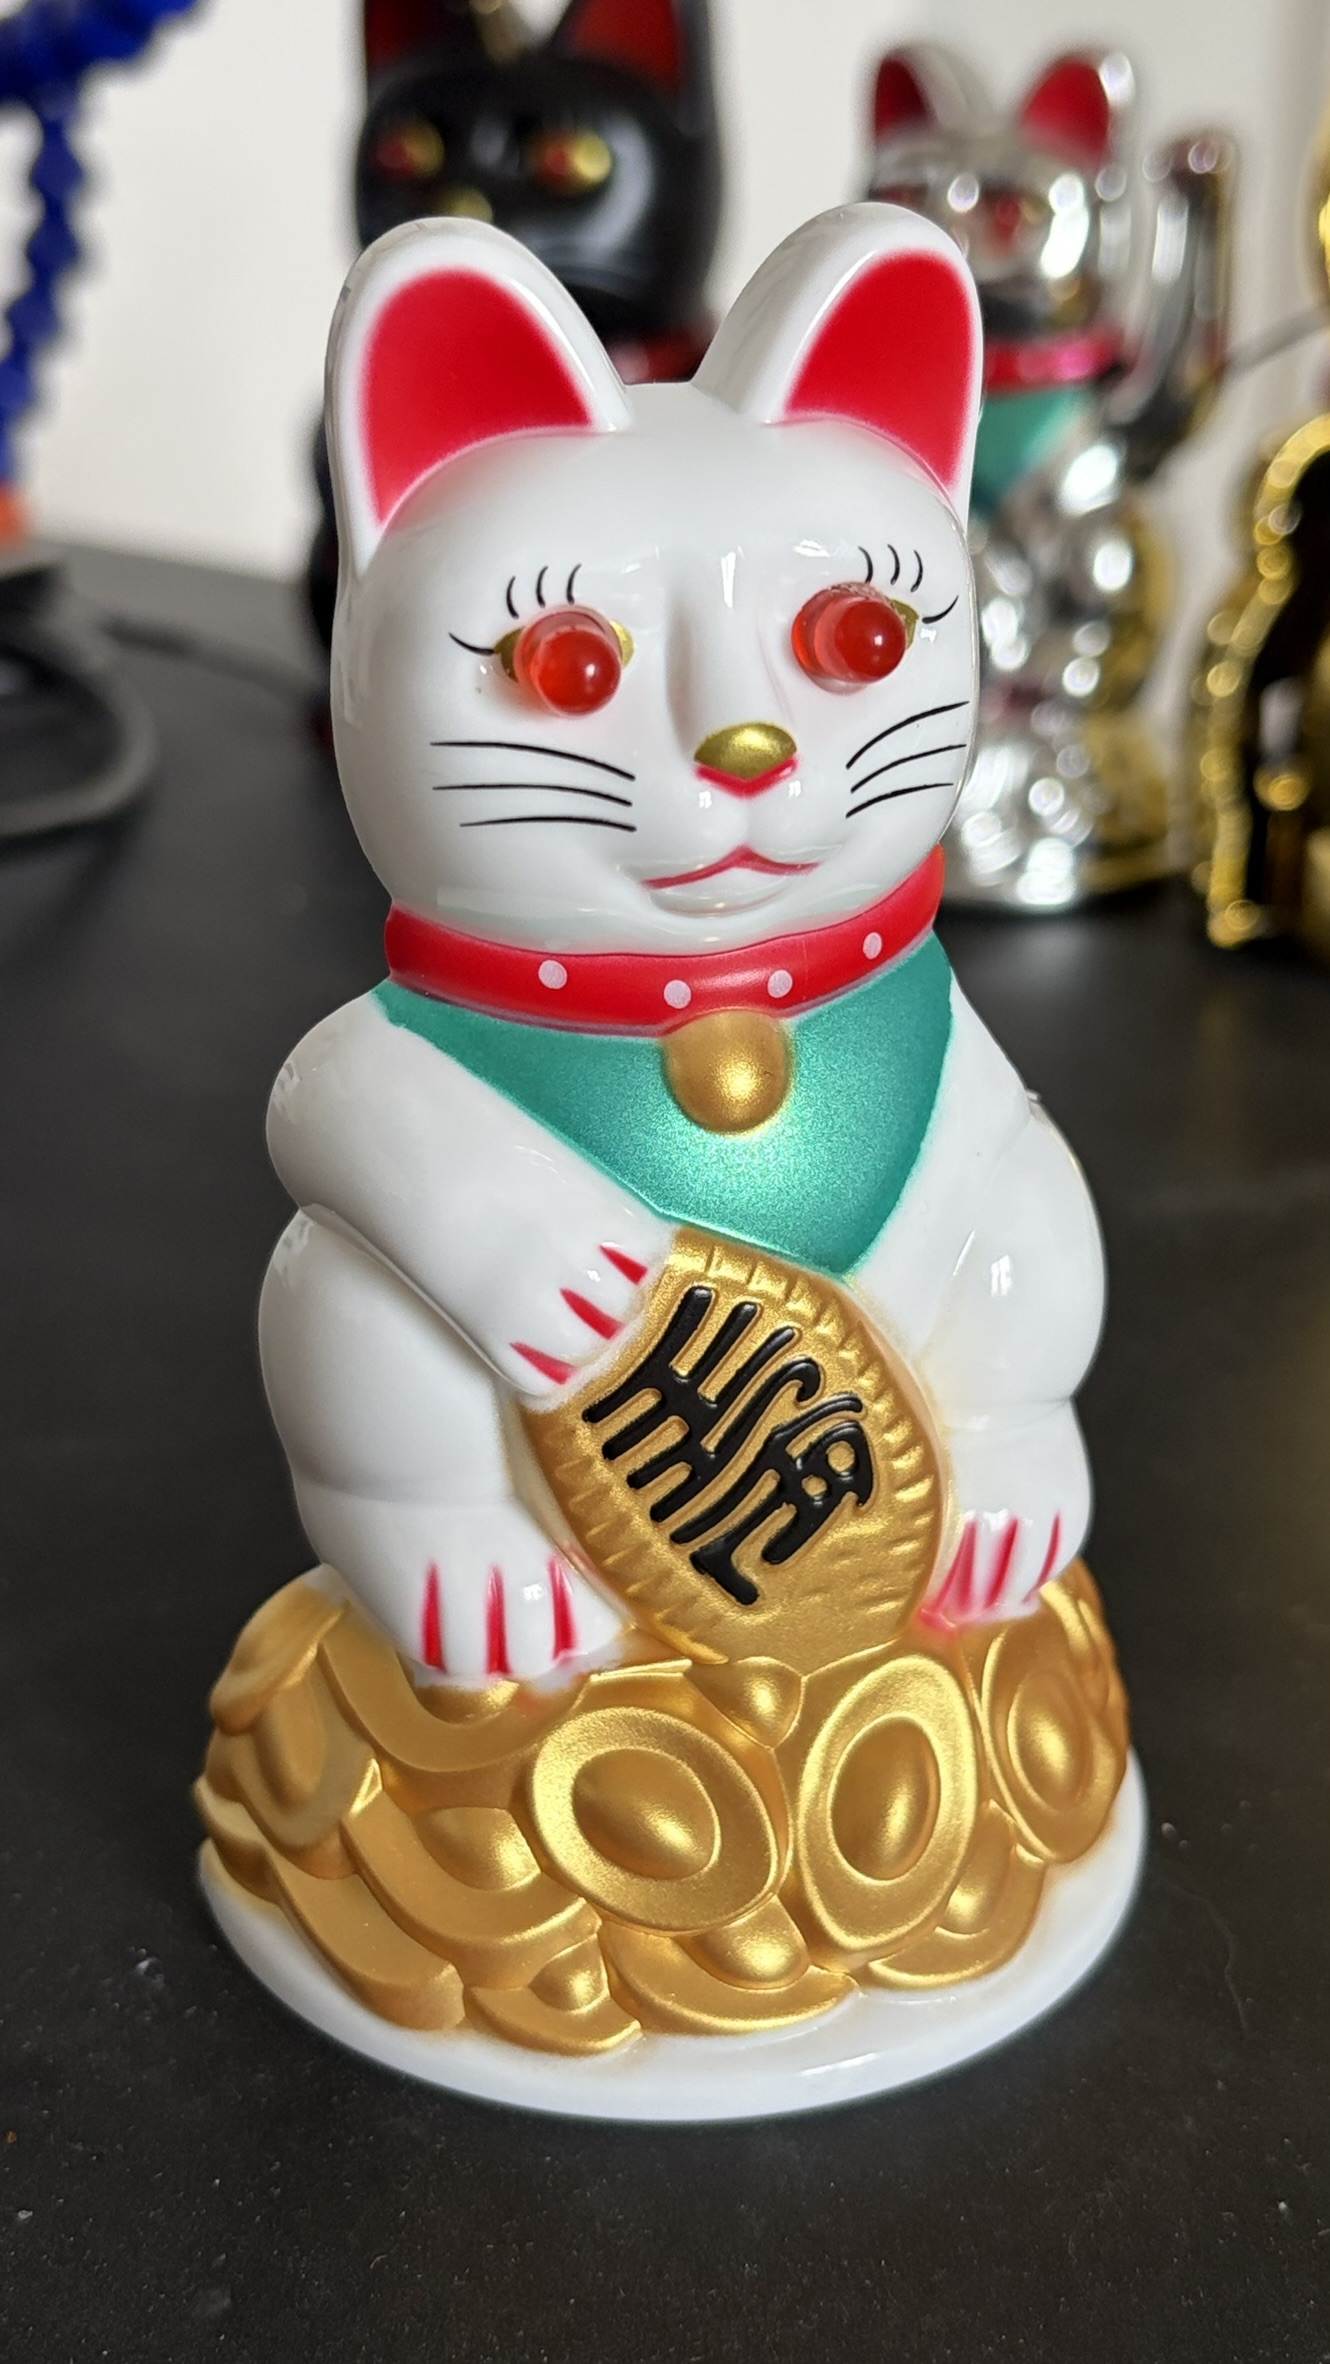
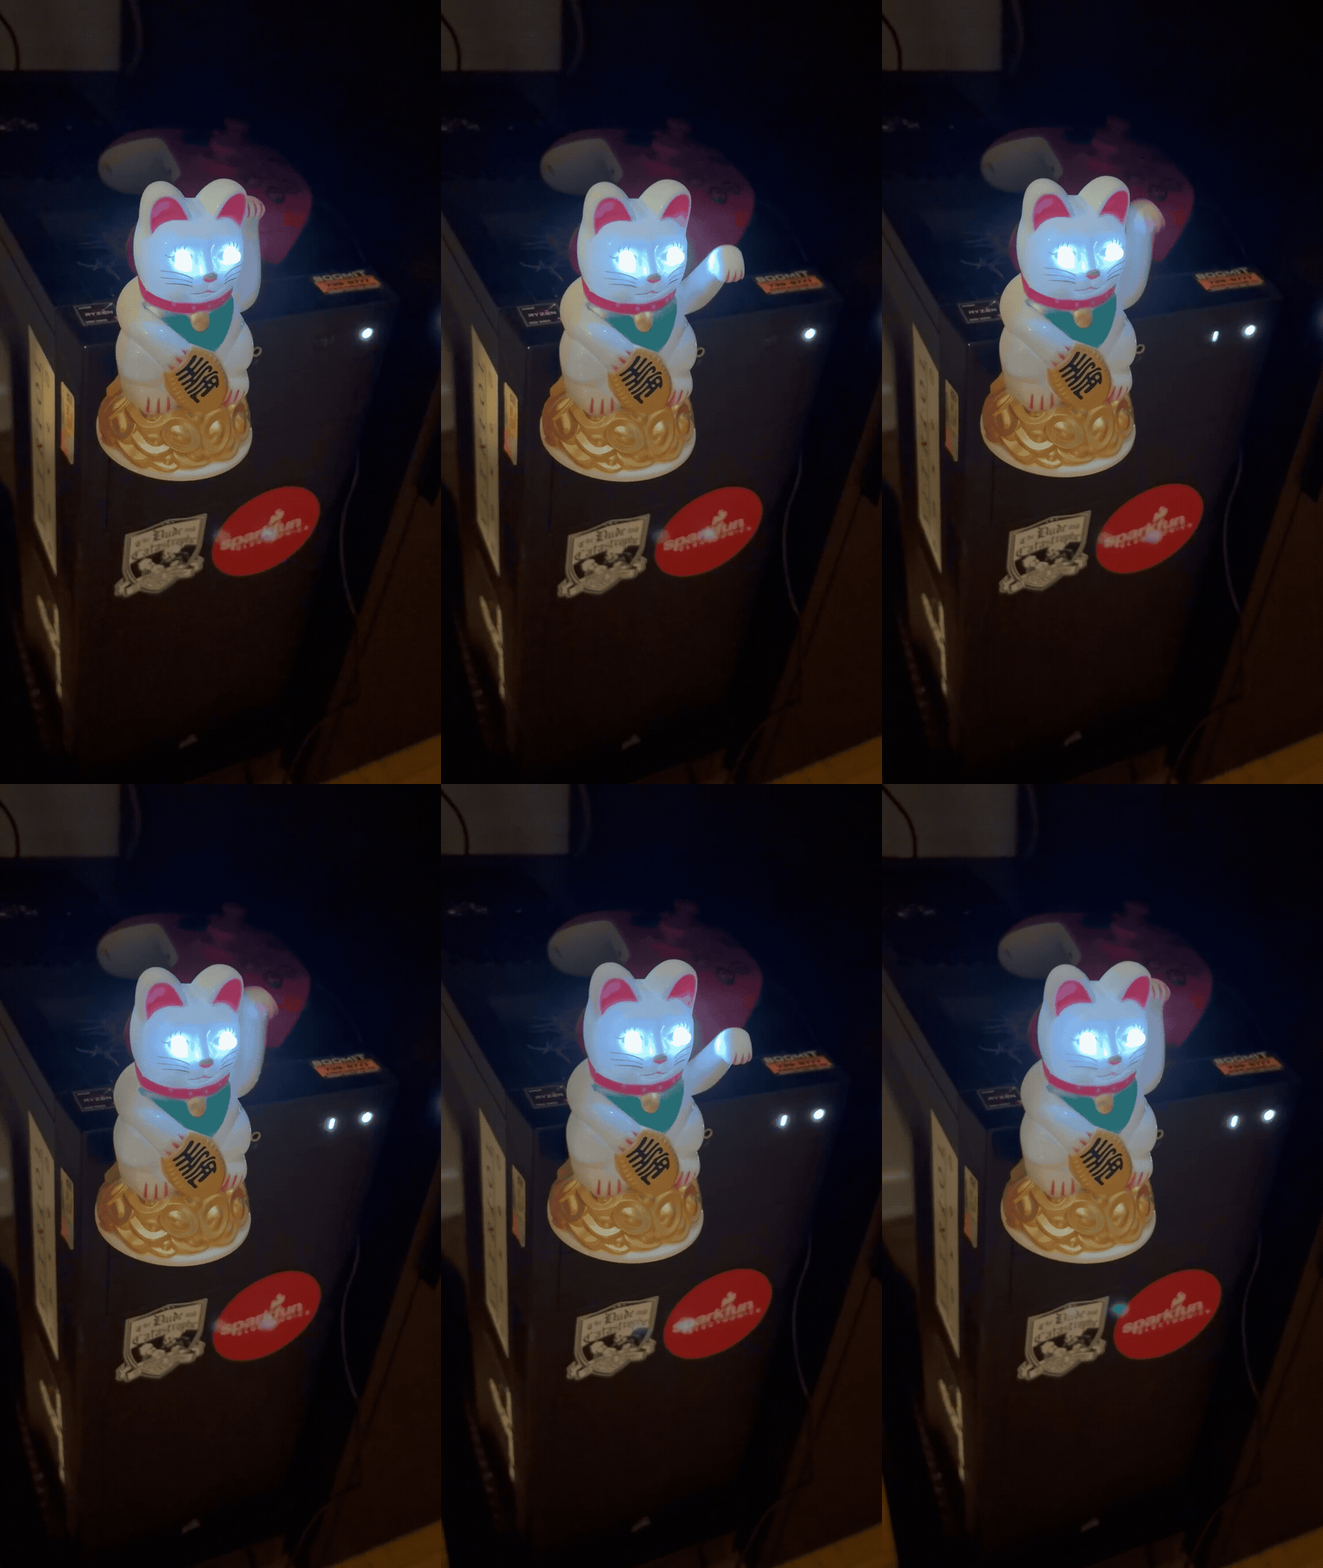
The little LED at G1 can be blown away to the 9th dimension, and the leads jumpered to the cat's eyes. This way, when there's active data transfer on the USB, the eyes will light up instead.
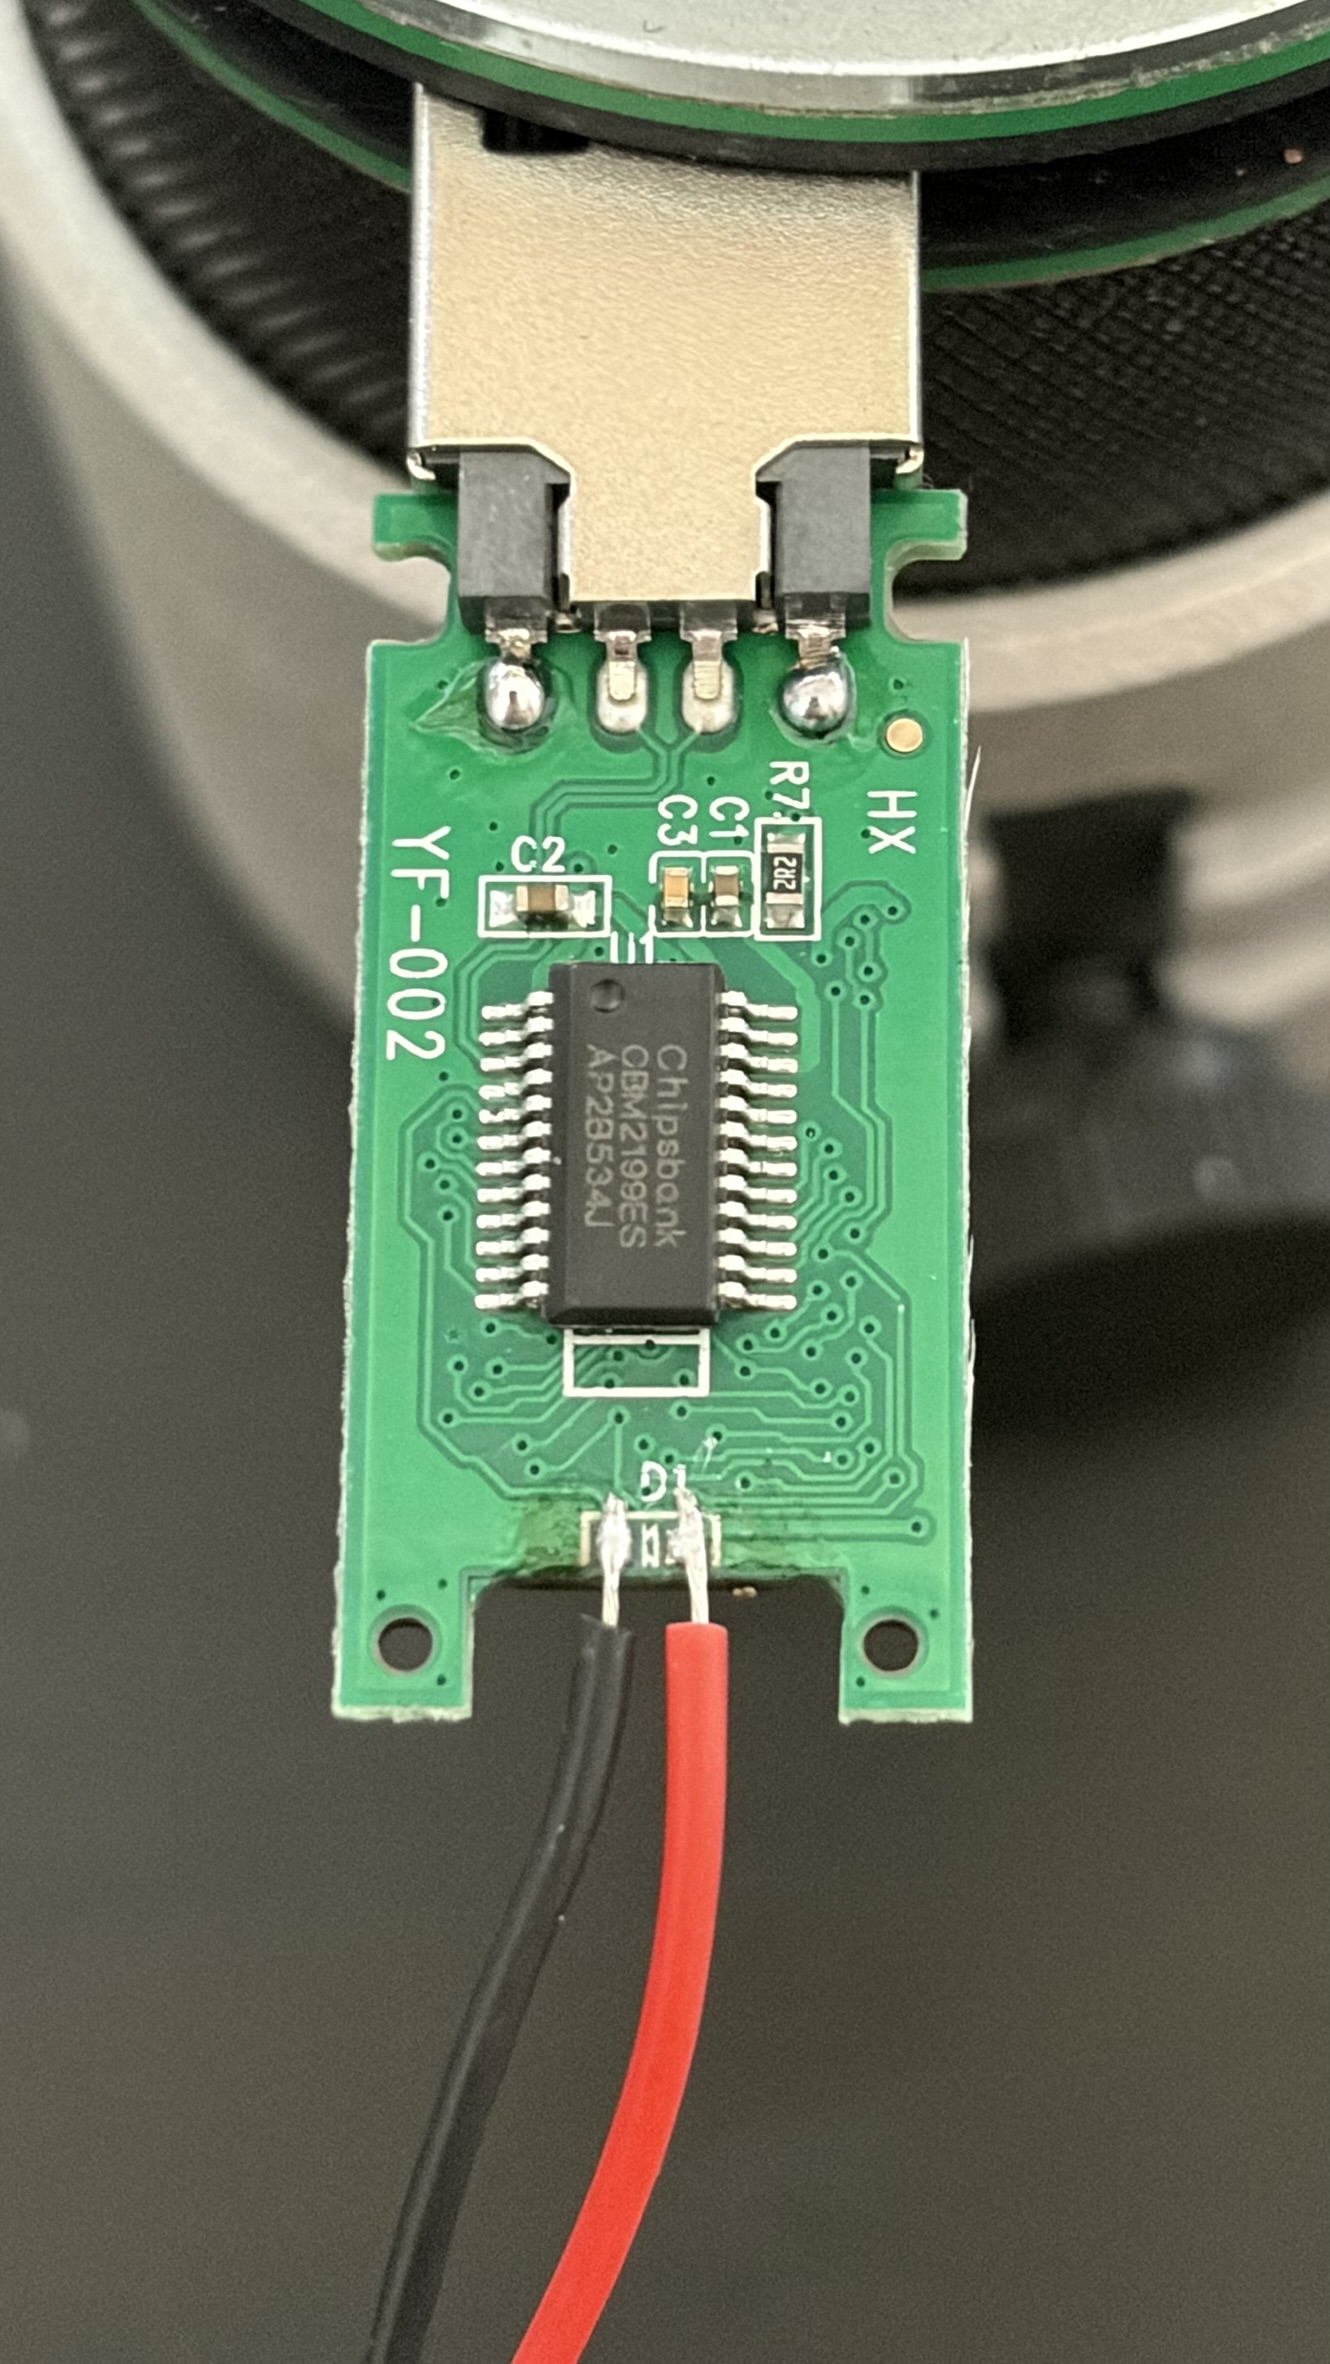
The VBUS and GND pins can be broken out to power the coil. When the USB is connected to the host computer and the 5V is drawn to power the USB, we can siphon a little to power the arm.
USB Mounting
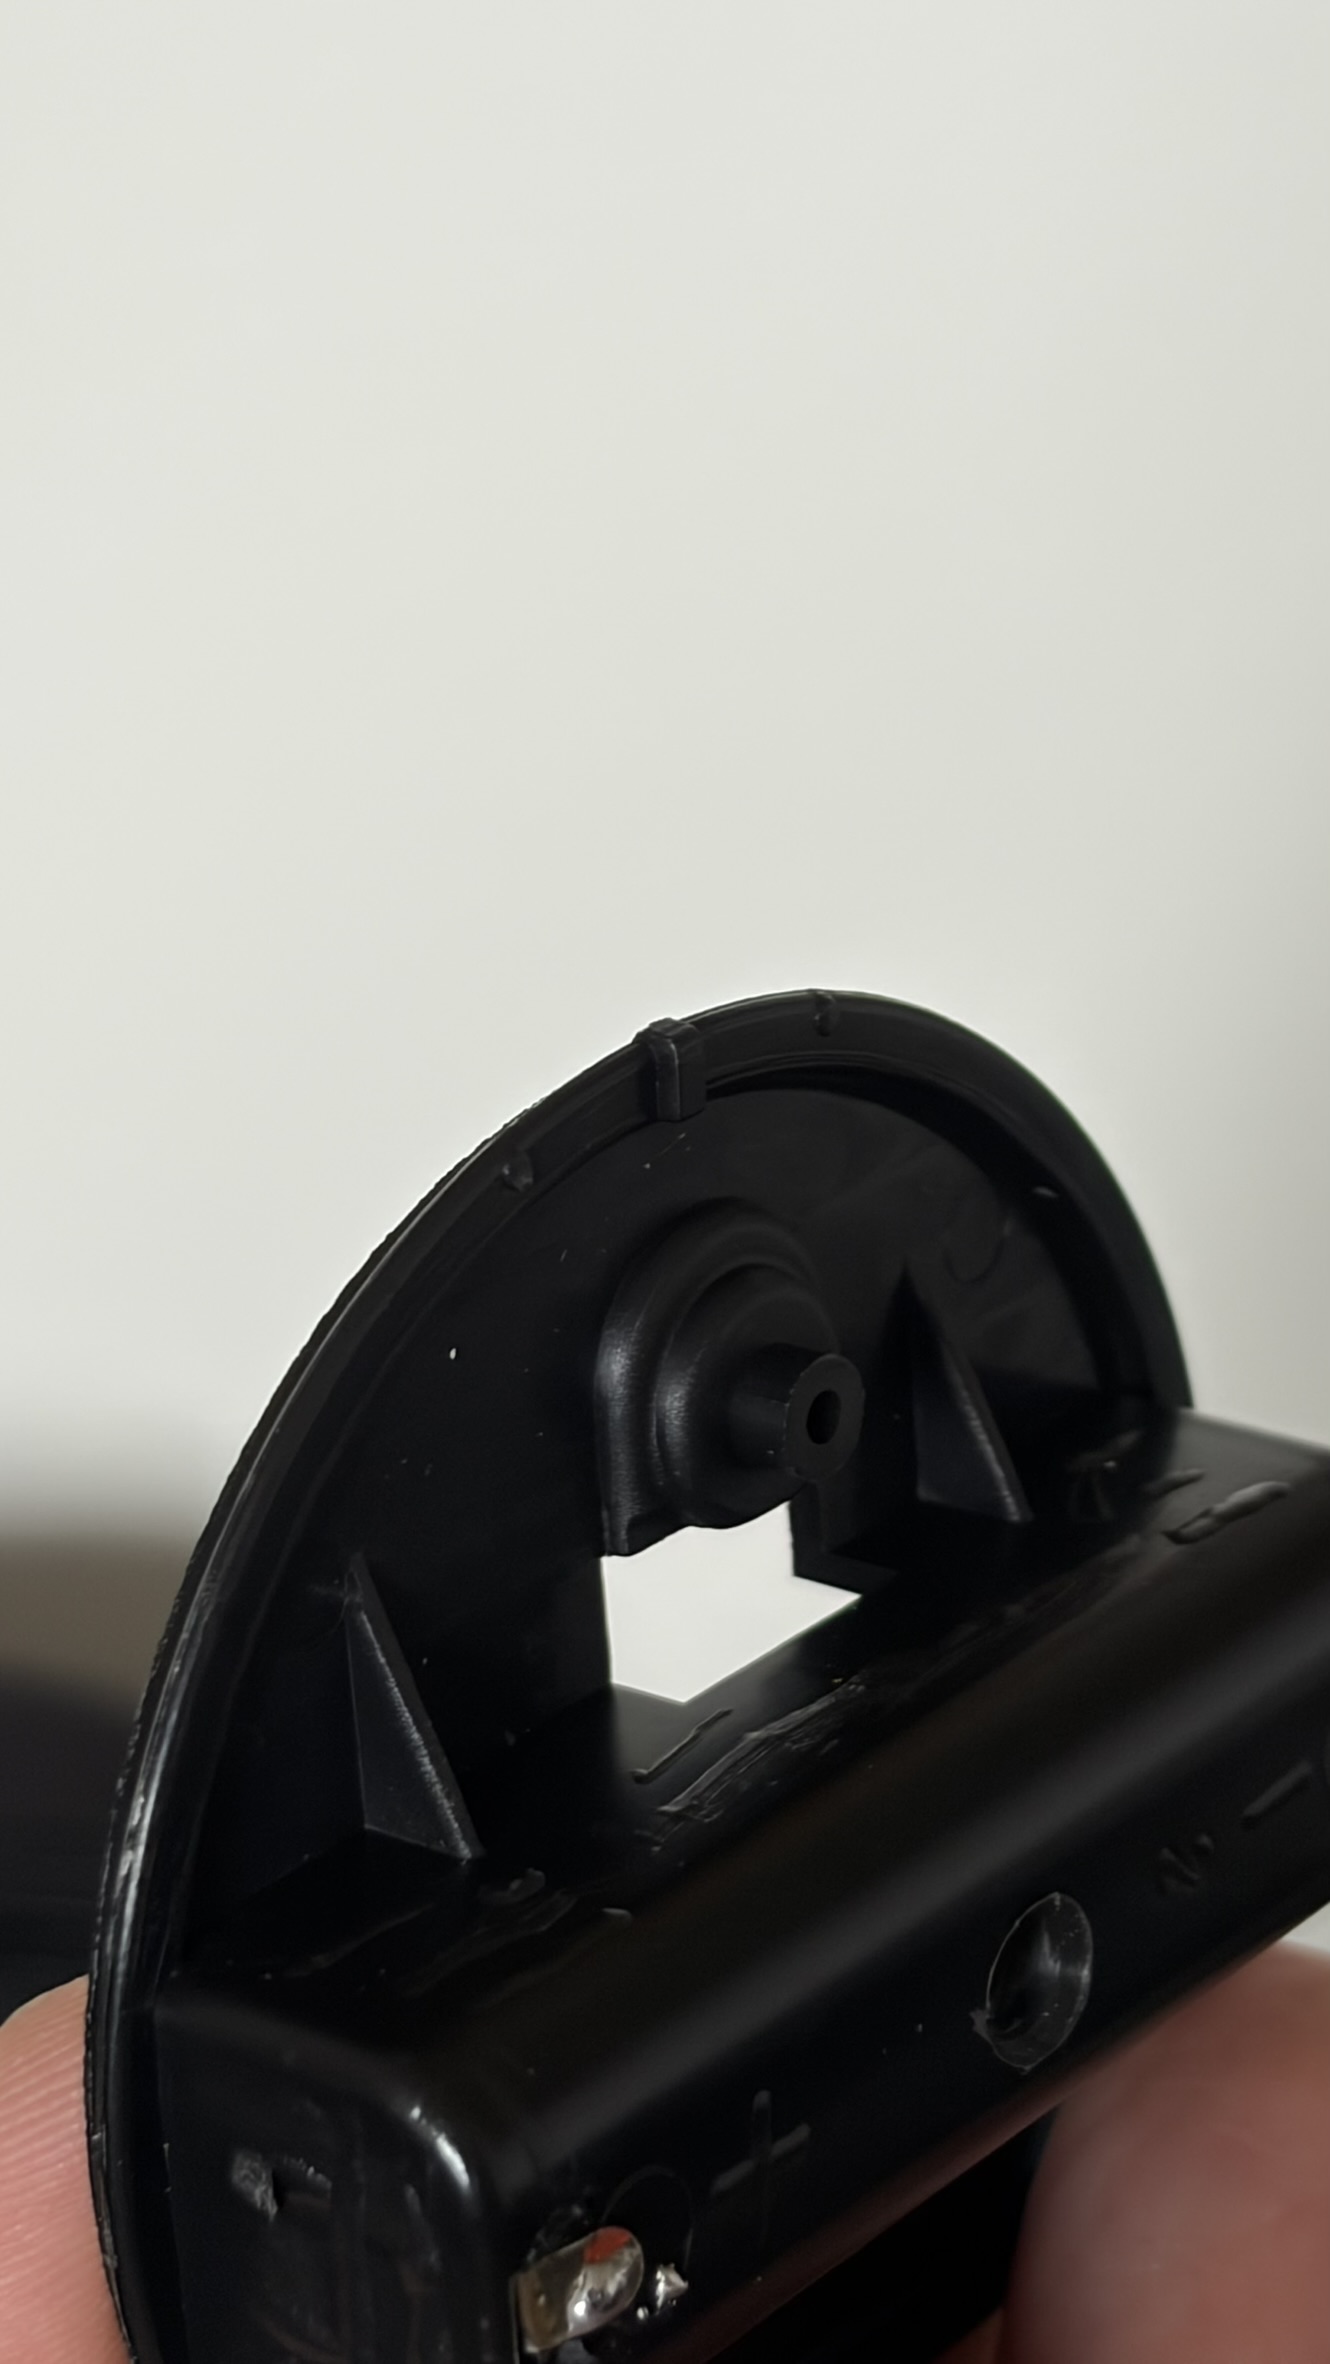
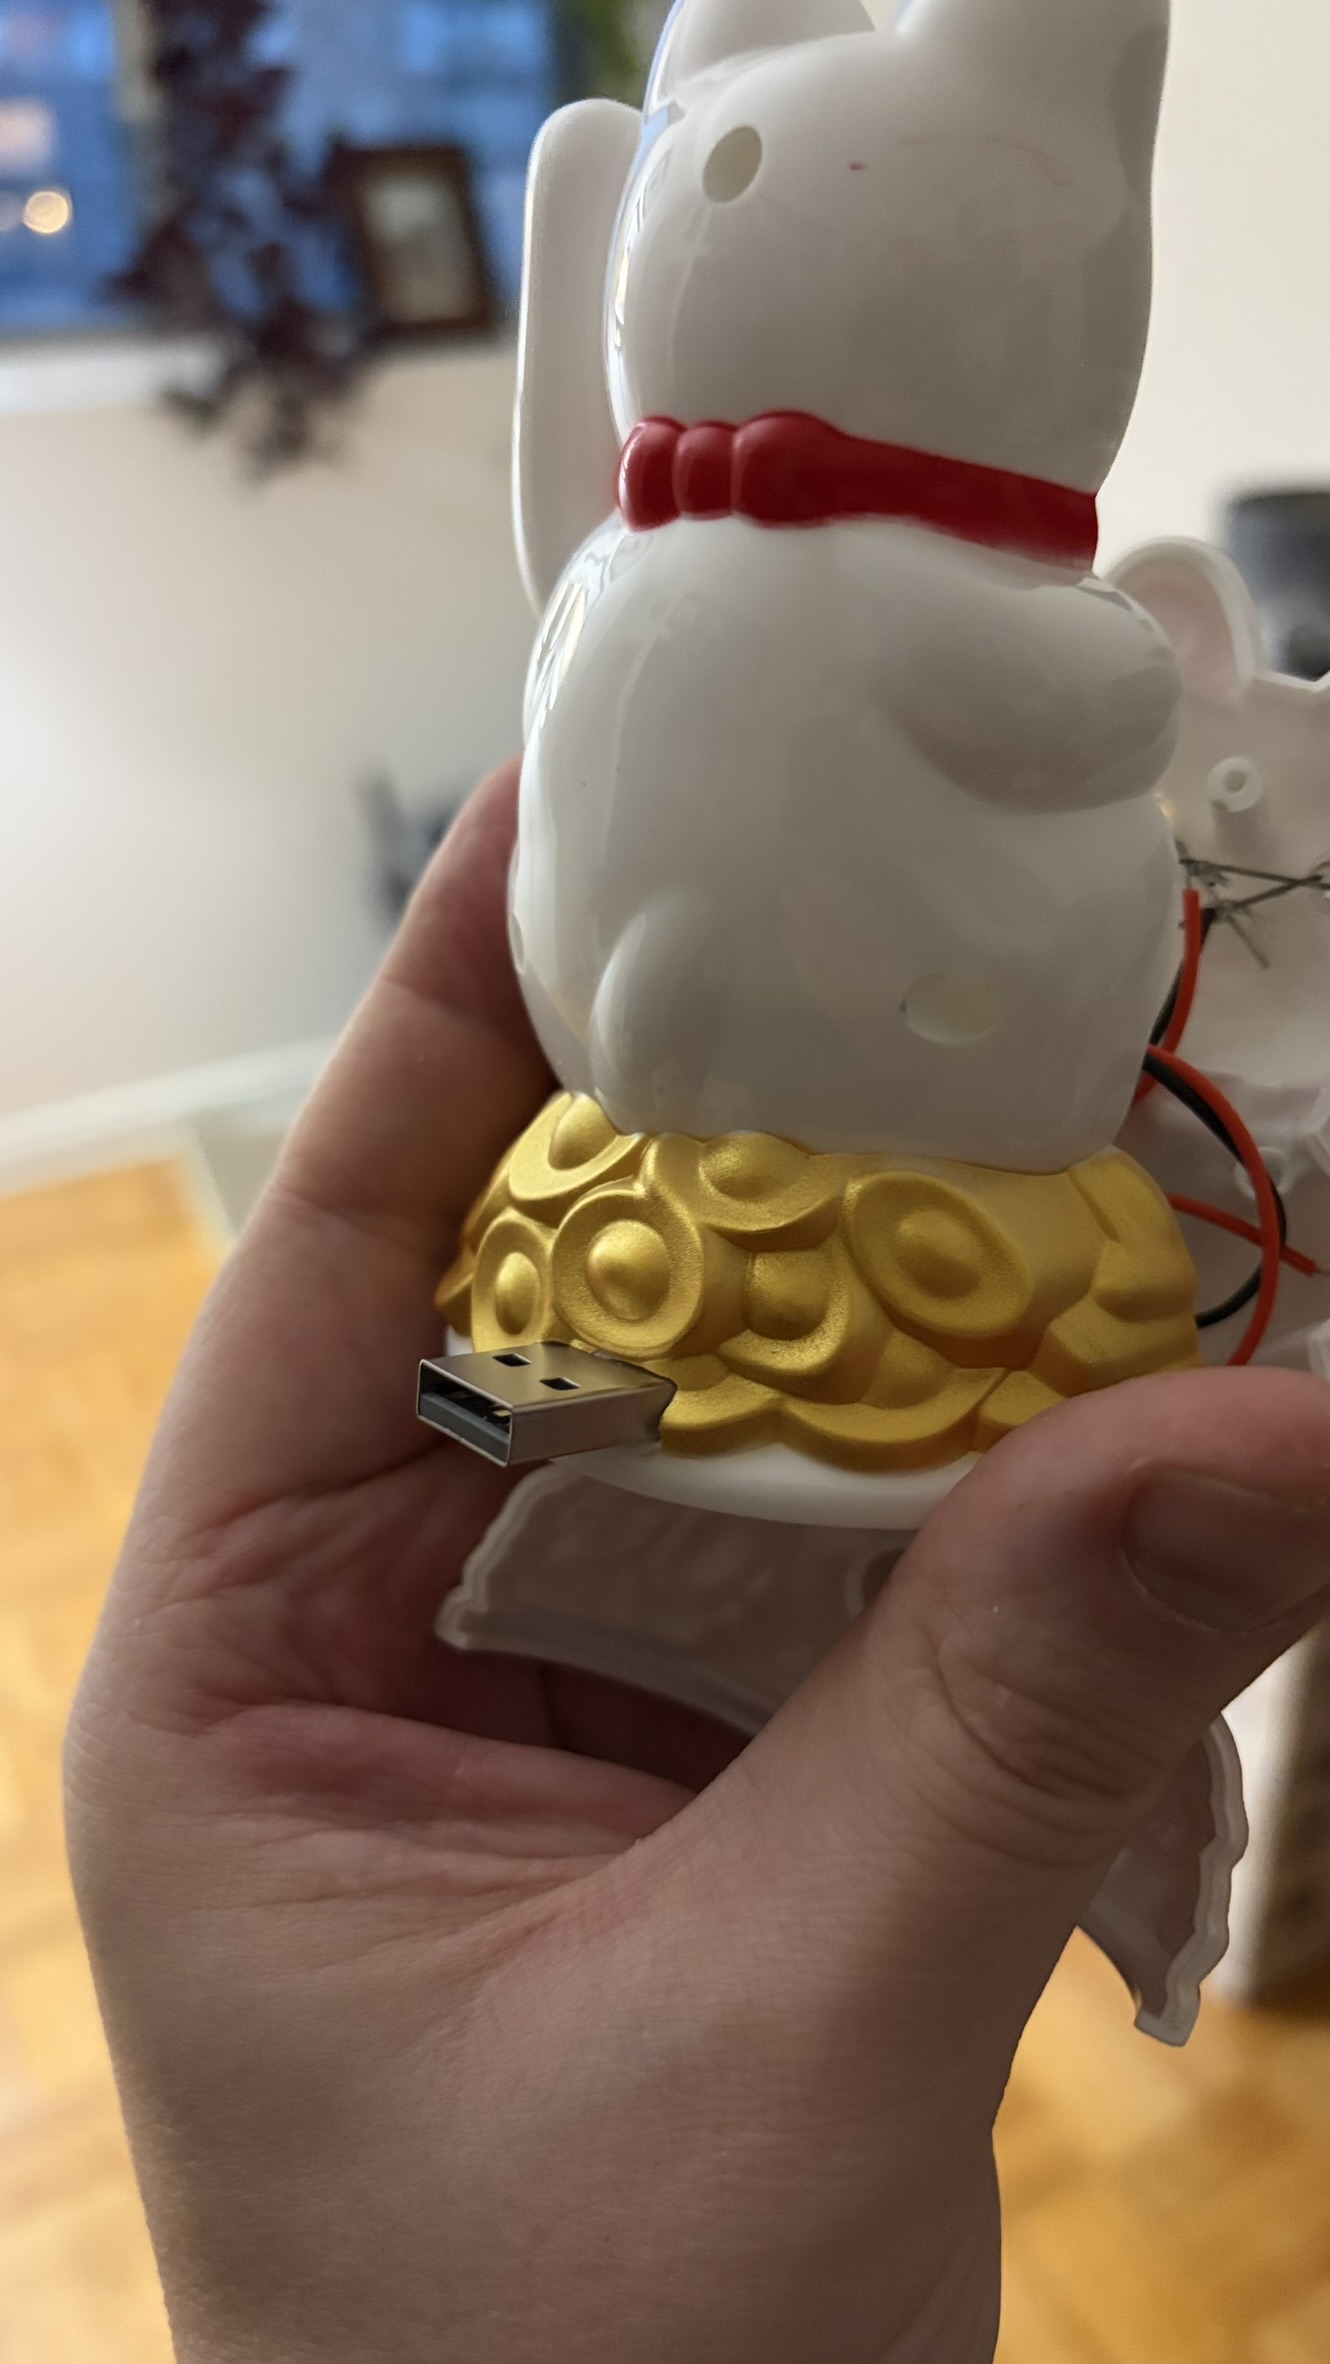
The battery base as a little recessed area we can modify to hold the USB stable. In other iterations I may design a 3D printable base that can keep things a little more kosher, but for now, dremelling the devil out of this can make a little home for the stick.
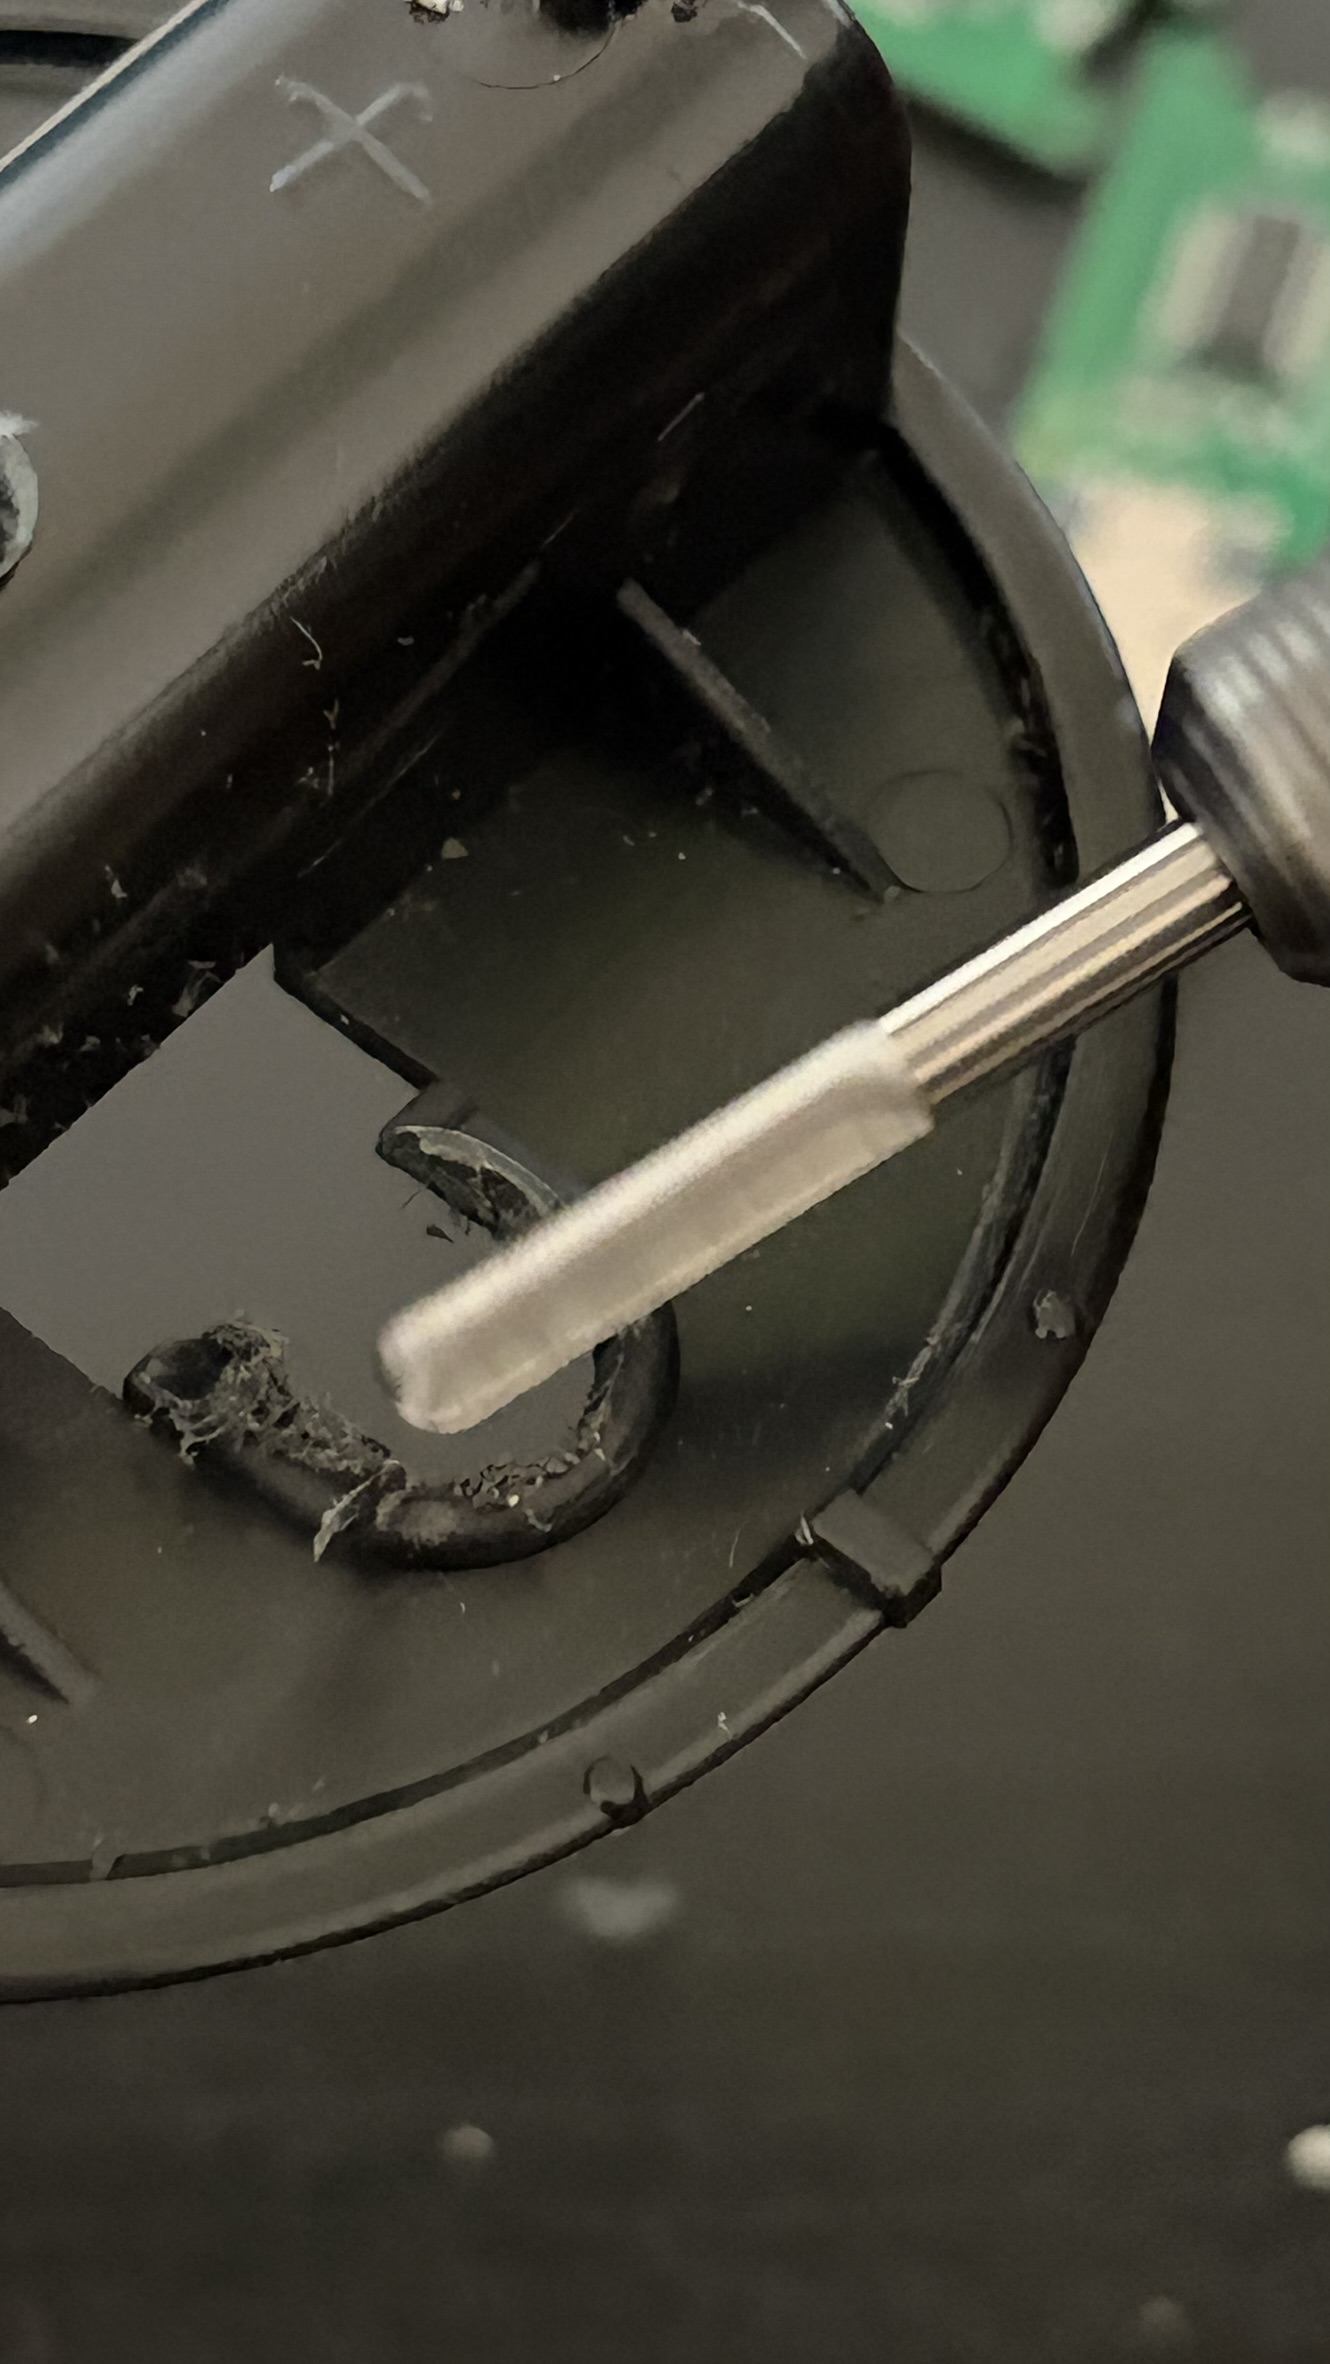
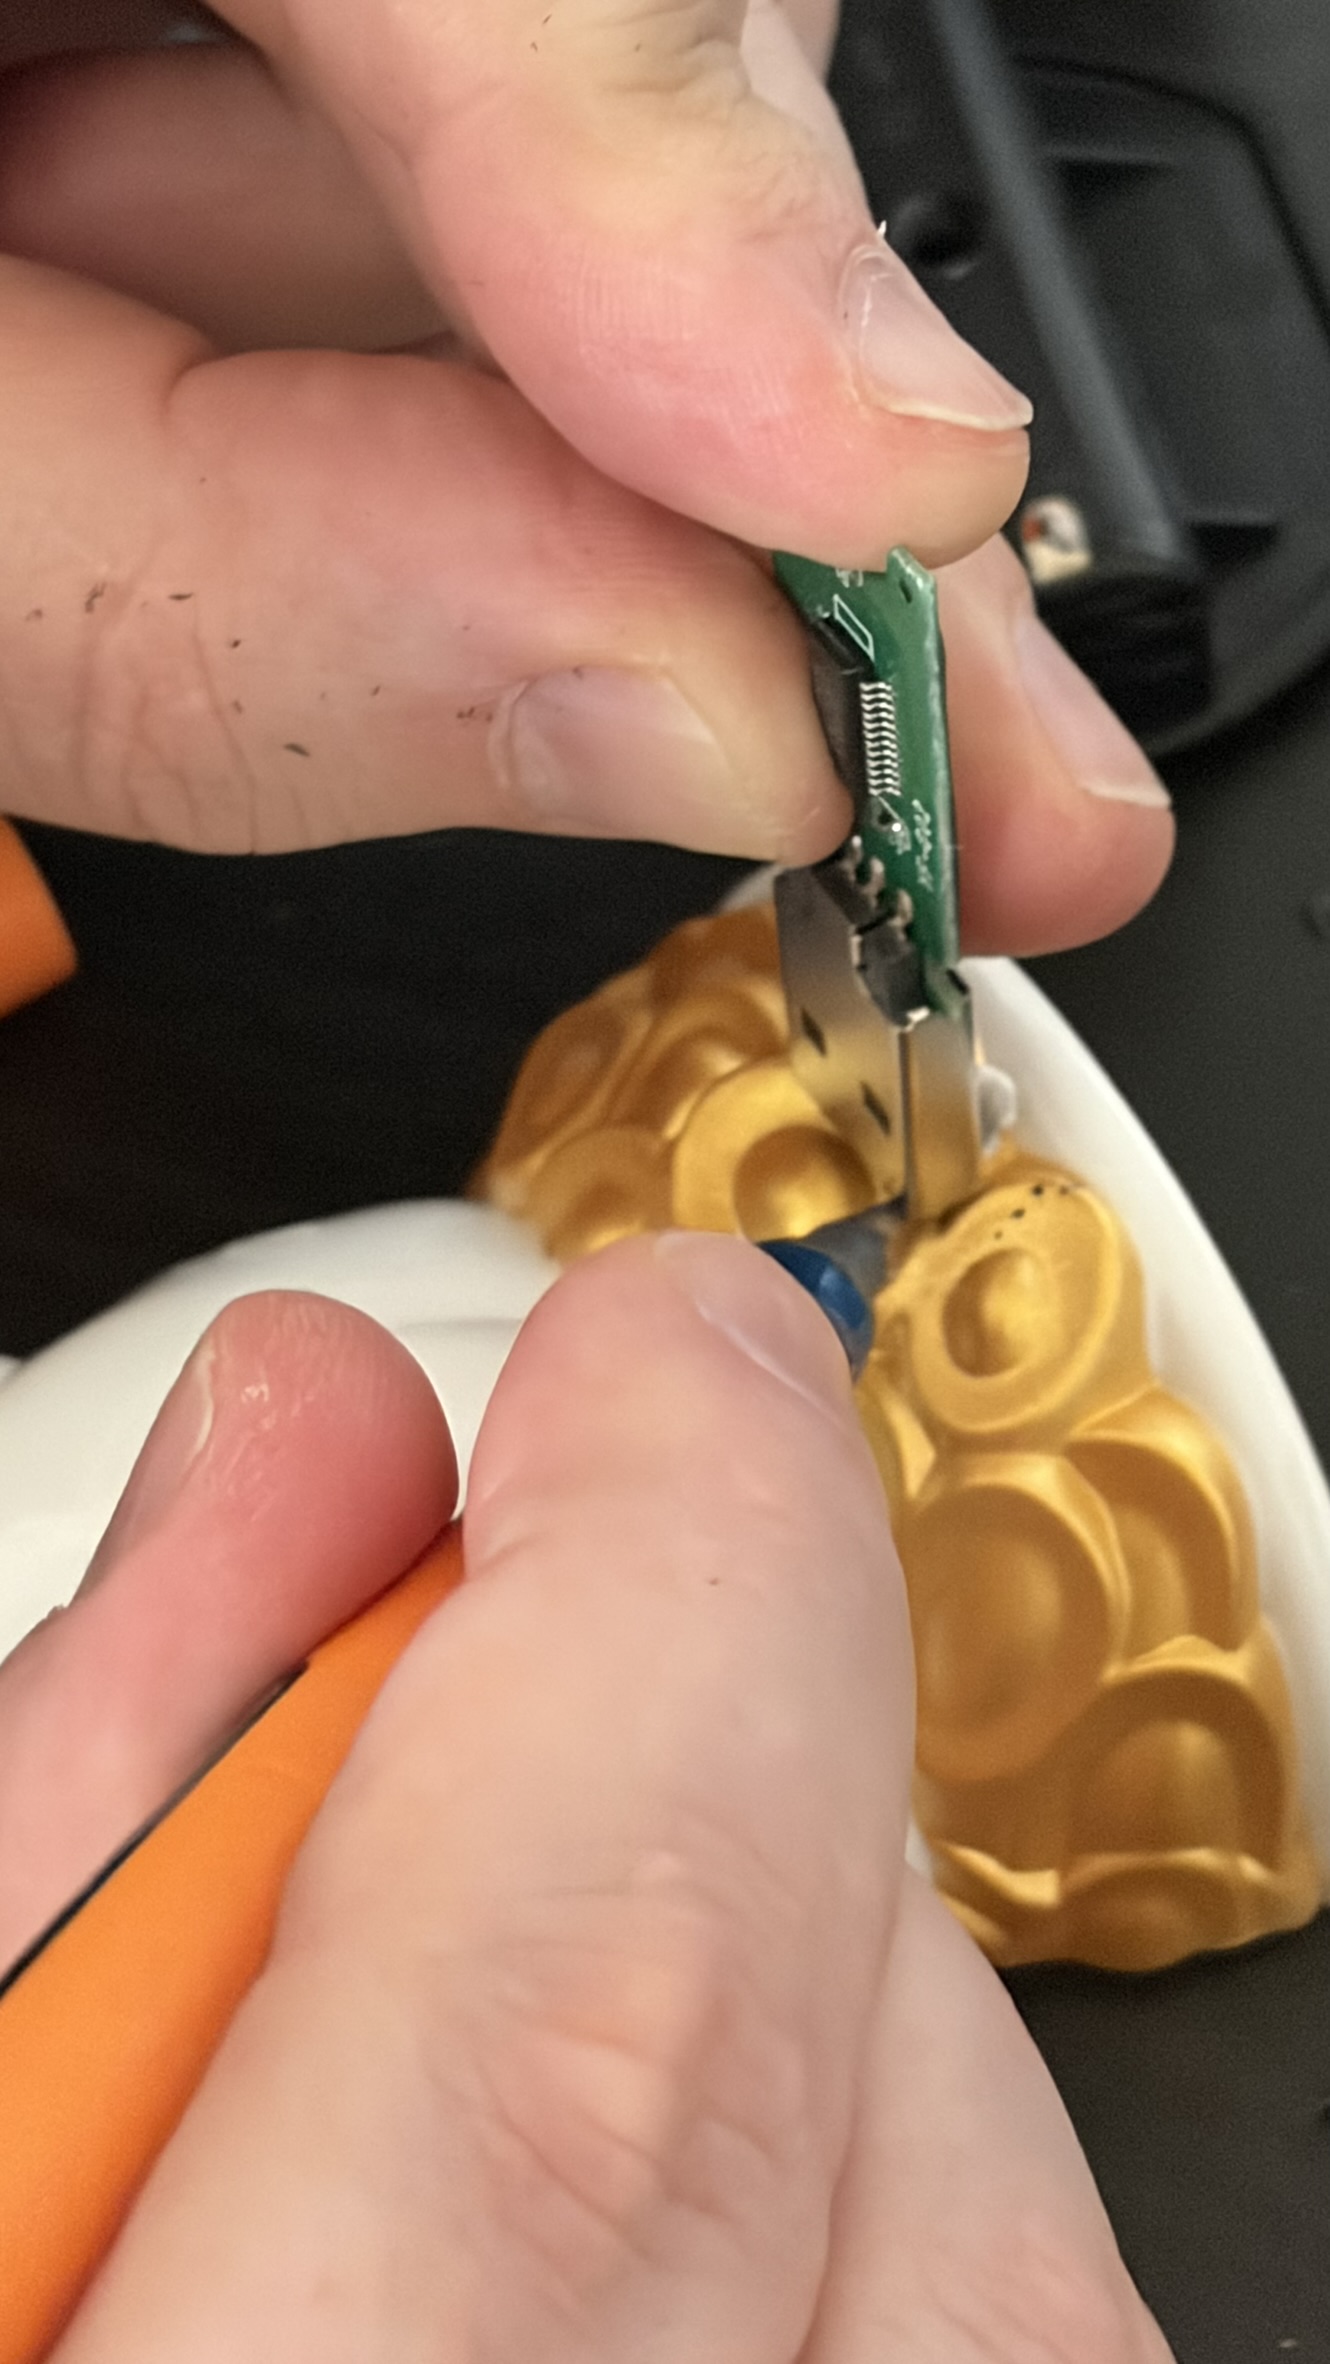
Carving a slot in the back seems to provide a lot of stability, and the USB can butt up into the original battery base internals to keep it stable when pushed on.
Assembly Line
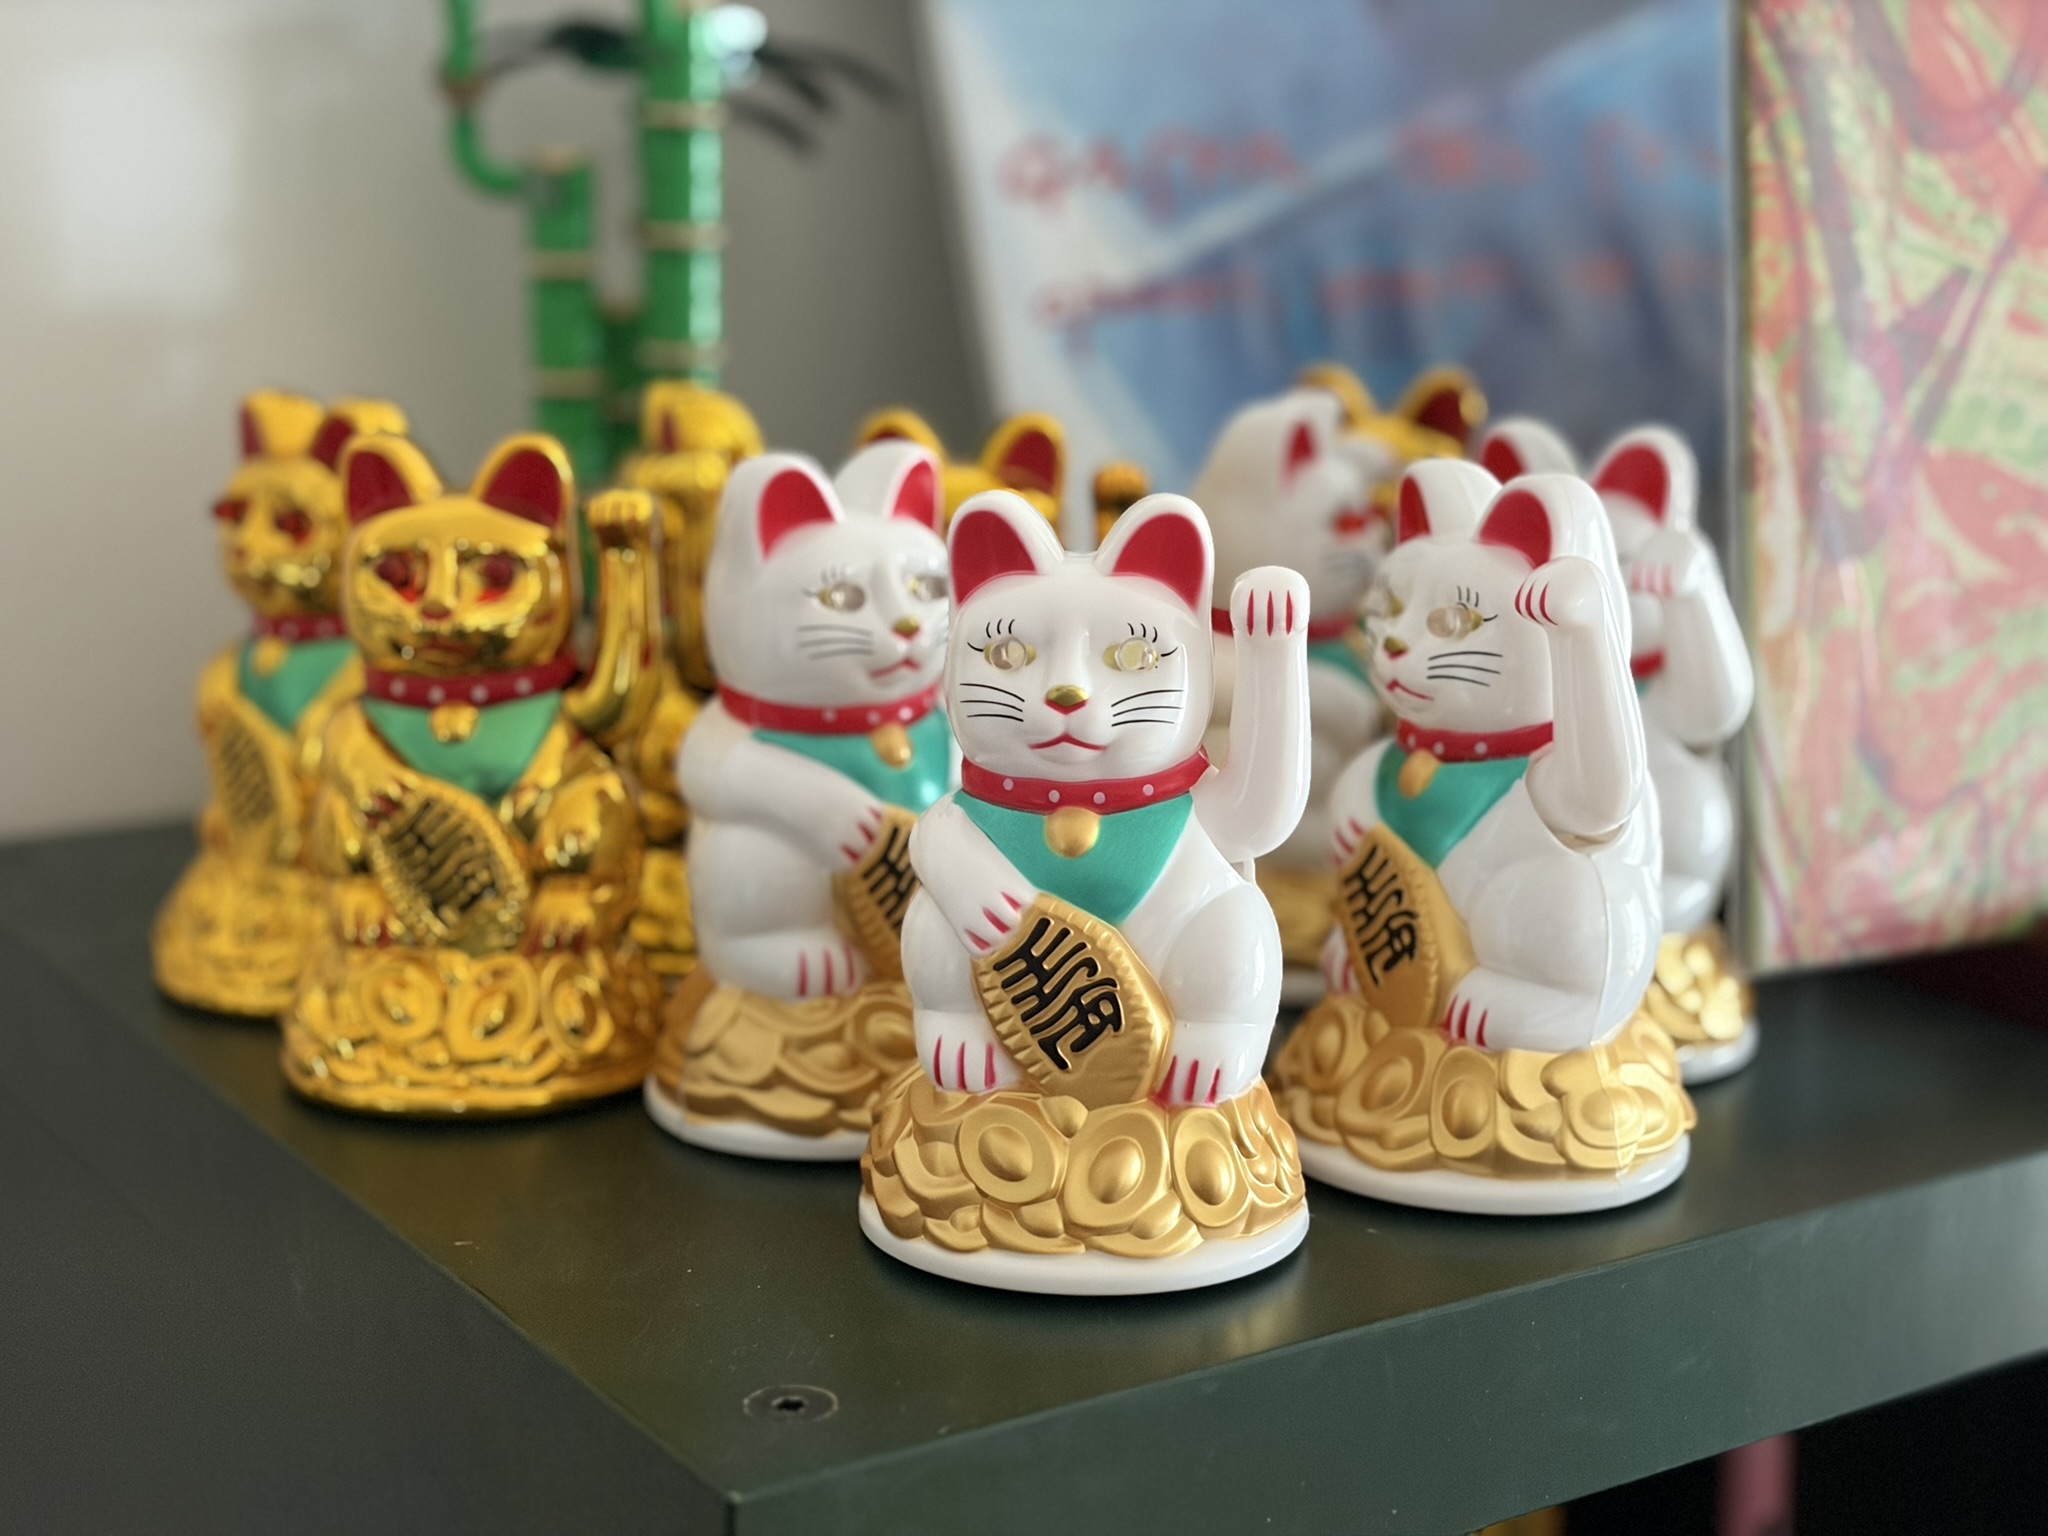
In the end, I took mercy on my co-workers, fans of USB sticks that they are, and cranked out a small bushel of 16GB cats to distribute to the masses.
Results
Next
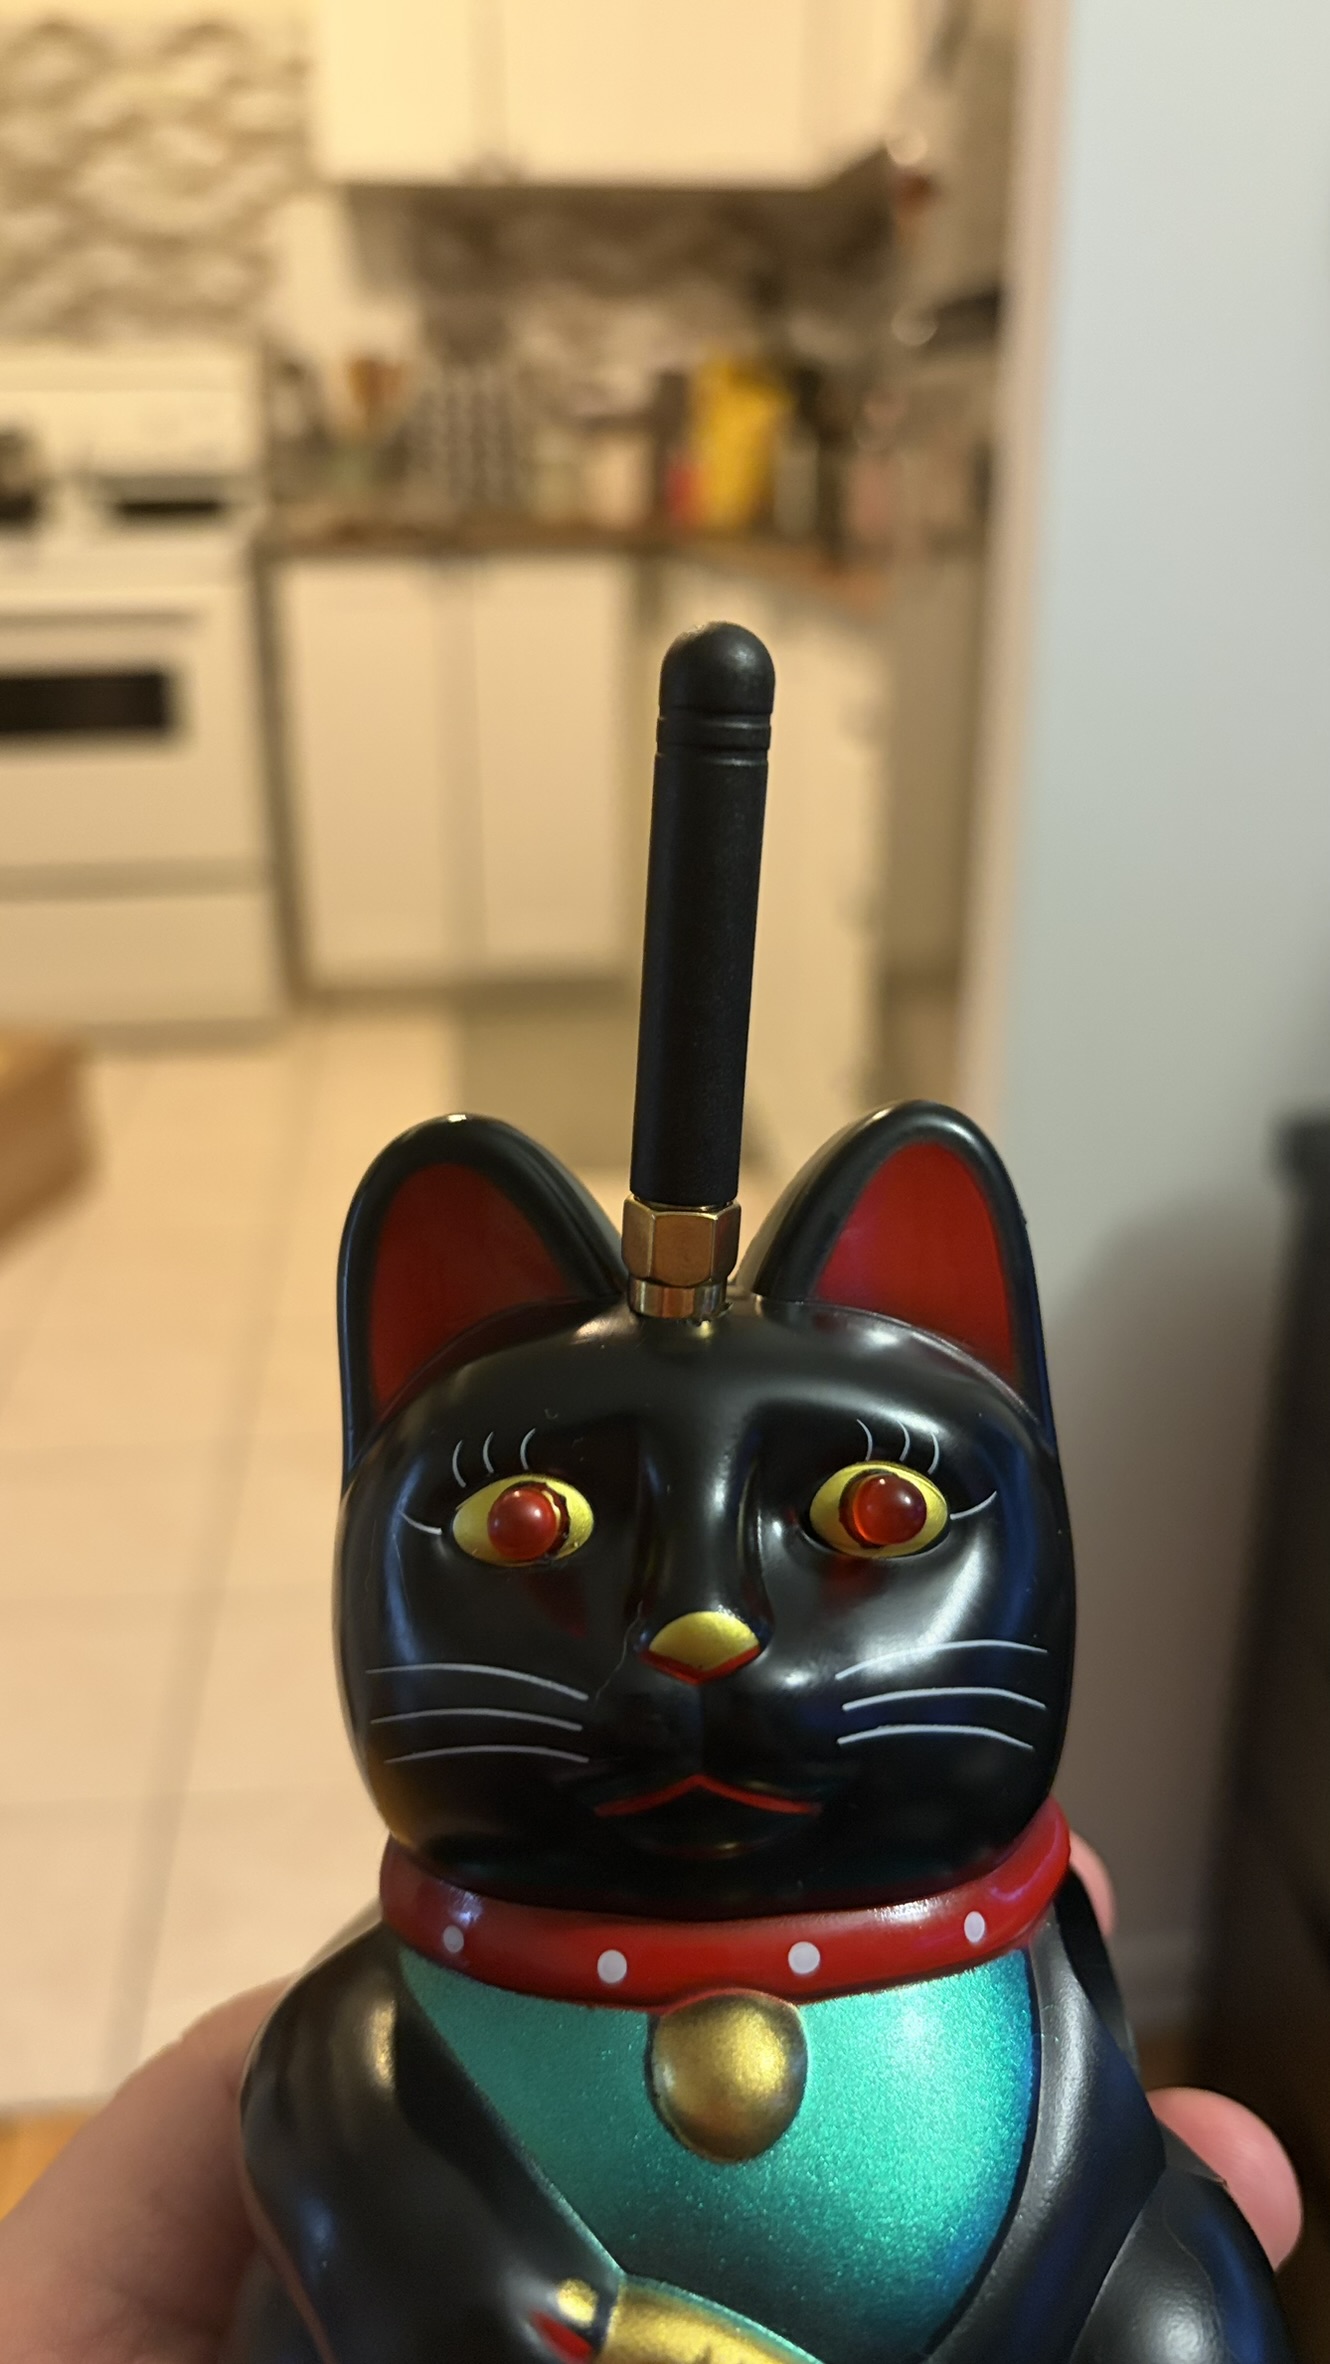
For future work, I've looked at different cat models as potential platforms for sensors, speakers, bluetooth controllers, radios and mini-LLMs. I've found that constricting your options in a project like this can result in more actionable choices, and help in generating ideas.
PS - I recommend the Lego Lucky Cat model.
