Creating a 2D Wrap from a 3D Model
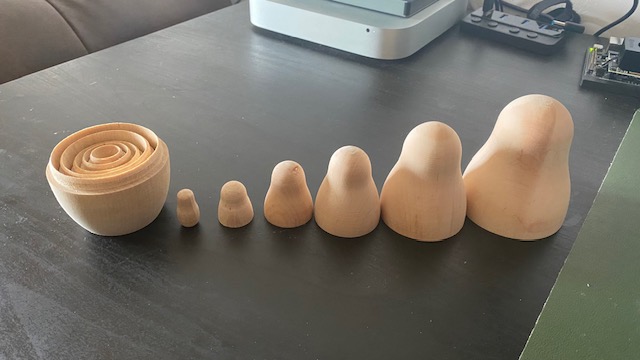
I've been in interested in Russian Nesting Dolls for a few weeks, and grabbed a blank template set with the intention of painting a set.
There are a few potential speed bumps here - I don't know how to paint, have never painted, have no idea what I want to paint and have no consistent way of prototyping designs.
Ideally, I would be able to design something digitally on a tablet, and transfer the image to the doll for tracing and painting the design. Because the different tiers of the doll match the same shape, I should be able to use a scaleable template to represent each tier of the doll and not rush in and hamfist a design that doesn't wrap around uniformly.
UV Mapping
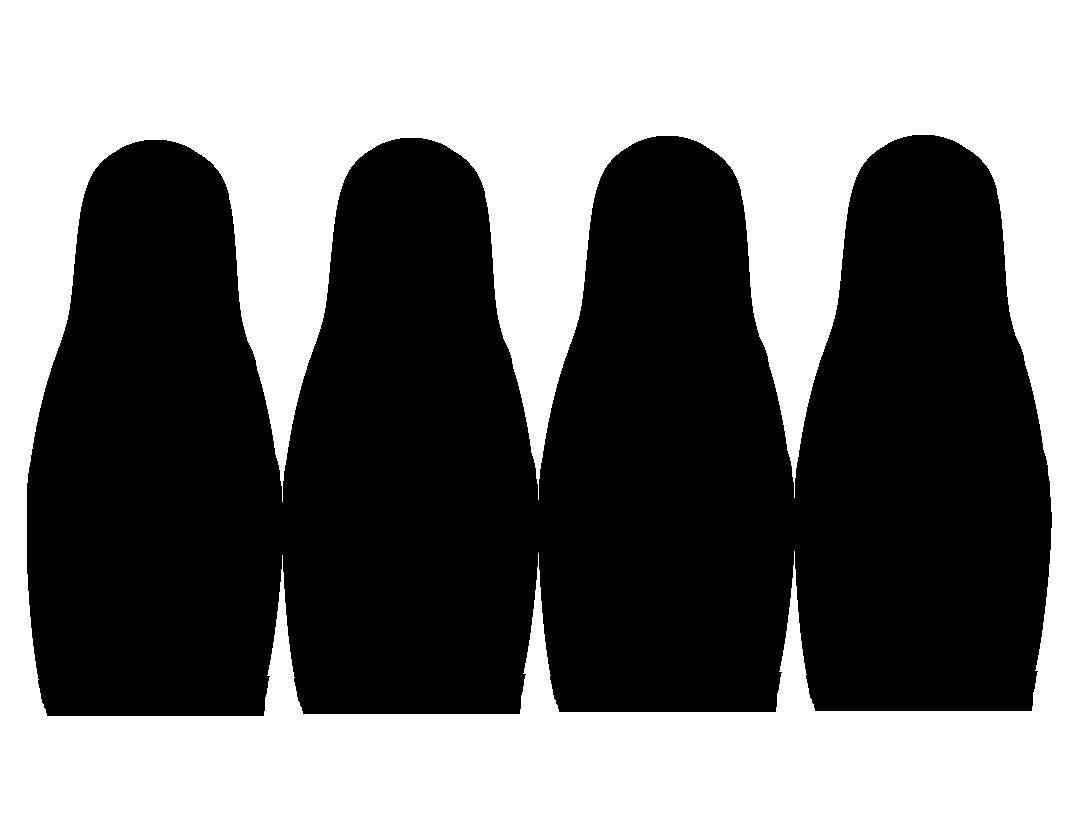
A flat representation of the shape could be done by wrapping the doll in strips of paper, cutting them to match the outline required to cover the circumference of the doll, then collect the strips into a single shape. This would be a decent, not wholly accurate, representation of the object, but because this is a technique I'd like to be able to reproduce for other projects, I aimed to instead render the dolls as a 3D object in a CAD program, and flatten it digitally using what's called UV Mapping.
3D Design
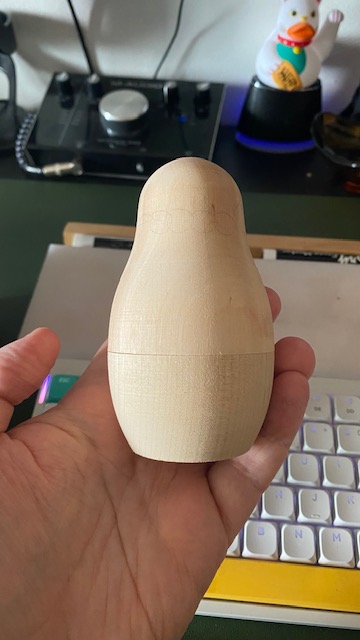
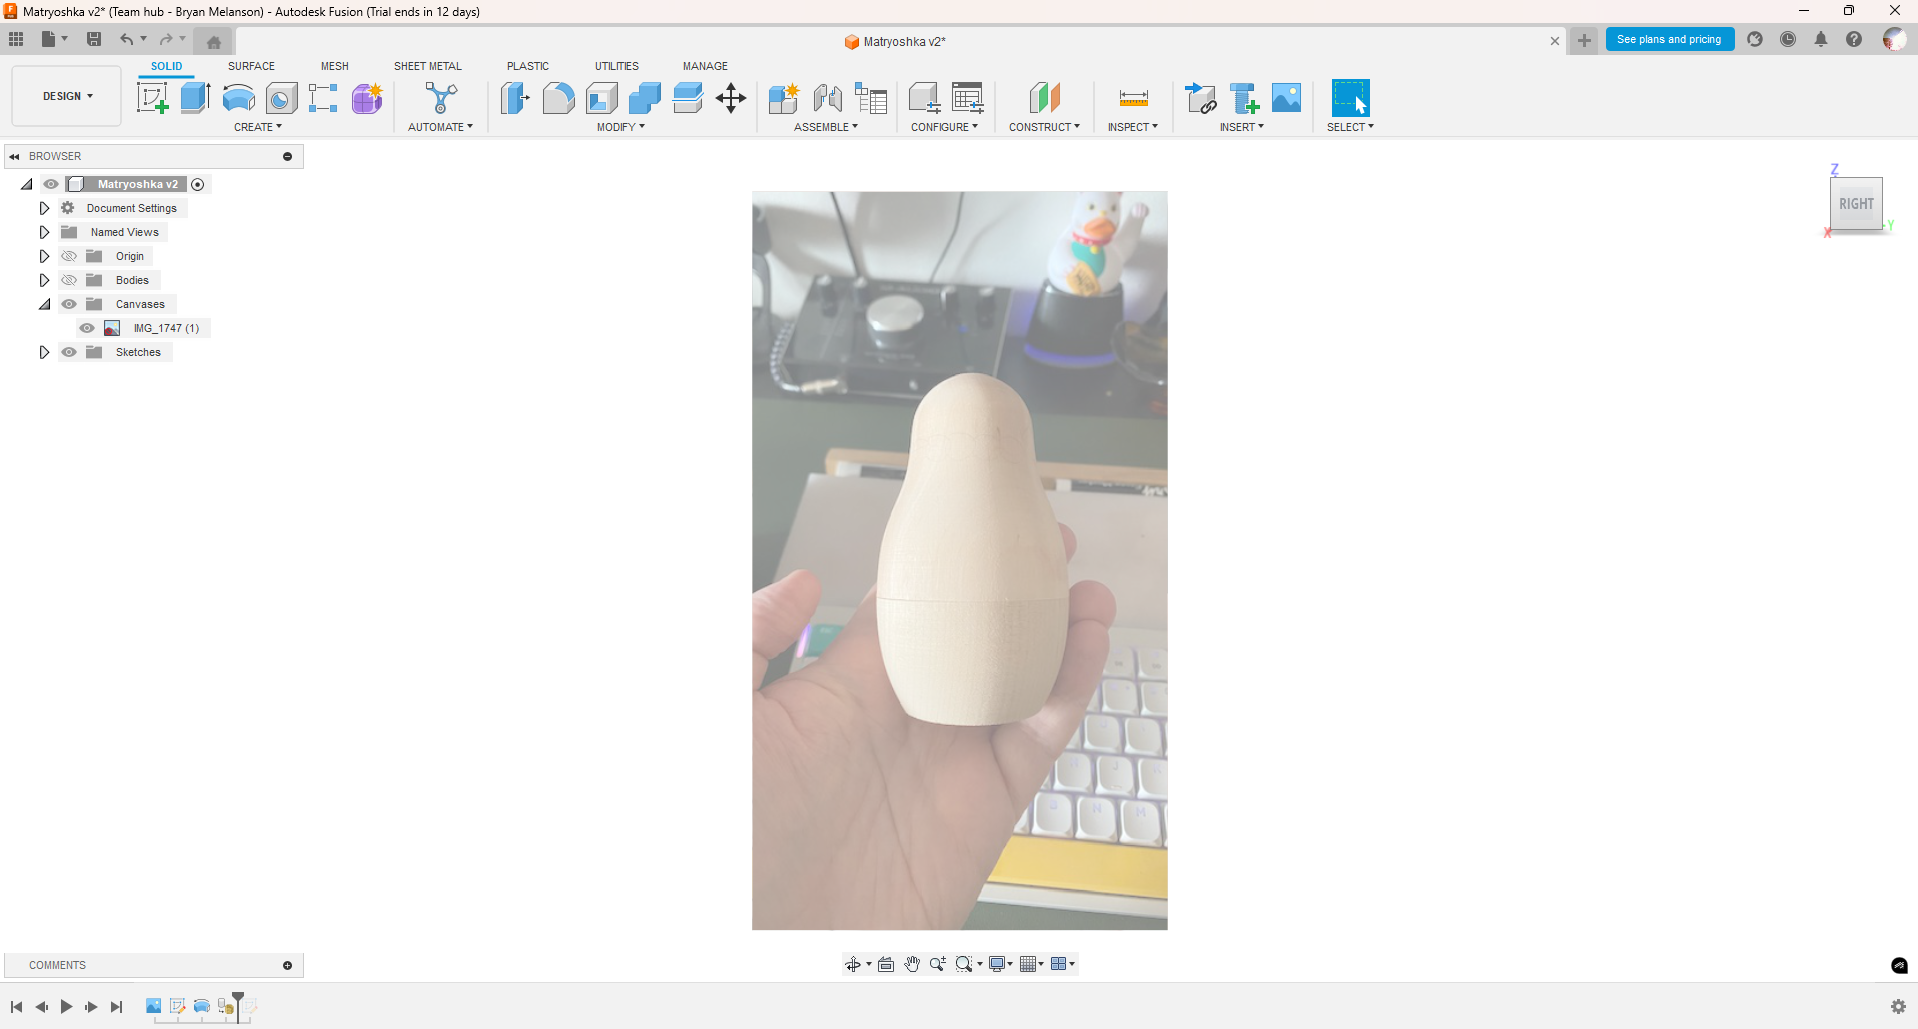
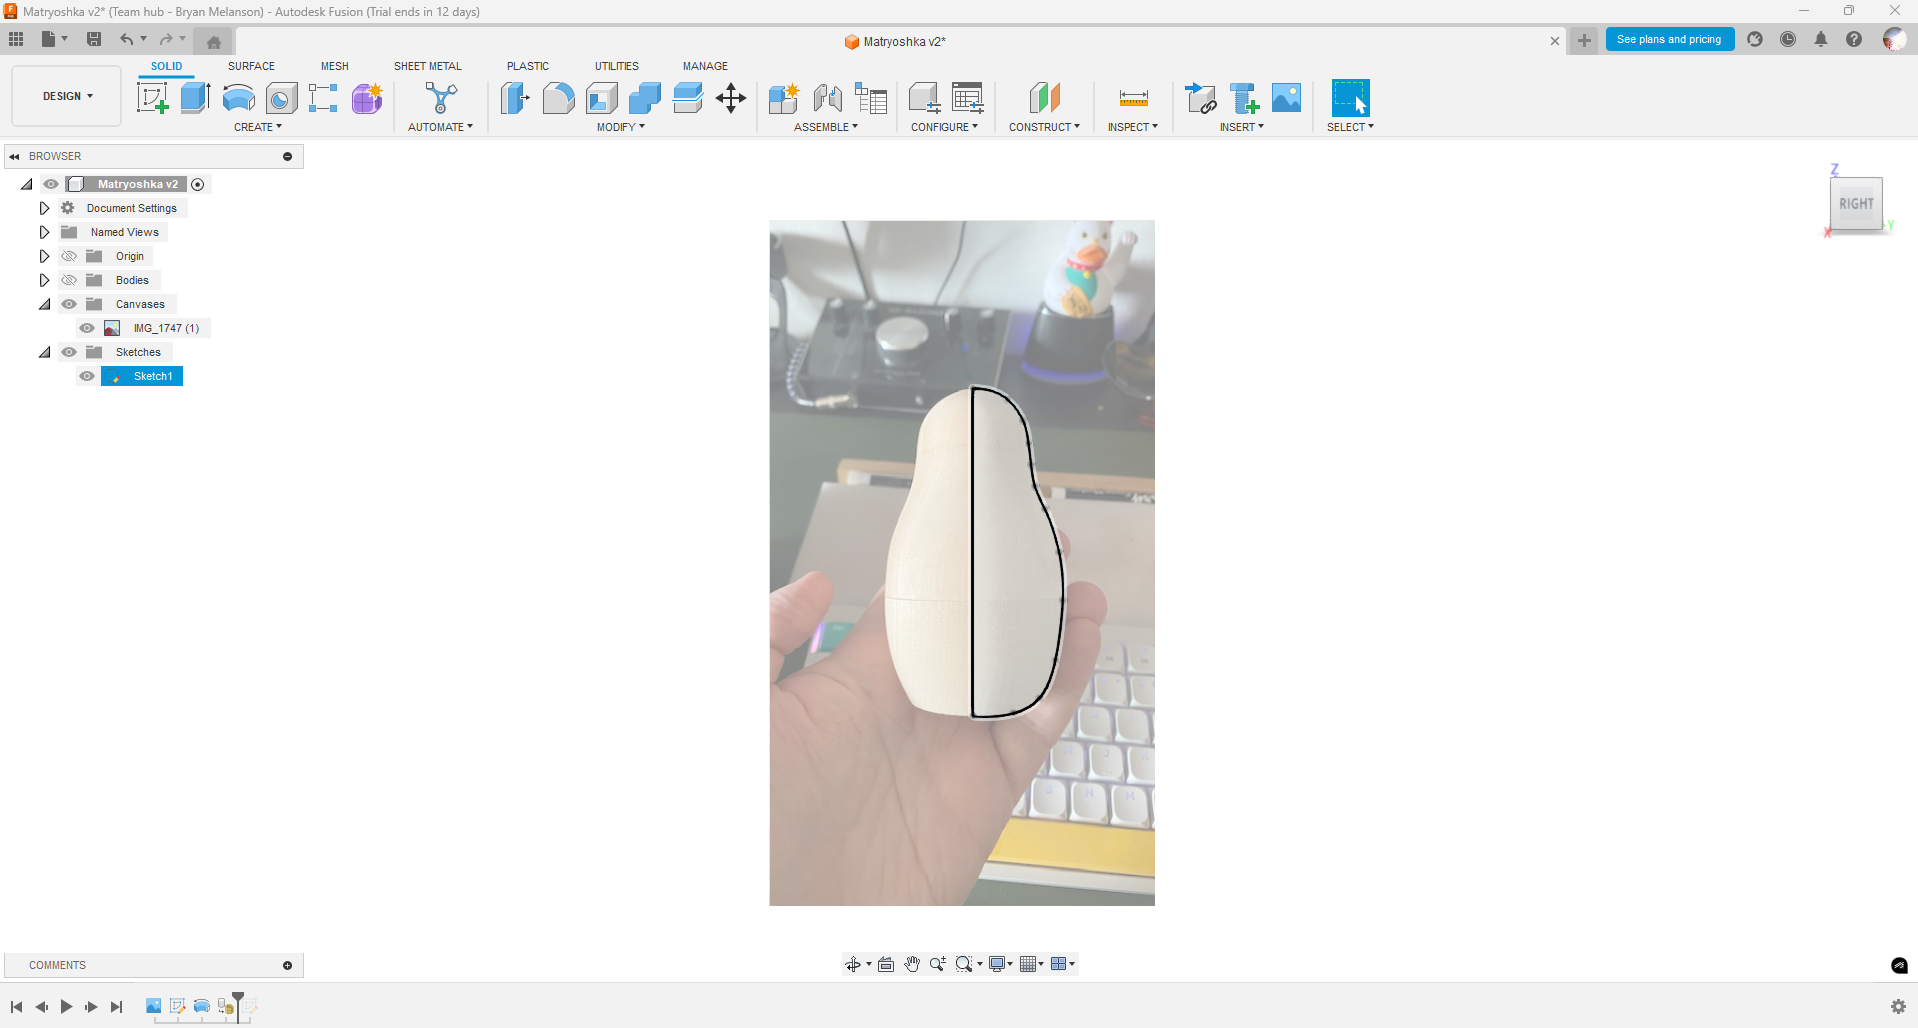
Because the doll is an object which is symmetrical around its center axis, the design was an easy one to replicate. I took a flat image of the profile of the doll, and imported it into Autodesk Fusion 360 as a guide for tracing its contours.
By marking the vertical center line of the doll and tracing one half of its profile, I was able to revolve that outline as a 3D shape around its center axis and create the full shape.

Other Options
For irregular shapes that would be harder to render in CAD, some apps are available for capturing a 3D representation of an object using photos like Scanniverse. These may require a bit more post-processing before they can be used, but look promising for complex shapes.
3D to 2D
After a complete 3D mesh is captured and exported as a 3D filetype (I used .obj), it can be imported into Blender. Blender has built-in tools for applying textures to 3D shapes that first render the shape as a UV Map, and it's free, so this was ideal. I had never used Blender before, so this was still hell.
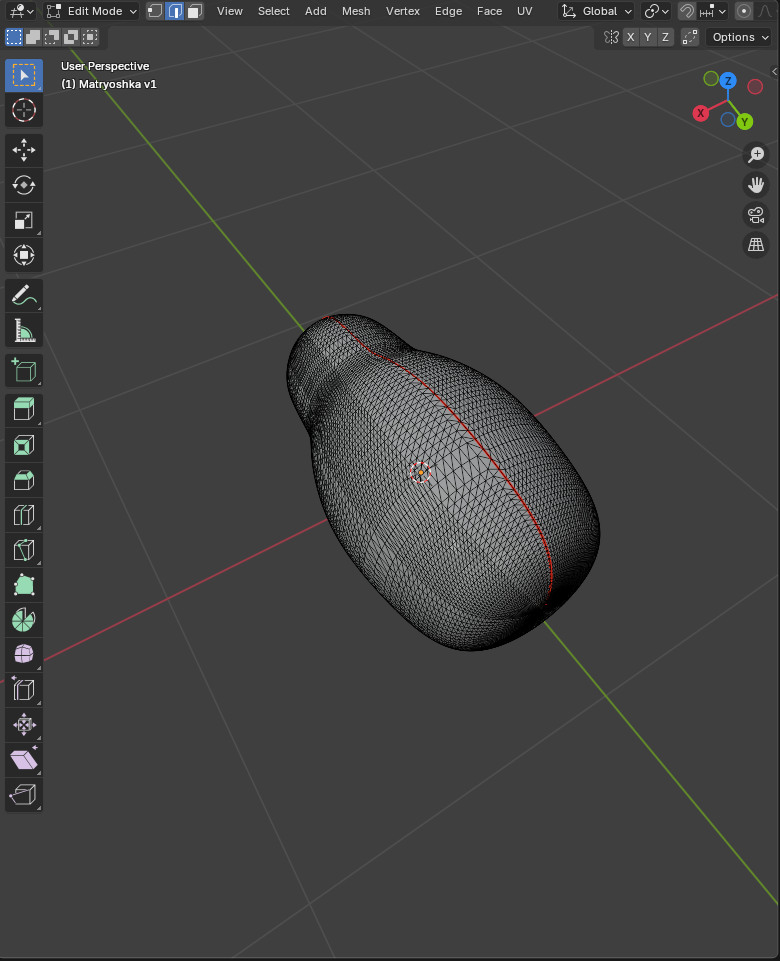
Blender requires you to create a seam for unfolding the object, then unfolds the object along that seam, with some UV style options.
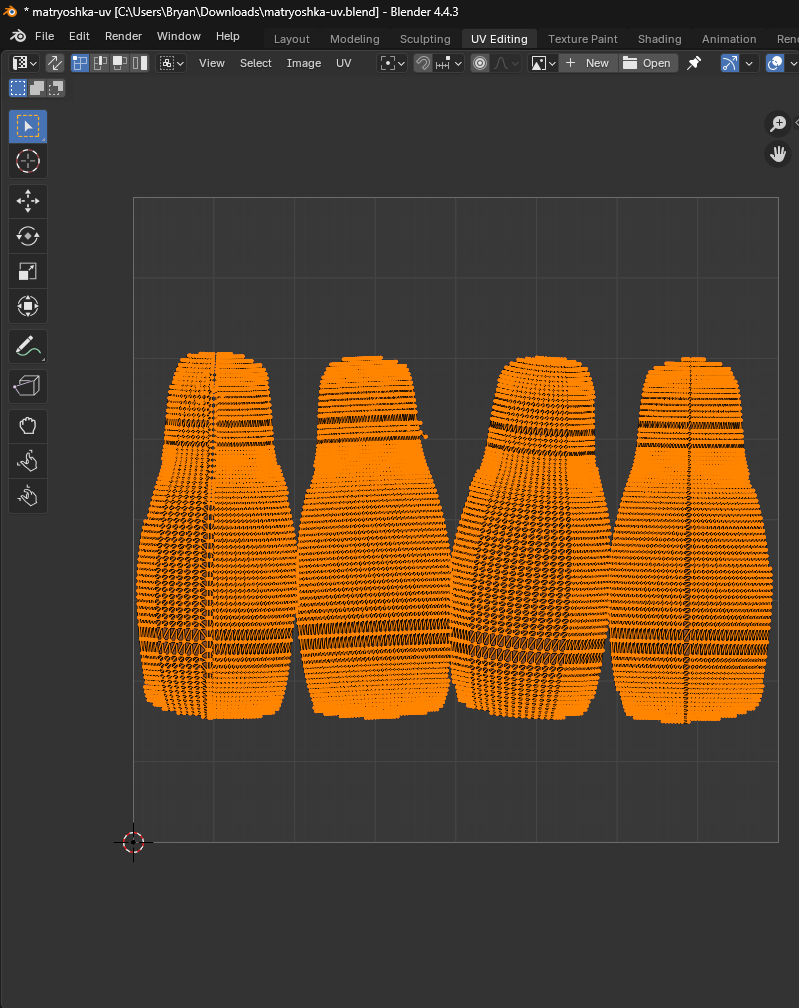
Because the final UV map was a little janky, I processed it in GIMP for symmetry, and removed the wireframe in the exported image.
Next Steps
- Find a reliable way to print these to exact height of the dolls
- Settle on a design (All different, or all the same design?)
- Learn how to paint and seal these things